| title | keywords | description | |||||
|---|---|---|---|---|---|---|---|
key-auth |
|
This document contains information about the Apache APISIX key-auth Plugin. |
The key-auth Plugin is used to add an authentication key (API key) to a Route or a Service.
This works well with a Consumer. Consumers of the API can then add their key to the query string or the header to authenticate their requests.
For Consumer:
| Name | Type | Requirement | Description |
|---|---|---|---|
| key | string | required | Unique key for a Consumer. This field supports saving the value in Secret Manager using the APISIX Secret resource. |
NOTE: encrypt_fields = {"key"} is also defined in the schema, which means that the field will be stored encrypted in etcd. See encrypted storage fields.
For Route:
| Name | Type | Requirement | Default | Valid | Description |
|---|---|---|---|---|---|
| header | string | optional | apikey | The header to get the key from. | |
| query | string | optional | apikey | The query string to get the key from. Lower priority than header. | |
| hide_credentials | bool | optional | false | Apache APISIX will pass the request header or query string that contains the authentication information to the Upstream if hide_credentials is false. Otherwise the authentication information will be removed before proxying. |
To enable the Plugin, you have to create a Consumer object with an authentication key and configure your Route to authenticate requests.
First you can create a Consumer object through the Admin API with a unique key:
:::note
You can fetch the admin_key from config.yaml and save to an environment variable with the following command:
admin_key=$(yq '.deployment.admin.admin_key[0].key' conf/config.yaml | sed 's/"//g'):::
curl http://127.0.0.1:9180/apisix/admin/consumers -H "X-API-KEY: $admin_key" -X PUT -d '
{
"username": "jack",
"plugins": {
"key-auth": {
"key": "auth-one"
}
}
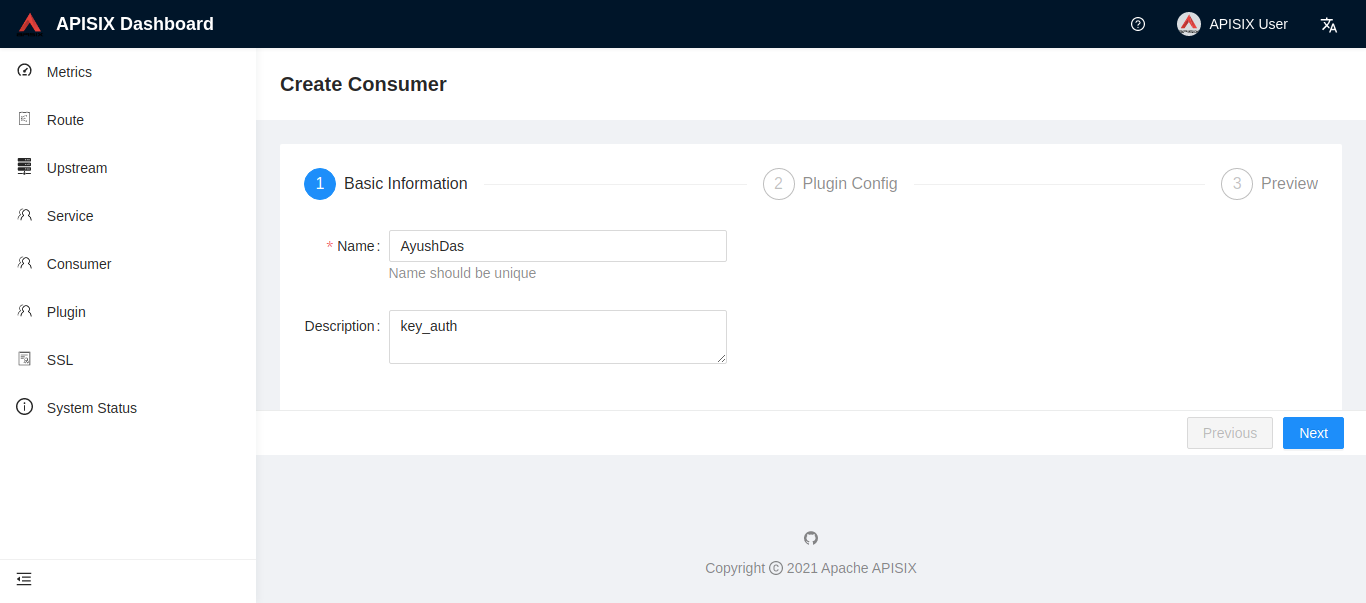
}'You can also use the APISIX Dashboard to complete the operation through a web UI.
First, create a Consumer object:
You can then add the key-auth Plugin:
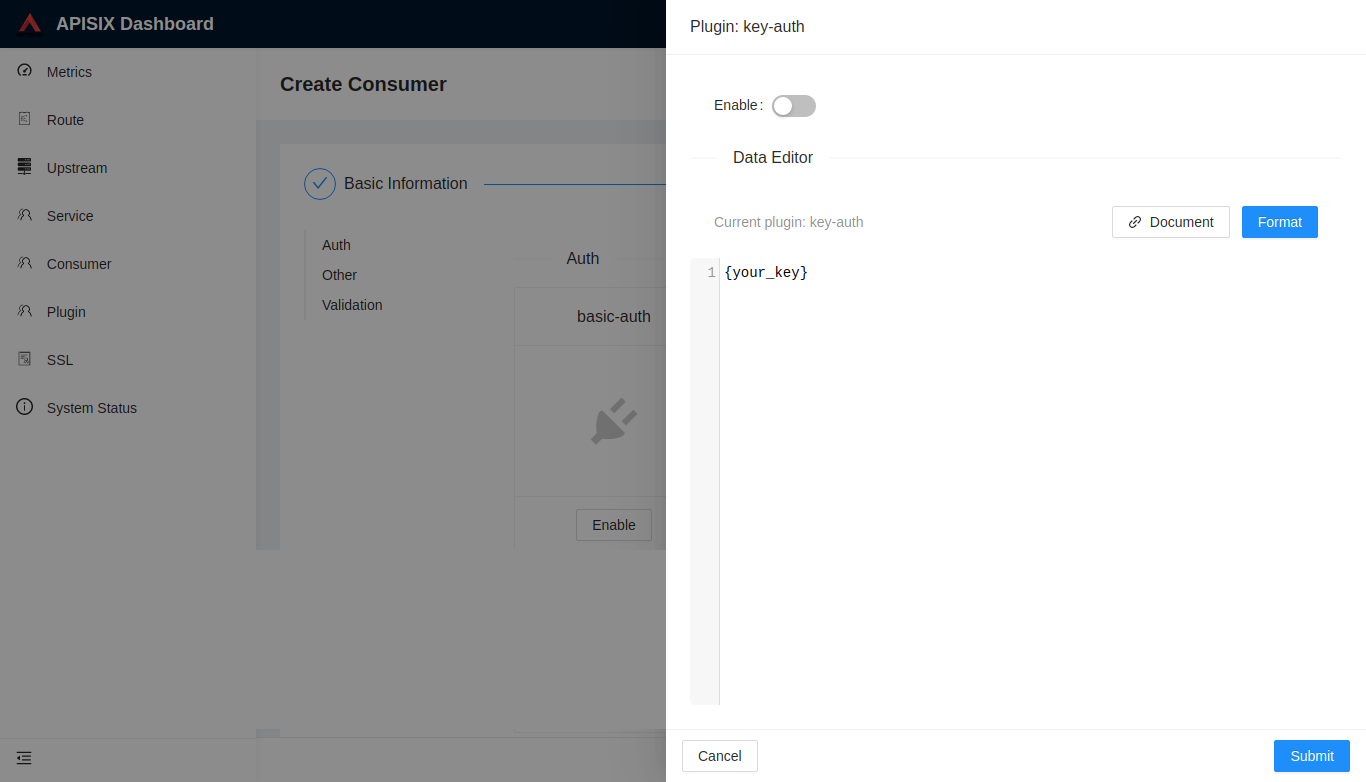
Once you have created a Consumer object, you can then configure a Route or a Service to authenticate requests:
curl http://127.0.0.1:9180/apisix/admin/routes/1 -H "X-API-KEY: $admin_key" -X PUT -d '
{
    "methods": ["GET"],
    "uri": "/index.html",
    "id": 1,
    "plugins": {
        "key-auth": {}
    },
    "upstream": {
        "type": "roundrobin",
        "nodes": {
            "127.0.0.1:1980": 1
        }
    }
}'
To fetch the key from a different header than apikey, change the header in the configuration:
{
    "key-auth": {
        "header": "Authorization"
    }
}After you have configured the Plugin as mentioned above, you can make a request as shown:
curl http://127.0.0.2:9080/index.html -H 'apikey: auth-one' -iHTTP/1.1 200 OK
...
And if the request has a missing key or a wrong key:
curl http://127.0.0.2:9080/index.html -iHTTP/1.1 401 Unauthorized
...
{"message":"Missing API key found in request"}
curl http://127.0.0.2:9080/index.html -H 'apikey: abcabcabc' -iHTTP/1.1 401 Unauthorized
...
{"message":"Invalid API key in request"}
To remove the key-auth Plugin, you can delete the corresponding JSON configuration from the Plugin configuration. APISIX will automatically reload and you do not have to restart for this to take effect.
curl http://127.0.0.1:9180/apisix/admin/routes/1 -H "X-API-KEY: $admin_key" -X PUT -d '
{
    "uri": "/index.html",
    "plugins": {},
    "upstream": {
        "type": "roundrobin",
        "nodes": {
            "127.0.0.1:1980": 1
        }
    }
}'