3D software rendering tutorial, without any performance optimization, mainly explains how to write a fixed pipeline software renderer. Although the main code is only 700 lines, it is small but complete.
- Single File: The source code consists of only one file, mini3d.c, which implements all the functionality. It is easy to read and understand.
- Independent Compilation: There is no third-party library dependency and no complex project directory.
- Model Standard: Uses the standard D3D coordinate model, left-handed system with WORLD/VIEW/PROJECTION matrices.
- Clipping Implementation: Implements simple CVV (Canonical View Volume) clipping.
- Texture Support: Supports textures up to a maximum of 1024 x 1024.
- Depth Buffering: Uses a depth buffer to determine the order of image rendering.
- Perspective Texture Mapping: Implements perspective texture mapping and perspective color filling.
- Edge Calculation: Accurately calculates polygon edge coverage.
- Simplified Implementation: The rendering engine consists of only 700 lines of code, with clear modules and a prominent main structure.
- Detailed Comments: The primary code is well-documented with detailed comments.
- mingw: gcc -O3 mini3d.c -o mini3d.exe -lgdi32
- msvc: cl -O2 -nologo mini3d.c
- Compiled version: https://github.com/skywind3000/mini3d/releases
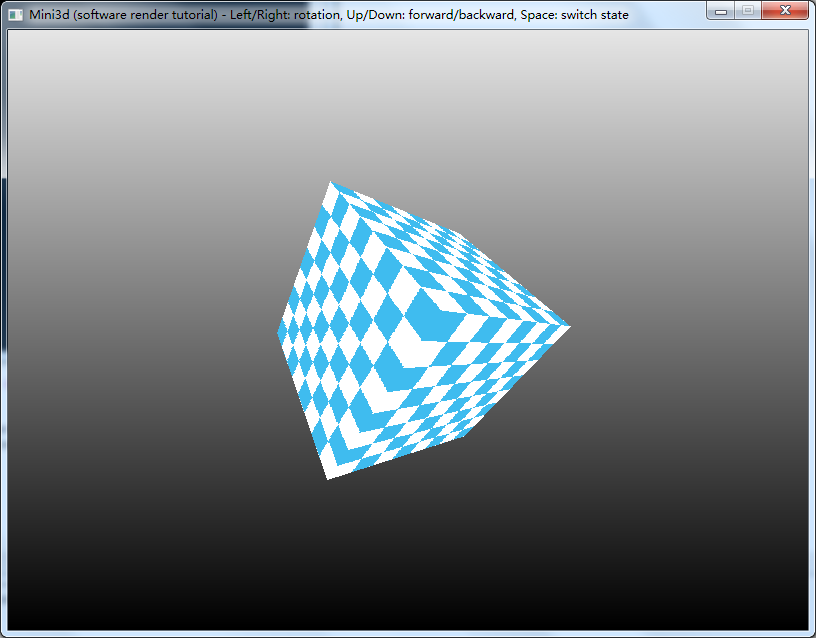
Texture Mapping:RENDER_STATE_TEXTURE
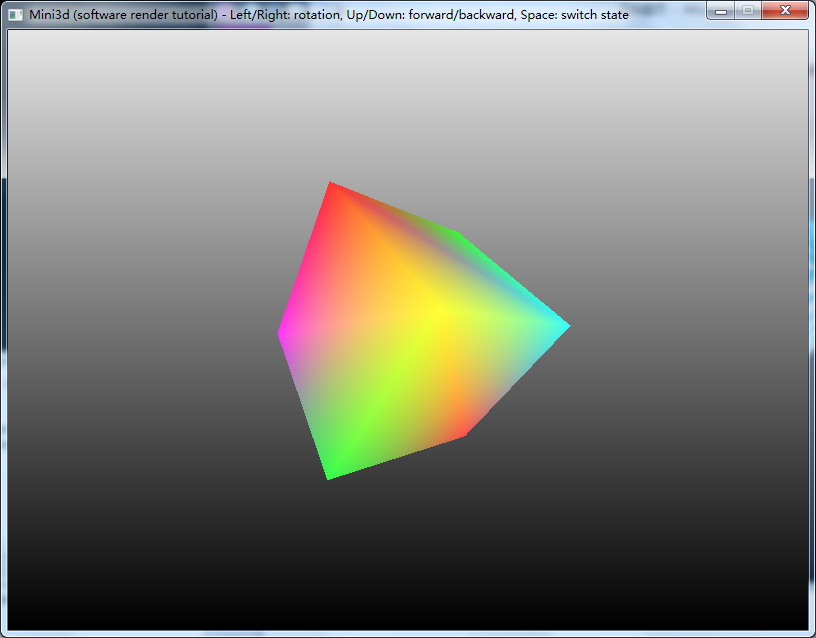
Color Filling:RENDER_STATE_COLOR
Wireframe Rendering:RENDER_STATE_WIREFRAME

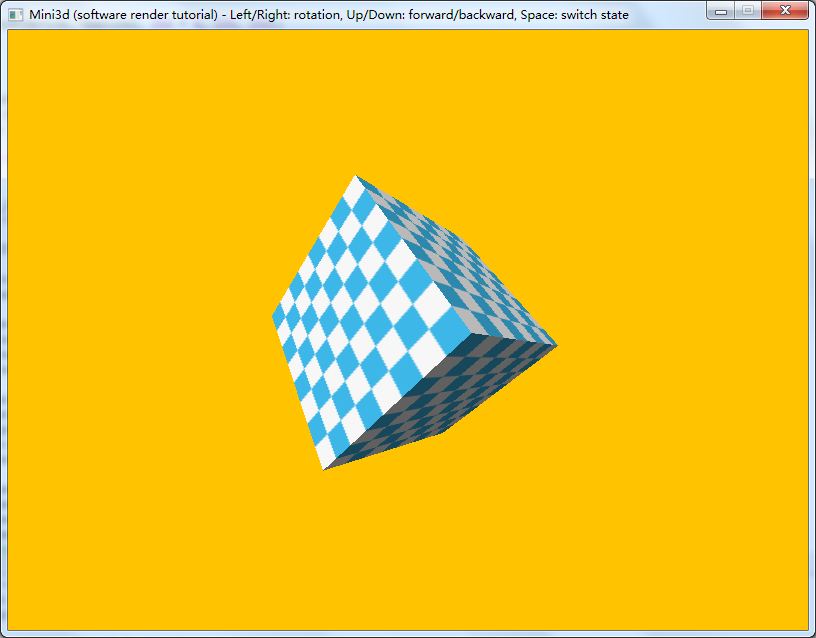
Added Lighting and Bicubic Interpolation (screenshot of lighting effect added by a friend to Mini3D)
- Add backface culling
- Implement simple lighting
- Provide more rendering modes
- Implement texture sampling with bicubic interpolation
- Derive and prove all geometric knowledge used in the program
- Optimize vertex computation performance
- Optimize draw_scanline performance
- Load textures from BMP/TGA files
- Load BSP scenes and implement roaming.
- Wei Yixiao: How do OpenGL and DirectX determine the position of pixels only based on vertices?
- Wei Yixiao: How does the computer access the graphics card at a low level?
- RenderHelp:Another implementation of a streamlined software renderer with support for programmable rendering pipelines, for more details see https://zhuanlan.zhihu.com/p/182872172

Your donation is the greatest recognition for this tutorial. You are welcome to use Alipay to scan the QR code above to make a donation. The donated funds will be used to improve the tutorial documentation and illustrations, as well as to help me write more interesting tutorials.
blog: http://www.skywind.me