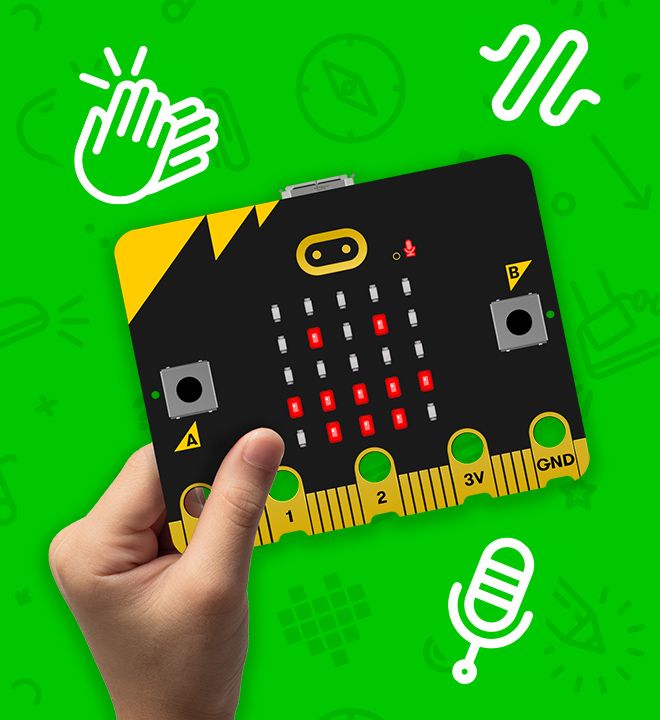
The BBC micro:bit v2 - nRF52833 with Bluetooth LE is a board based on the Nordic nRF52833 SoC. It includes the following sensors:
- 5x5 LED Matrix
- LSM303AGR compass and accelerometer
- BLE
- speaker
- microphone
First, follow the Tock Getting Started guide
Tock uses Tock Bootloader to program devices.
As MicroBit v2 has an on board debugger that provides several ways of programming it, is shipped without an actual bootloader.
There are two ways for flashing the bootloader:
- Using the MicroBit USB drive
- Using openocd
This step is optional, as a prebuilt bootloader is provided as a tock-bootloader.microbit_v2.vv1.1.1.bin.
To build the bootloader yourself, please follow the instructions in the Tock Bootloader's documentation for Micro:bit v2.
NOTE Uploading the bootloader will not change any ability to upload software to the MicroBit. The Microbit board has another bootloader in the debug chip that provides normal software upload capabilities and that will not be overwritten. All other software will work as expected.
Connect then MicroBit to the computer. A USB drive labeled MICROBIT should show up.
Drag and drop the tock-bootloader.microbit_v2.vv1.1.1.bin to the MICROBIT drive and wait for a few seconds.
The board will reset and the bootloader should be running on it. To check whether it's working, press and hold the Button A while pressing the reset button. The Microphone LED should light up.
Use the make flash-bootloader command to flash Tock Bootloader to the board.
$ make flash-bootloaderMake sure you have flashed Tock Bootloader to the board.
Make sure you have Tockloader installed.
To upload the kernel, you must first enter in bootloader mode. Press and hold Button A while pressing the Reset button on the back of the board. The board will reset and enter bootloader mode. This is signaled by turning on the Microphone LED.
In bootloader mode, run the make program command.
$ make programProgramming the kernel might take some time.
The kernel memory layout is different if there is no bootloader. Change the layout.ld file to:
MEMORY
{
  # with bootloader
  # rom (rx)  : ORIGIN = 0x00008000, LENGTH = 192K
  # without bootloader
  rom (rx)  : ORIGIN = 0x00000000, LENGTH = 256K
  prog (rx) : ORIGIN = 0x00040000, LENGTH = 256K
  ram (rwx) : ORIGIN = 0x20000000, LENGTH = 128K
}
Not using a bootloader has the advantage of having an extra 64 KB of flash.
The kernel can be programmed using OpenOCD. cd into boards/microbit_v2
directory and run:
$ make flash

(or)

$ make flash-debugMake sure you have flashed the Tock Bootloader to the board.
Make sure you have Tockloader installed (version 1.8.0 is required to automatically detect and handle Microbit applications correctly).
Please refer to the tockloader documentation to install apps.
To install apps by automatically detecting the Microbit v2:
$ tockloader install app.tabTo manually inform Tockloader of the board configuration:
$ tockloader install --openocd --board microbit_v2 --bundle-apps app.tab
--bundle-appsseems to be needed due to an openocd issue.
If you are using an older version of Tockloader, add
--page-size 512at the end of the command.$ tockloader ... --page-size 512
For further details and examples about how to use Tock with the BBC micro:bit, you might want to check out the Getting Started with Secure Embedded Systems book.
OpenOCD displays Could not find MEM-AP to control the core error when trying to connect to Micro:bit. This means that the Micro:bit has control access port protection enabled.
Using openOCD, you can check if access protection is enabled by executing the command:
$ openocd -f openocd.cfg -c "dap apreg 1 0x0c"This command reads the register at address 0x0c in the access port at index 1 (the control access port's index). If it returns 0x0 then access port protection is enabled.
Unlock the chip by executing the command:
$ openocd -f openocd.cfg -c "dap apreg 1 0x04 0x01"Reset the device.
Note that this will erase all Flash and RAM as this is the only way to disable CTRL-AP protection.
Another solution would be to use Nordic's nrfjprog to unlock your chip via
$ nrfjprog -f NRF52 --recover, but this requires the use of a JLink debugger (on-board nRF52 DKs or external).