


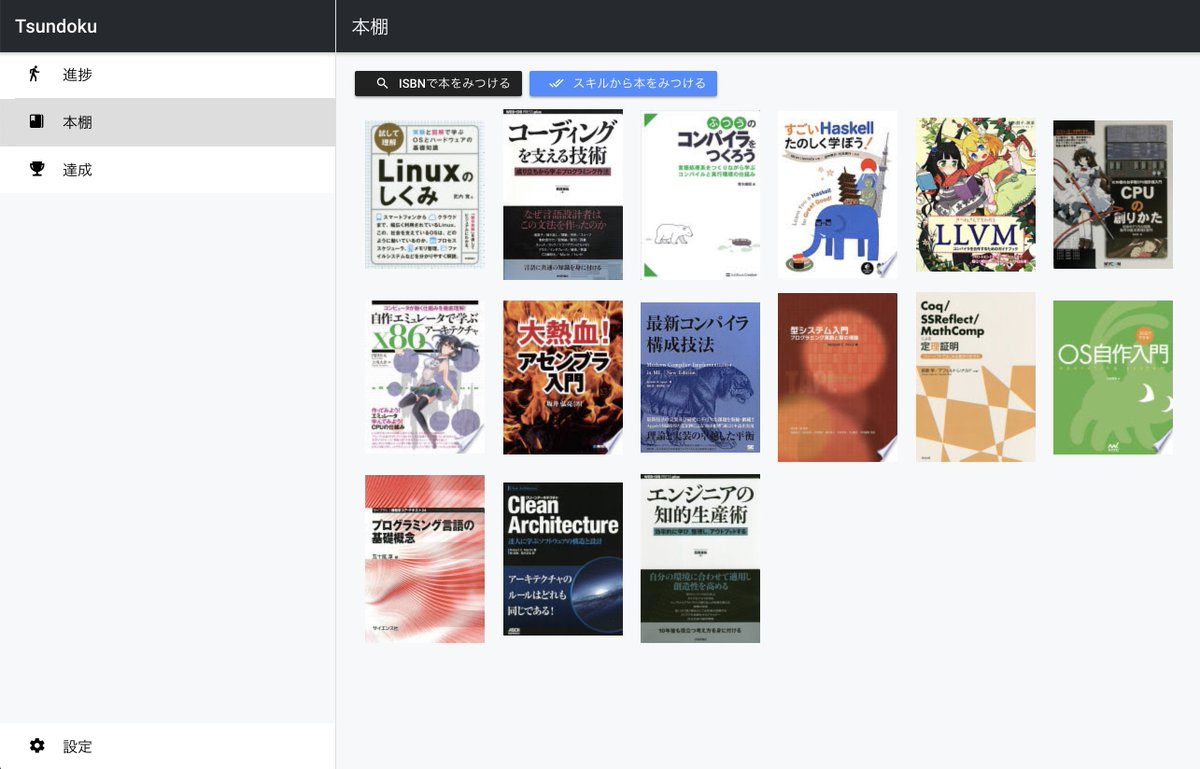
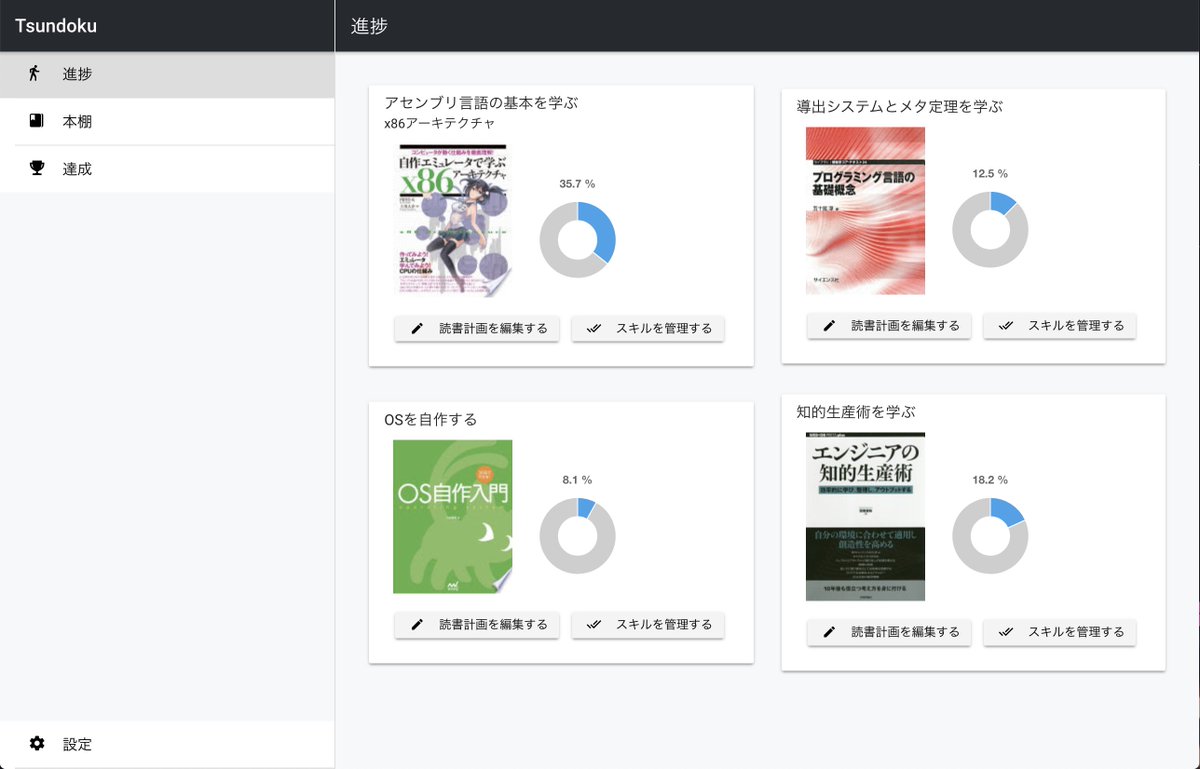
「効率的に技術書を読もう。賢く積読しよう。」
- フロントエンド (Ionic 3, Angular 6, RxJS v6, NgRx, AngularFire, FirebaseUI)
- フロントエンドの静的ファイルは Netlify でホスティング
- バックエンド (Cloud Functions, Cloud Firestore, Algolia)
- Firebase Authentication でアカウントを管理
まず、 yarn をインストールして下さい。
その後、以下のコマンドを実行して Firebase CLI の初期設定を行って下さい。
# npm を利用している場合は npm i -g firebase-tools
$ yarn global add firebase-tools

$ firebase login
# Google アカウントでログインして下さい
次に、以下のコマンドを実行して Tsundoku のソースコードの取得と依存パッケージのインストールを行って下さい。
client ディレクトリと functions ディレクトリは分離された npm プロジェクトです。
shared ディレクトリ内の .ts 形式のソースファイルは、この 2 つの npm プロジェクトで共有されます。
$ git clone https://github.com/TsundokuApp/Tsundoku
$ cd Tsundoku/client

# npm を利用している場合は npm i
$ yarn install

$ cd ../functions
$ yarn install最後に、client/src/app/config.ts と functions/src/config.ts を手動で作成して下さい。
どちらも API キー等をエクスポートするものです。
// Firebase プロジェクトを作成し、各キーを取得してここに書き込んでください
export const firebaseConfig = {
  apiKey: 'xxxxxxxxxxxxxxxxxxxx',
  authDomain: 'xxxxxxxxxxxxxxxxxxxx',
  databaseURL: 'xxxxxxxxxxxxxxxxxxxx',
  projectId: 'xxxxxxxxxxxxxxxxxxxx',
  storageBucket: 'xxxxxxxxxxxxxxxxxxxx',
  messagingSenderId: 'xxxxxxxxxxxxxxxxxxxx'
};

// Algolia アカウントを作成し、App ID と (クライアント用) API キーを取得した後、
// スキル情報を蓄積するインデックスを作成して、それぞれここに書き込んでください
export const algoliaConfig = {
  appId: 'XXXXXXXXXX',
  apiKey: 'xxxxxxxxxxxxxxxxxxxxxxxxxxxxxxxx',
  indexName: 'xxxxx'
};// Google Books API の API キーを取得してここに書き込んでください
export const apiKey = 'xxxxxxxxxxxxxxxxxxxx';
// appId, indexName: 上記 algoliaConfig と同じ値を書き込んでください
// apiKey: Admin API キーを書き込んでください (クライアント用とは異なります)
export const algoliaAdminConfig = {
appId: 'XXXXXXXXXX',
apiKey: 'xxxxxxxxxxxxxxxxxxxxxxxxxxxxxxxx',
indexName: 'xxxxx'
};以下のコマンドを実行すると Ionic App Scripts が提供する start コマンドが実行され、
開発用サーバが起動し、ブラウザの新規タブで localhost:8100 のページが表示されます。
ソースファイルを変更すると自動でビルドし直し、それが完了するとブラウザも自動でリロードされます。
※ たまにバグるので、その時は端末上で Ctrl + C でコマンドの実行を停止し、再度 start コマンドを実行してください。
$ cd client

# npm を利用している場合は npm run start
$ yarn start
細かな仕様や DB の設計などについては、Reference リポジトリを参照して下さい。