This is my first ever test on making a "game engine" and it was created with C++ and modern OpenGL. The game test supports texture rendering, solid color rendering and text rendering. Sound can also be played from this test. It is also quite important to note that I am learning from https://learnopengl.com so code may look similar because I learn, following and use their tutorials so I can make this engine.
The first game test has come to an end. There will be no more updates/commitments to this repository. Any other game tests will be made in a different repository.
- Soild Color Rendering
- Textured Rendering
- Text Rendering
- Sound
Games are written in the Main.cpp file. Similar to many game frame works a game loop is needed to constantly update and run the game. The code below creates a window and then draws a red square to it.
#include "headers/OpenGLGameTest.h"

int main()
{
	Window window = Window(860, 600, "OpenGL Game Test");


	Rect r1(glm::vec2(0.0f, 0.0f), glm::vec2(100.0f, 100.0f));

	while (!window.WindowShouldClose())
	{
		window.Update();

		r1.Draw(glm::vec4(0.0f, 0.0f, 255.0f, 255.0f), window);

	}
	window.Destory();
}
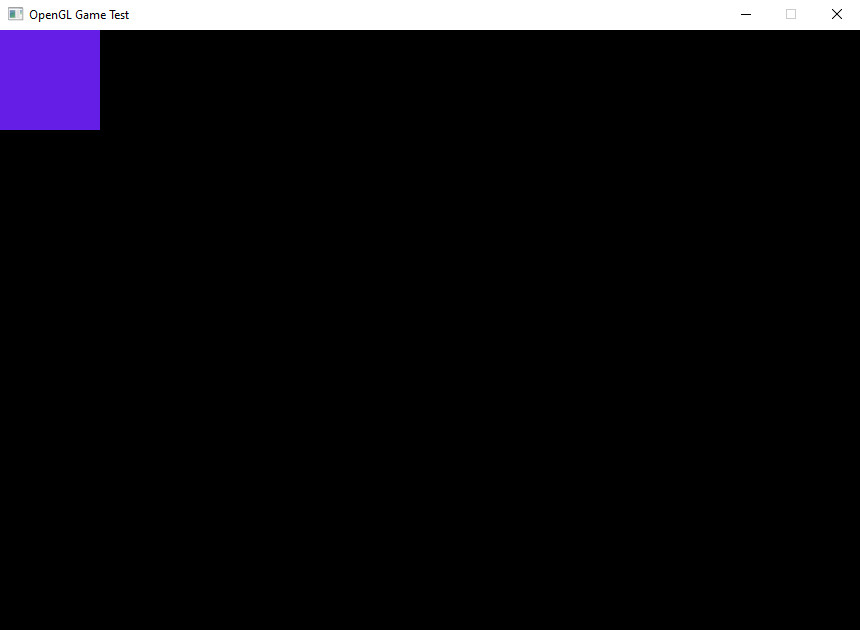
Step one is to create a new instance of the Rect class. The constructor look like this: Rect(glm::vec2 position, glm::vec2 scale) and also there is no need to include glm as it is already included in the header file.
Here is an example:
Rect r1(glm::vec2(0.0f, 0.0f), glm::vec2(100.0f, 100.0f));
The next step is to draw the Rect using the method Draw(glm::vec4 color, Window window, Shader shader) and this method should be called in the game loop.
r1.Draw(glm::vec4(100.0f, 30.0f, 230.0f, 255.0f), window, shader);
The output should now have something similar to the follow:
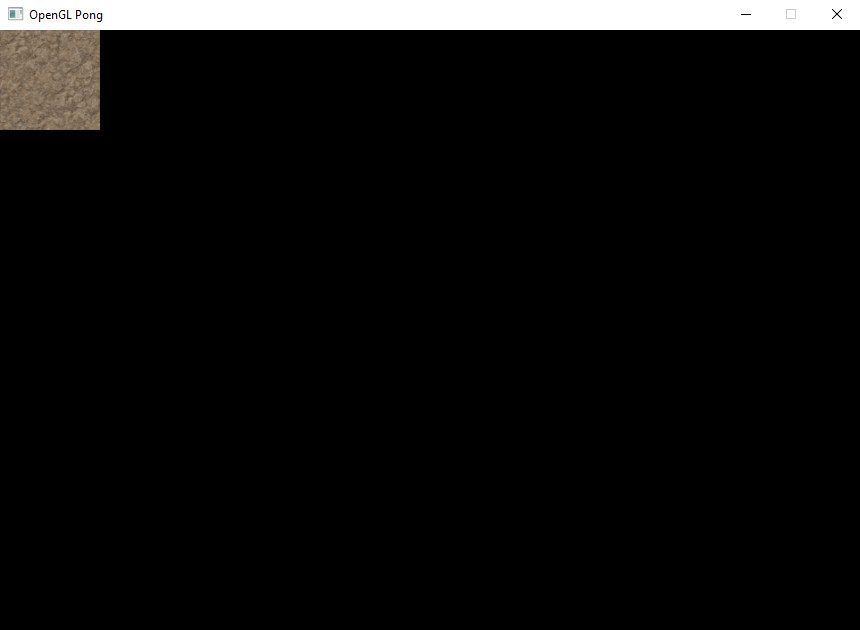
Step one is to create a new instance of the TRect class. The constructor look like this: TRect(glm::vec2 position, glm::vec2 scale) and also there is no need to include glm as it is already included in the header file.
This is an example:
TRect r1(glm::vec2(0.0f, 0.0f), glm::vec2(100.0f, 100.0f));
the next step is to load a texture this can be done by using the textureRenderer in the window class (this should not be called in the game loop): window.textureRenderer.LoadTexture(const char* textureName)
Example:
window.textureRenderer.LoadTexture("res/textures/dirt.jpg", "dirt");
The final step is to draw the Rect using the method Draw(glm::vec4 color, int textureUnit, Window window) and the textureUnit is found with the method: window.textureRenderer.GetTexture(const char* textureName) and this method should be called in the game loop.
r1.Draw(glm::vec4(255.0f, 255.0f, 255.0f, 255.0f), window.textureRenderer.GetTexture("dirt"), window);
The output should now have something similar to the follow: