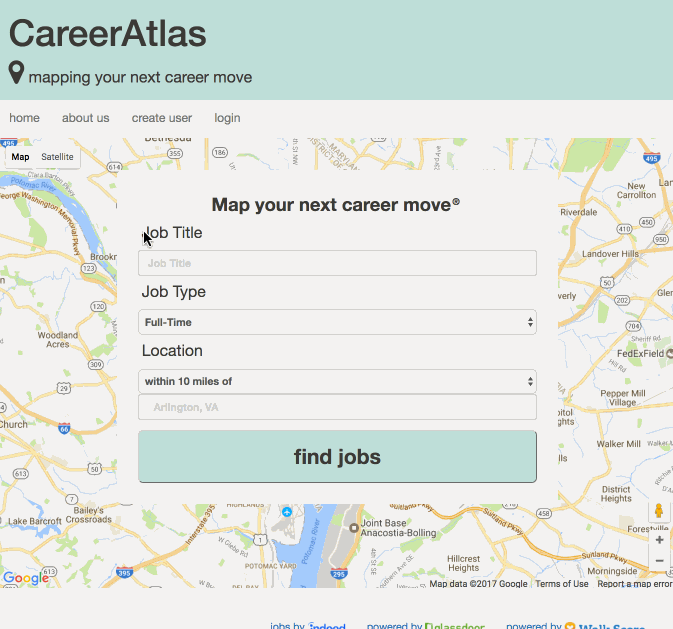
CareerAtlas, a location-based resource for jobs, uses WalkScore, GlassDoor, Indeed, and Google Maps APIs to provide job seekers a unique user experience. The interface includes the ability to search for jobs via custom parameters, see job results populated on a map, and save jobs for future reference.
This project was built using AngularJS, HTML5, CSS3, and Sass. On the front end, Grunt was used to automate the build process and testing was done using Mocha, Chai, and Karma. Testing on the back end was done using RSpec and simplecov; the entire database was built using Ruby on Rails.
The live site for CareerAtlas can be found at CareerAtlas. This application was built as a capstone project for an engineering immersive bootcamp at The Iron Yard in Washington, DC.
Contirbuting to CareerAtlas
To get CareerAtlas running, please follow the steps below.
- Install git.
- Install Ruby On Rails.
- Install Grunt.
- Clone CareerAtlas to your own system.
- Navigate to the root directory of your clone and run
npm installandbin/setup. You will not need to runbin/setupagain but if you decide to install additional gems in your own clone, but you will need to runbin/update. - Navigate to the root directory of your clone and run
bin/rails serverorbin/rails sto start your server. - Get authorization keys for Google Maps, Indeed, Walkscore, and Glassdoor APIs. See directions below for setting up your authorization.
- Edit the code! Please note that the backend files are in traditional rails structure with an angular application residing in
app/client. - Navigate to the root directory of your clone, and run
grunt && grunt watchto build your changes into the build directory. - Note: The
index.htmlfile in the build directory is the main html file for this site.
CareerAtlas utilizes the Google Maps API to show a map on the home site, and drop markers where jobs are located. You will need to put your own authorization script tag in order for the application to work. Request an API key from Google maps by following the directions here. For more information on how to add a script tag to your project, check out this link. Once you have your own authorization key script tag, insert it into the index.html file at the bottom of the page.
You will find a script tag that starts with the following <script src='https://maps.googleapis.com/maps/api/. Delete that particular line, and insert your own tag in its place.
CareerAtlas uses the Indeed API to obtain job information based off of the user's specifications. In order to use the Indeed API you need to set up a publisher account here with Indeed. After you have created your account, Indeed will assign you a publisher ID that will need to be sent with every request. The best place to store this is in a .env file so you do not post your publisher ID on the internet.
This is how you would format your key in the .env file: INDEEDAPIKEY=YOURAPIKEY. Then, you would put ENV[INDEEDAPIKEY] as part of your query sent to Indeed.
All of the company review information for CareerAtlas comes from the Glassdoor API. You can sign up for API access here. After a successful sign up, Glassdoor will assign you a partner ID and partner key that has to be sent with every request. The best place to store this is in a .env file so you do not post your partner ID and key on the internet. You can go here for more documentation on using the Glassdoor API and here for an example request and response.
This is how you would format your key in the .env file: GLASSDOORID=YOURAPIID. Then, you would put ENV[GLASSDOORID] as part of your query sent to Glassdoor. You would also have to do the same setup for your partner key.
This project uses the WalkScore API to get a composite score of the neighborhood for each job. You can request access to the API here, the free version should be enough for any starting project. WalkScore will give you an API key that must be sent with each request. The best place to store this is in a .env file so you do not post your API key on the internet. For more documentation regarding the WalkScore API you can go here.
This is how you would format your key in the .env file: WALKSCOREAPIKEY=YOURAPIKEY. Then, you would put ENV[WALKSCOREAPIKEY] as part of your query sent to WalkScore.
Make sure you are running 'grunt && grunt watch'. Add test code in the spec\client file.
To run tests on the new code you have written, head to your terminal and go to your root directory. Run the command open .. This will take you to your finder. From here, select the file coverage, click on the chrome folder, then click on index.html. This will open up a window in your chrome browser that will have a status bar and your js file. Once you click into your js file you can then navigate to a certain spec file you were working in for more details about what your tests are covering.
In order to run tests for the backend make sure that gem "rspec-rails" and gem "simpplecov" are in the Gemfile and bundle install has been run. To run any tests simply write bundle exec rspec in the command line. This will run all files that end in _spec.rb in the spec folder. A coverage report will be generate that you can access by running the command open ., finding the coverage folder and clicking on the index.html file. Documentation about rspec for rails can be found here.

CareerAtlas was built by the following developers:
- Christine Ash (Frontend - Angular)
- Robby Dore (Backend - Ruby On Rails)
- Jennifer Oakes (Frontend - Angular)
We would also like to thank our fellow classmates at the Iron Yard for their continued support throughout the cohort. We would also like to thank our instructors who guided us through the course and the final project.
Content Provided By: Indeed, Glassdoor, Walk Score and Google Maps.