- About the Challenge
- Tools And Technologies
- Features
- Future Work
- Contributing Guidelines
- Installation or Dev Setup
- Gallery
- Database Schema
- The Challenge
- Build a Quiz Organizing Platform
- Essential features which were expected
- Quiz Admin Register, and Sign In flow
- Quiz Admin can publish a quiz.
- Quiz taker can attempt a quiz using a shared link.
- Score of all participants for a quiz to be available to quiz admin at the end of quiz
- Detailed View of the Problem Statement can be found here
The front end is created in React.js and Material UI. For creating backend, we used Nodejs. For the database, we used Google Firebase. We created a very flexible and versatile foundation for our codebase, so that in future its functionality could be easily extended and new agents could be easily added into it.
- Login/Signup
- Users can login/signup via Google Sign in or email.
- Quiz Admin can create and schedule multiple quizzes.
- Quiz Admin vary weightage of each questions.
- Quiz Admin can add and email participants of the quizzes.
- Quiz Admin can see status of all quizzes created till then.
- Quiz Admin can Add/Delete questions from any quiz.
- Quiz Admin can reschedule any quiz.
- Quiz Admin can terminate any quiz.
- Quiz Admin can add more participants to any non terminated quiz.
- Quiz Admin can see realtime results of any created quiz.
- Quiz Takers can access this window through URL mailed to them.
- Quiz Takers can only attempt the quiz withing the time slot assigned by the Quiz Admin.
- Quiz Takers will get realtime summary of their attempt.
- Quiz Takers can re-attempt any unsubmitted quiz if any network failure occurs.
- Quiz Takers will get the results instantly after their successfull submission.
- Quiz Takers responses will be valid only if they were submitted with the allotted time duration.
- Quiz Admins can see realtime score of all participants of any quiz.
- Quiz Admins can search for score of any participant through participants name.
- Quiz Admins can sort result on the basis of score.
- Quiz Admins can see realtime stats of all created quizzes.
- Quiz Admins can search for any quiz stat through quiz title.
- Quiz Admins can sort quiz on the basis of average score, highest score and number of participants.
- Auto Adding Participants using CSVs
- Quiz Master will be able to directly add participants instead of manually entering everyone.
- Timer per questions
- In addition to overall time duration, time per question can also be fixed by Quiz Master
- Prompt users for marked/ unattempted question
- Before submitting the quiz, participants will get prompted for marked & unanswered questions
- Showing Detailed Statistics
- Detailed statistics related to quiz like maximum marks, lowest marks, average marks etc.
- Prompt users for terminated Quizzes.
- If an quiz is terminated while a participant is attempting quiz, he/she will be prompted that quiz is over
- QuizMasters can share realtime clarifications.
- Quiz Masters will be able to share any clarifications regarding quiz or any question that they have
- This repository consists of 2 directory
frontend,backend. - The
frontenddirectory the frontent code written in React. - The
backendcontains webpages backendnodejs. - So, commit code to the corresponding services.
-
Fork the repo to your account.
-
Clone your forked repo to your local machine:
git clone https://github.com/MiHarsh/Tally-Quizzer.git (https)
or
git clone git@github.com:MiHarsh/Tally-Quizzer.git (ssh)
This will make a copy of the code to your local machine.
- Change directory to
Tally-Quizzer.
cd Tally-Quizzer
- Check the remote of your local repo by:
git remote -v
It should output the following:
origin	https://github.com/<username>/Tally-Quizzer.git (fetch)
origin	https://github.com/<username>/Tally-Quizzer.git (push)
or
origin	git@github.com:<username>/Tally-Quizzer.git (fetch)
origin	git@github.com:<username>/Tally-Quizzer.git (push)
Add upstream to remote:
git remote add upstream https://github.com/MiHarsh/Tally-Quizzer.git (https)
or
git remote add upstream git@github.com:MiHarsh/Tally-Quizzer.git (ssh)
Running git remote -v should then print the following:
origin	https://github.com/<username>/Tally-Quizzer.git (fetch)
origin	https://github.com/<username>/Tally-Quizzer.git (push)
upstream	https://github.com/MiHarsh/Tally-Quizzer.git (fetch)
upstream	https://github.com/MiHarsh/Tally-Quizzer.git (push)
or
origin	git@github.com:<username>/Tally-Quizzer.git (fetch)
origin	git@github.com:<username>/Tally-Quizzer.git (push)
upstream	git@github.com:MiHarsh/Tally-Quizzer.git (fetch)
upstream	git@github.com:MiHarsh/Tally-Quizzer.git (push)
- Make sure you are inside the root of the project (i.e.,
./Tally-Quizzer/folder). - Setup environment variables in
.envfiles of all folders according to.env.samplefiles. - Run
docker-compose upto spin up the containers. - The website would then be available locally at
http://localhost:3000/. - The above command could be run in detached mode with
-dflag asdocker-compose up -d. - For help, run the command
docker-compose -h.
- Install
concurrentlyby runningnpm run pre-installon terminal.
- Make sure you are inside the root of the project (i.e.,
./Tally-Quizzer/folder). - Setup environment variables in
.envfiles of all folders according to.env.samplefiles. - Run
npm run start-with-installto install all the dependencies and run frontend and backend concurrently. - The website would then be available locally at
http://localhost:3000/. - If you have already installed the dependencies, you can also run
npm run startto run the frontend and backend concurrently.
- Download and Install Nodejs
- Run
cd .\backendto go inside the Node.js server folder for Windows or Runcd backendto go inside the Node.js server folder for Linux. - Run
npm installto install all the dependencies. - Create a new file named
.envand add the environment variables according to.env.samplefile. - Run
npm startto start the node backend server.
- Run
cd frontendto go inside the frontend folder. - Run
npm installto install all the dependencies. - Create a new file named
.envand add the environment variables according to.env.samplefile. - Run
npm startto start the frontend backend server.
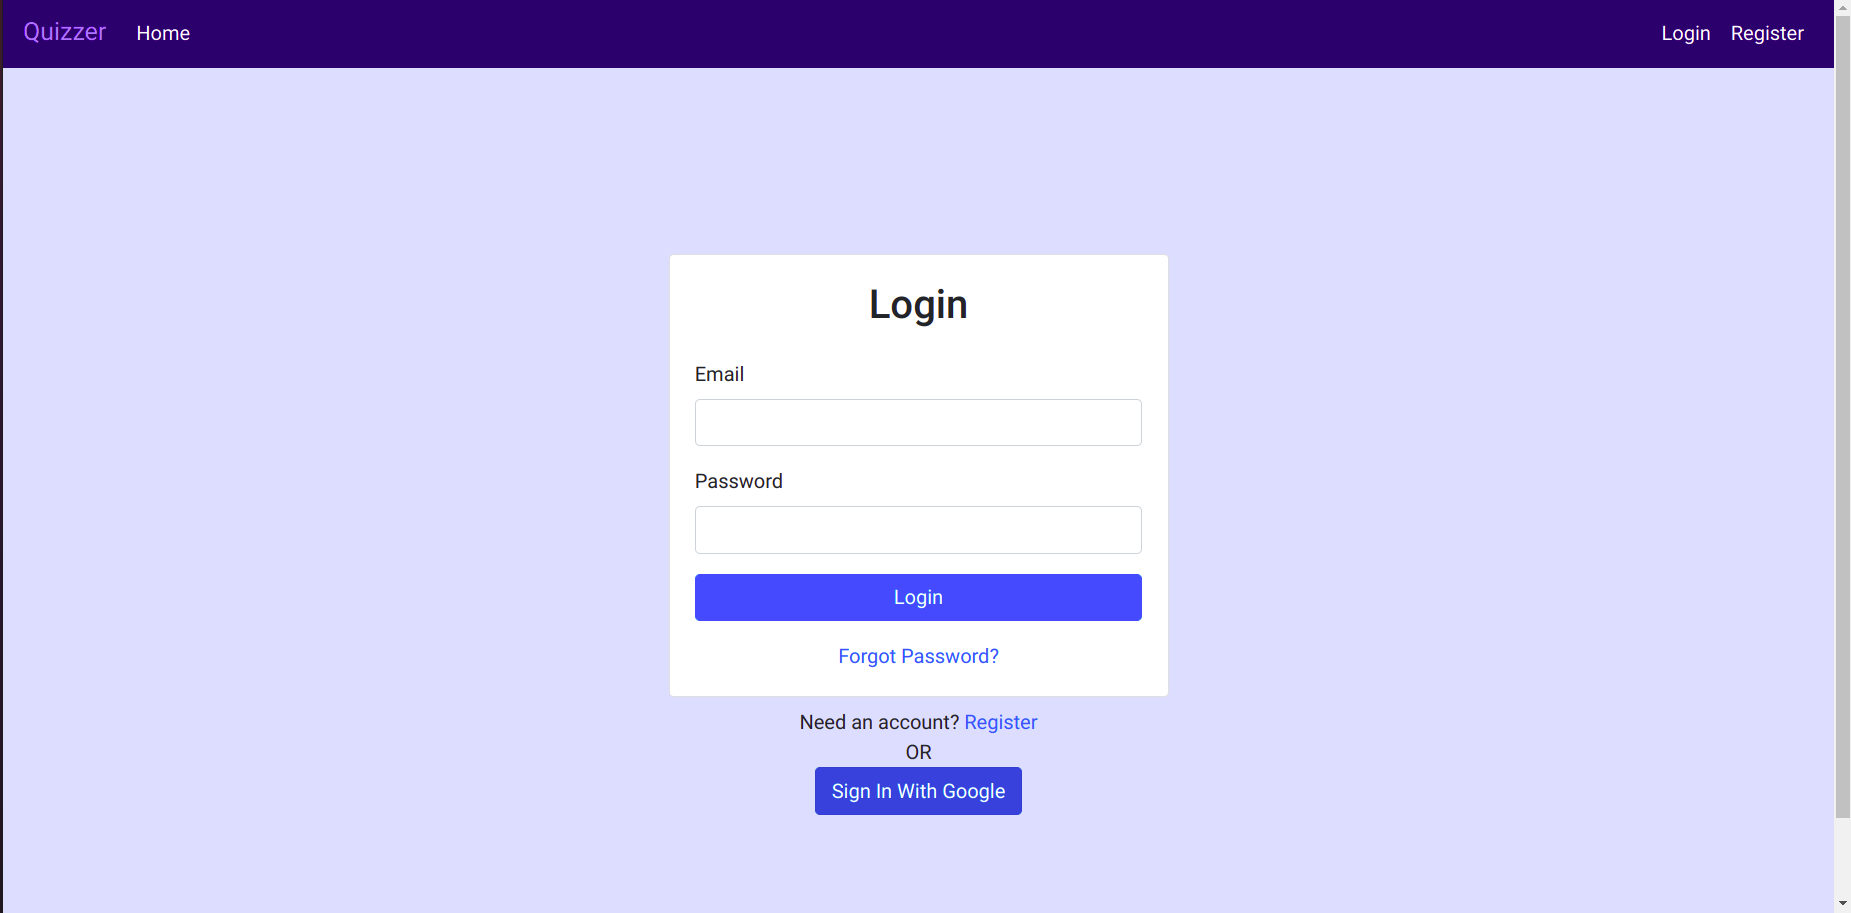 Login Page Login Page |
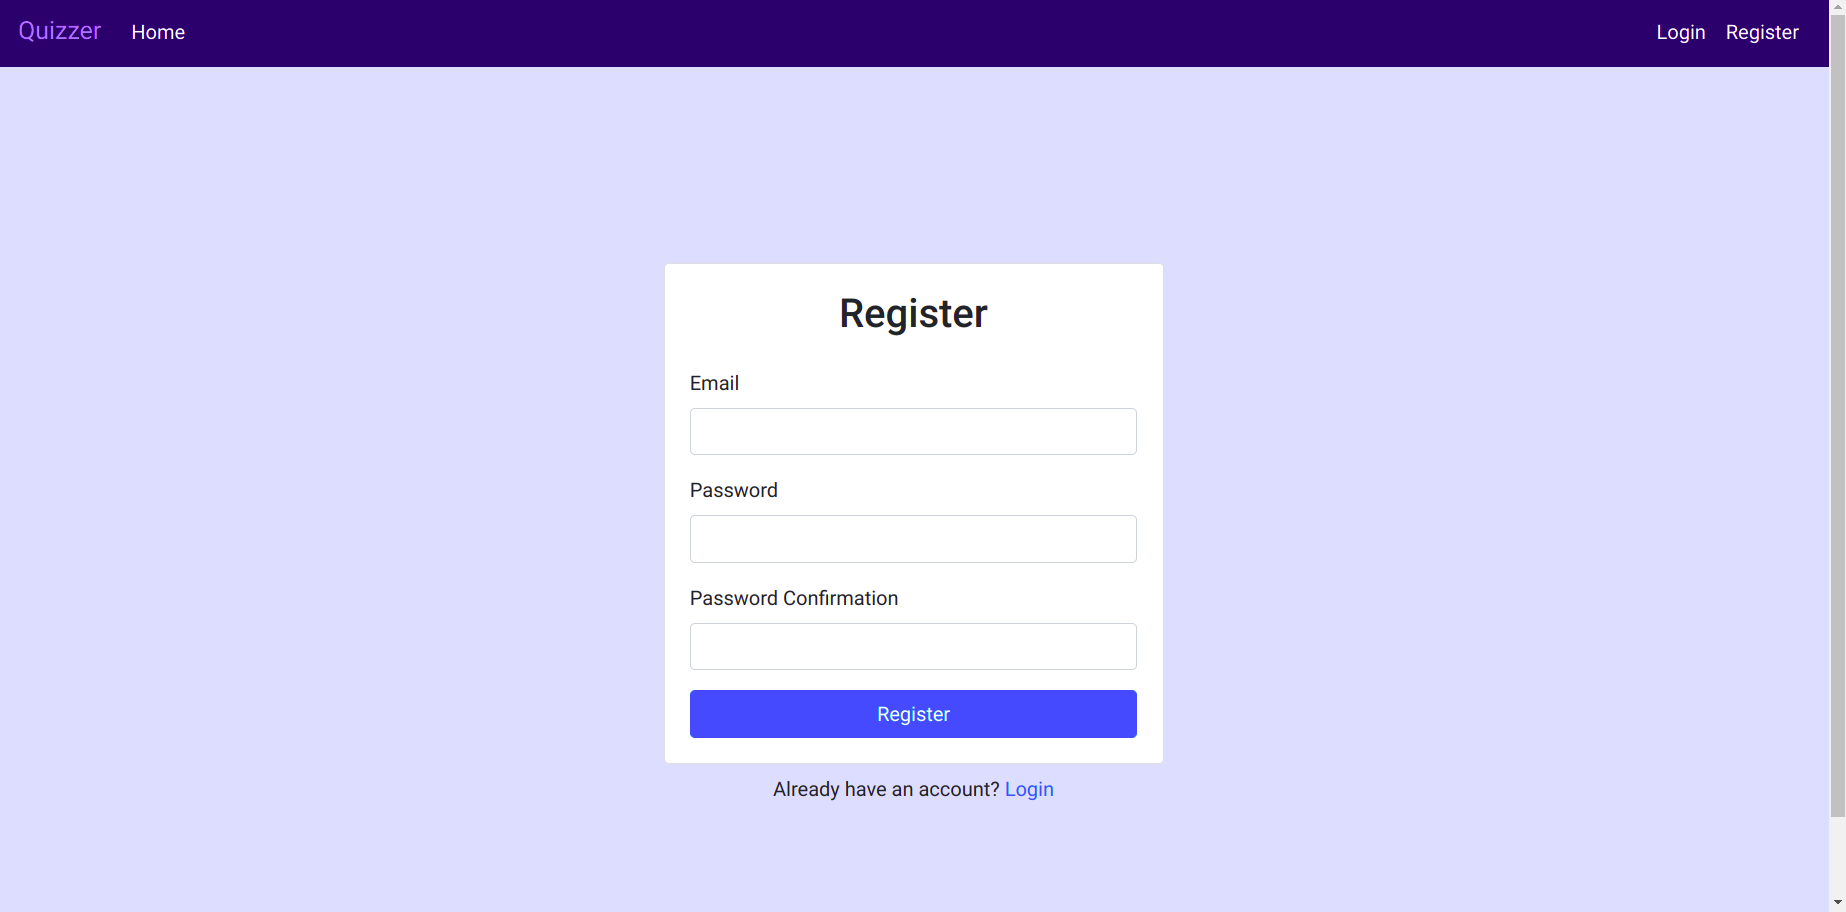 Register Register |
 Homepage Homepage |
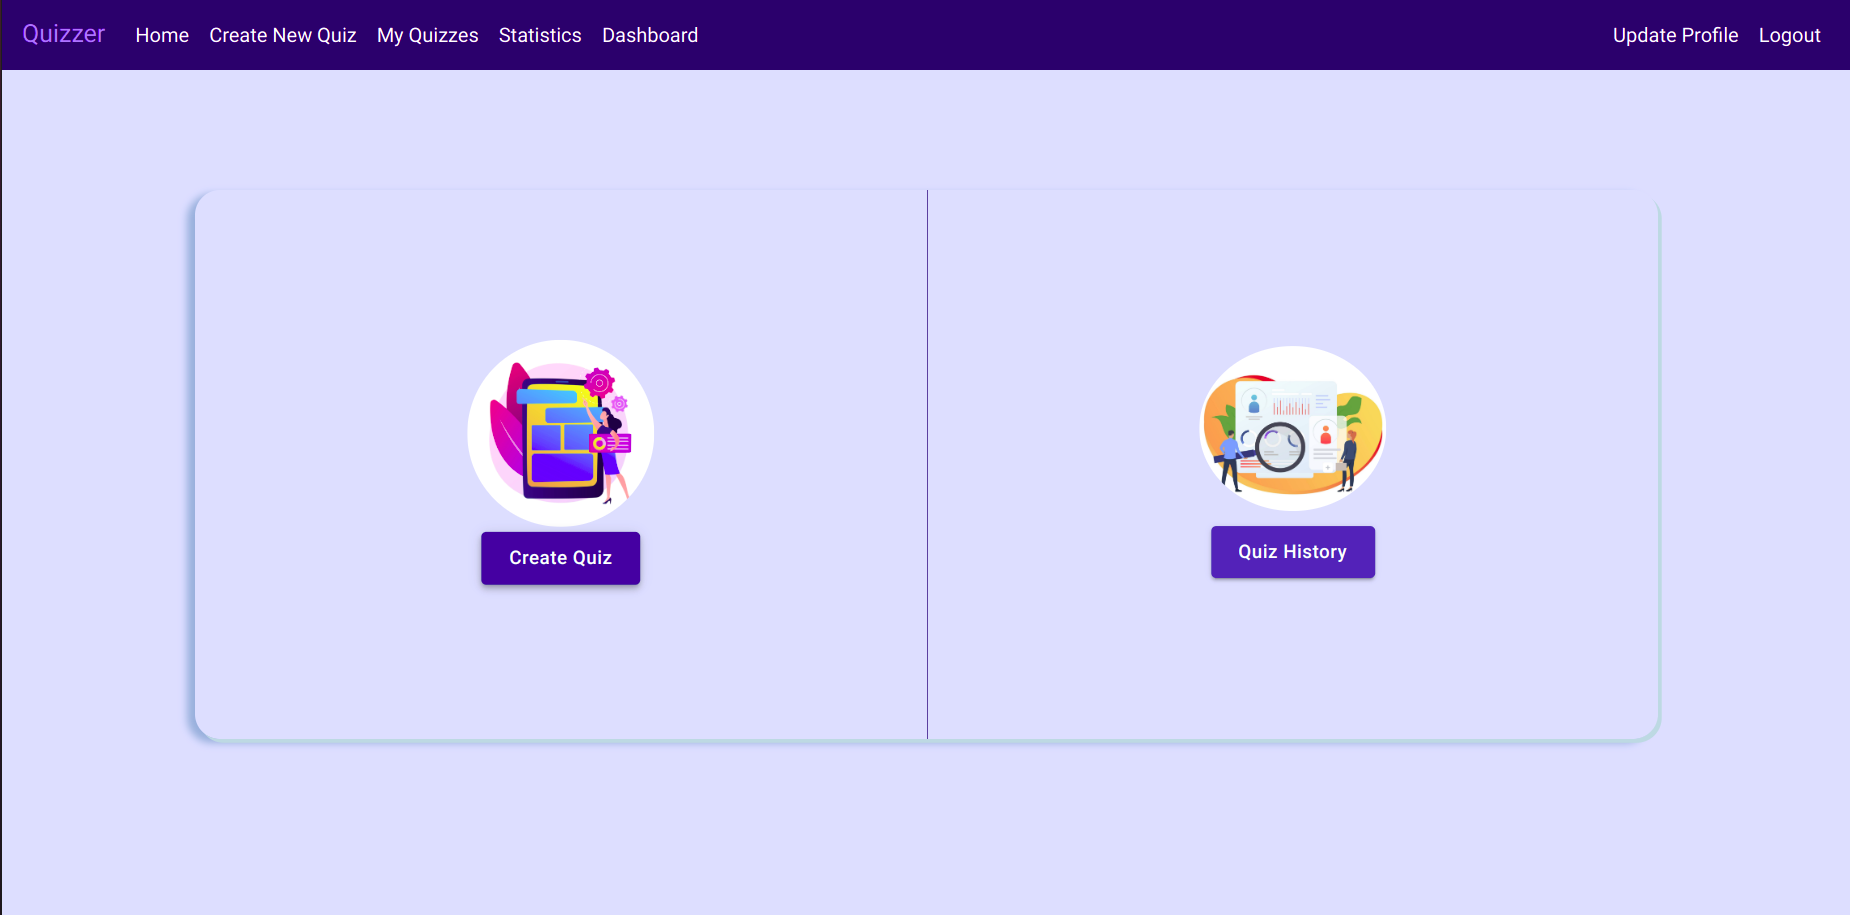 Dashboard Dashboard |
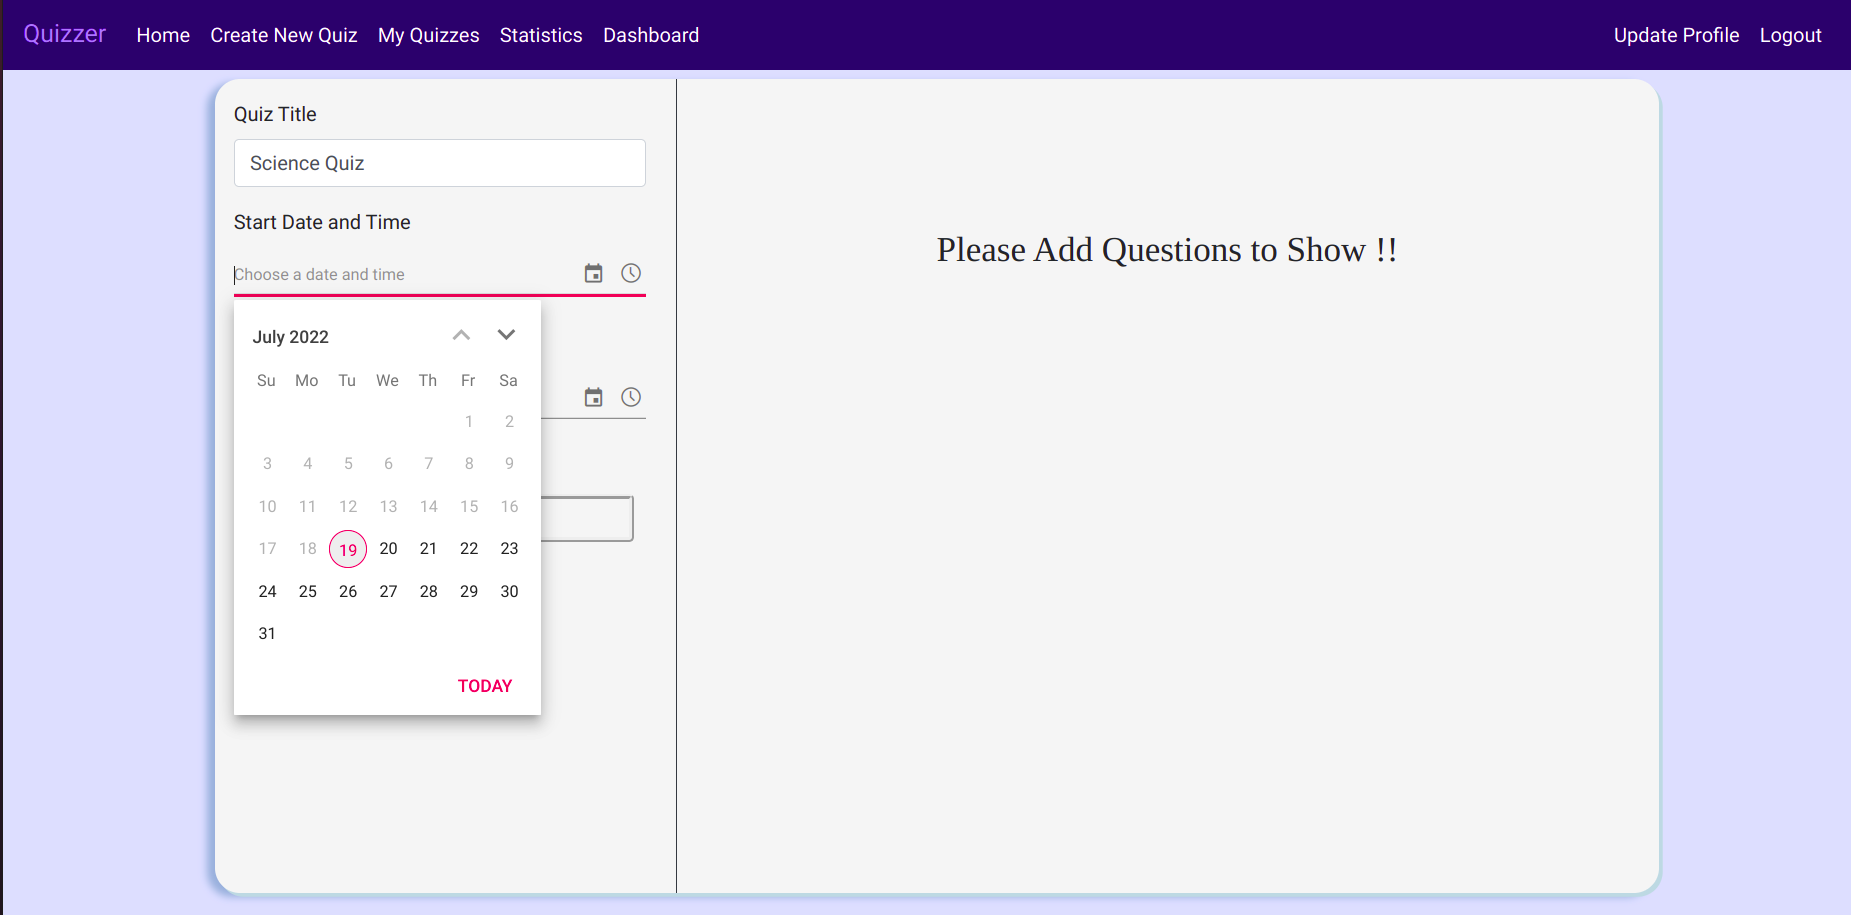 Create/Edit a Quiz Create/Edit a Quiz |
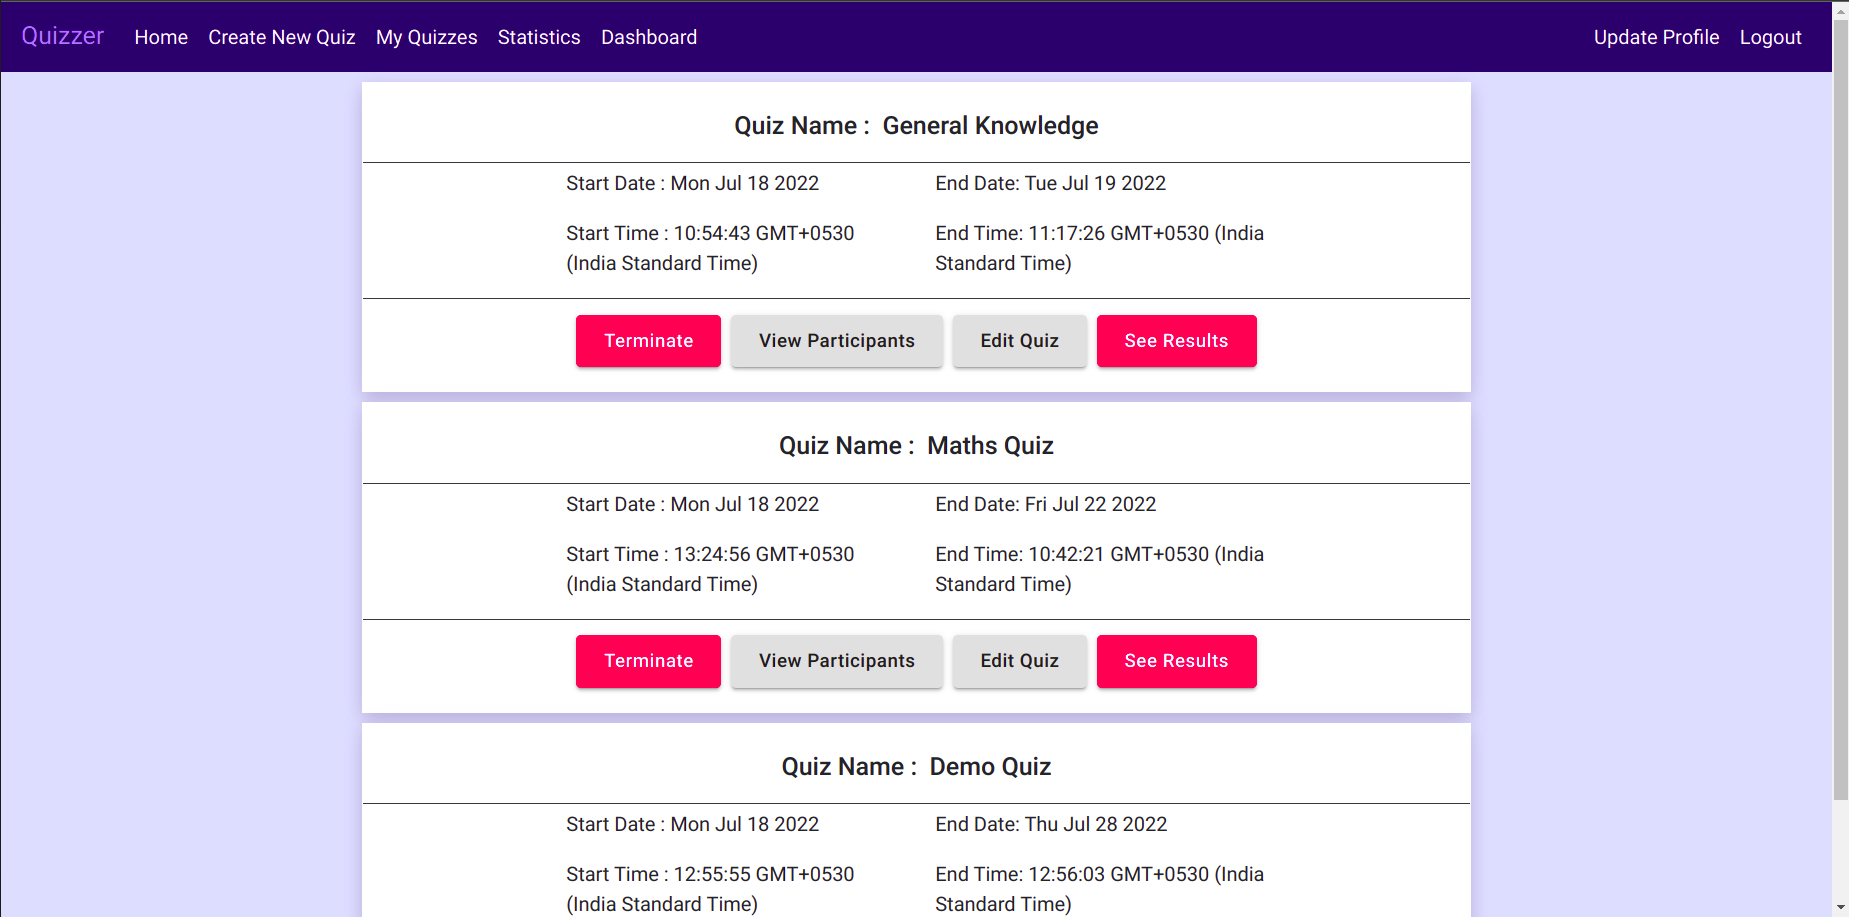 View Quiz History View Quiz History |
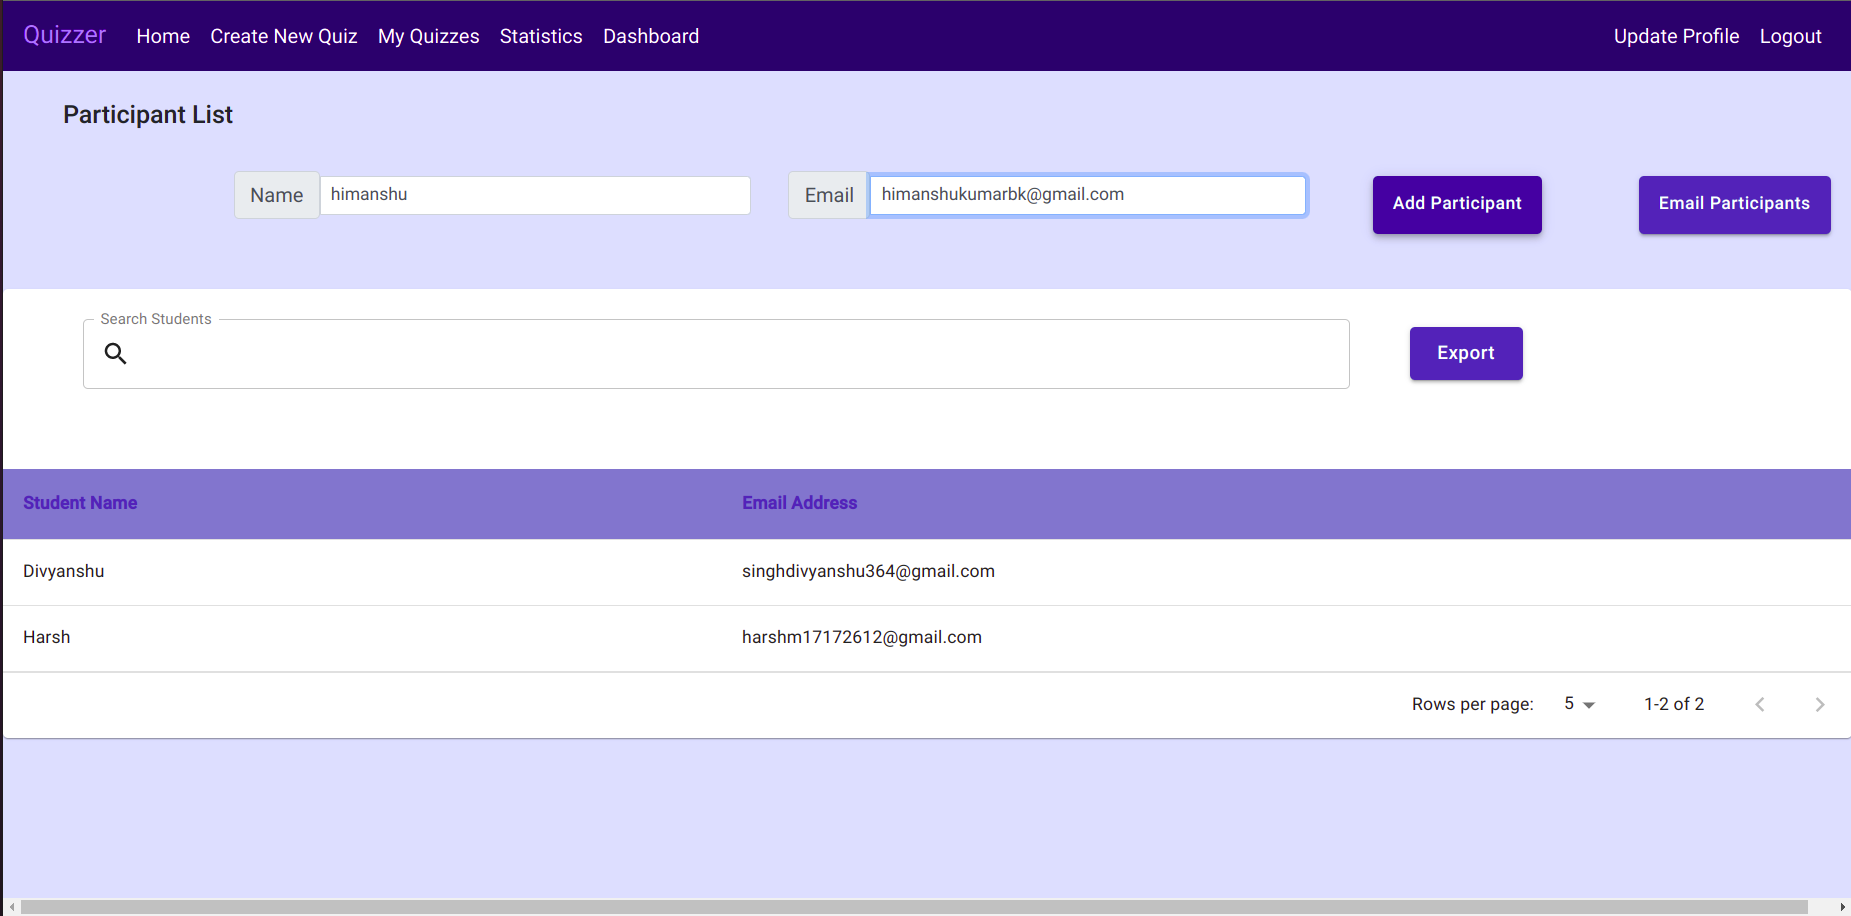 Add/View Participants Add/View Participants |
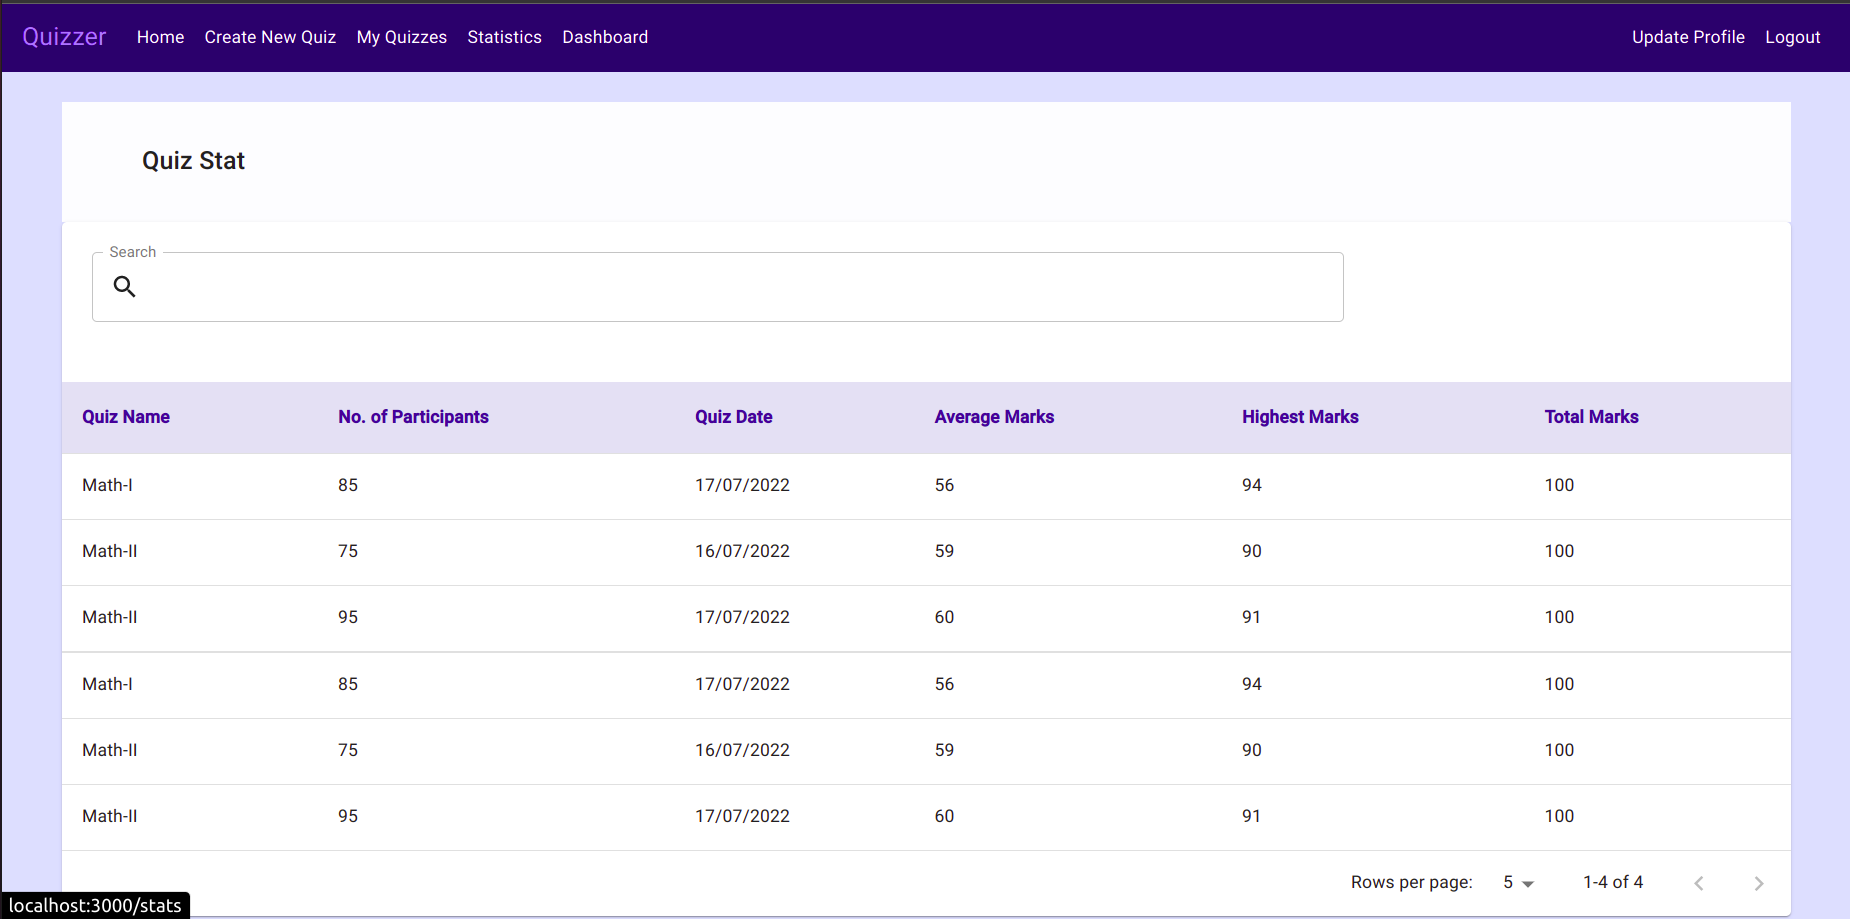 Statistics Page Statistics Page |
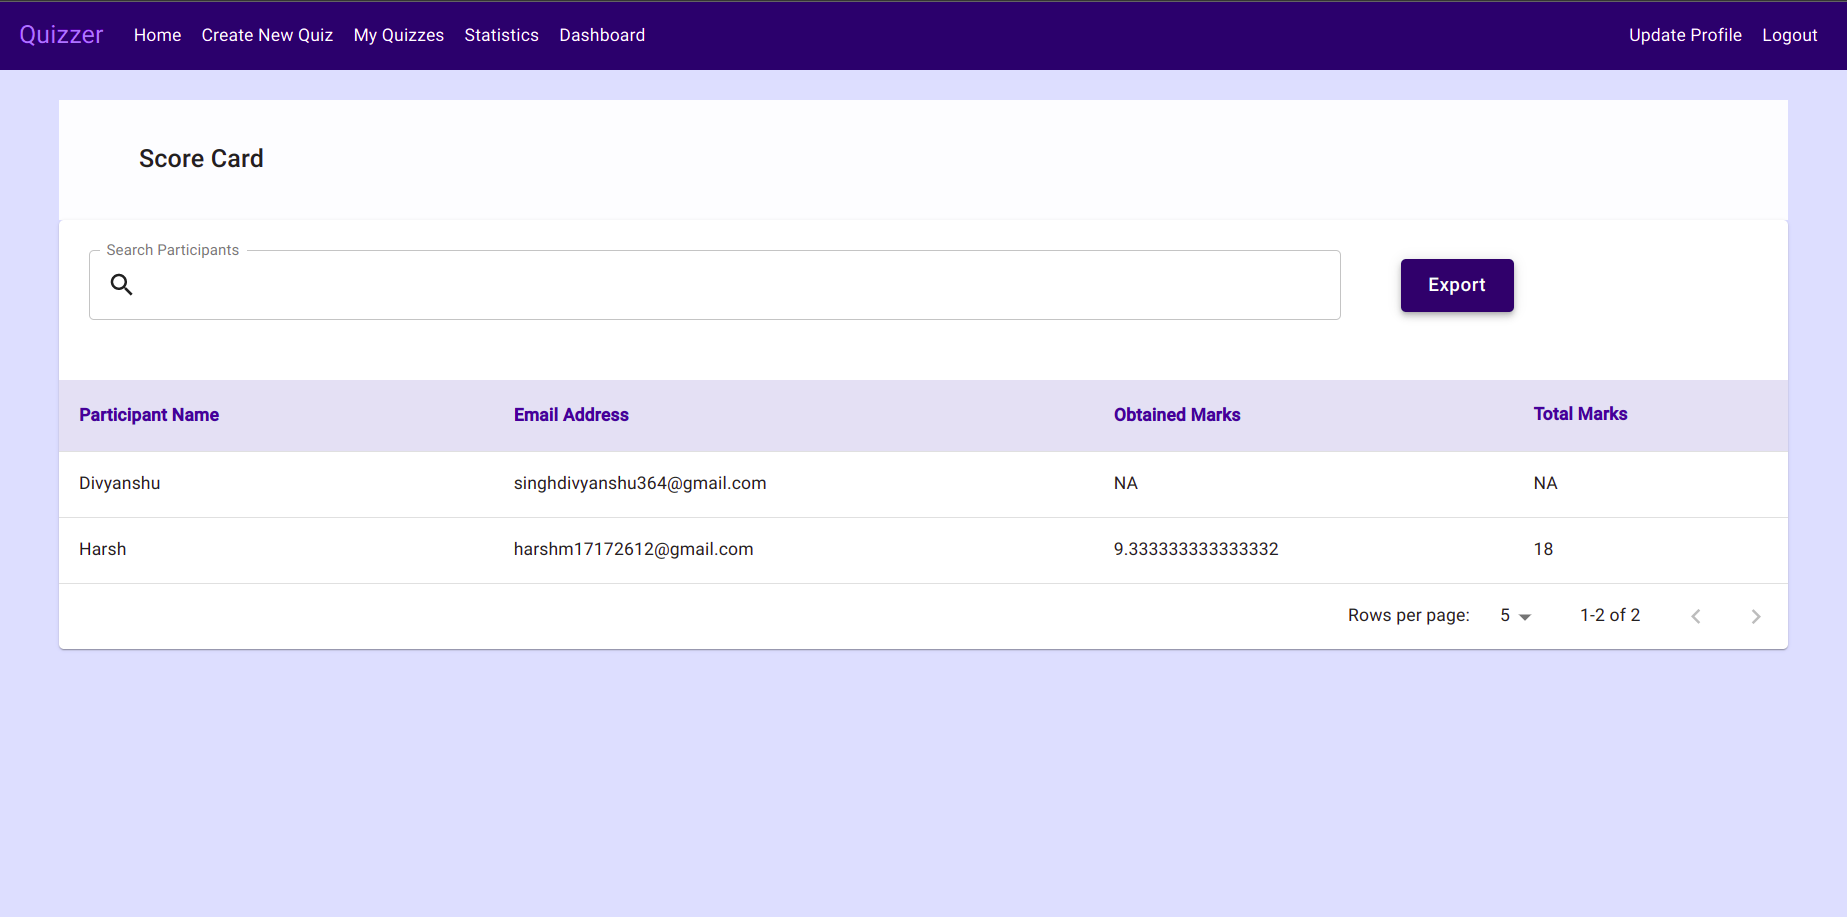 View Score Card View Score Card |
 Mail Test Link Mail Test Link |
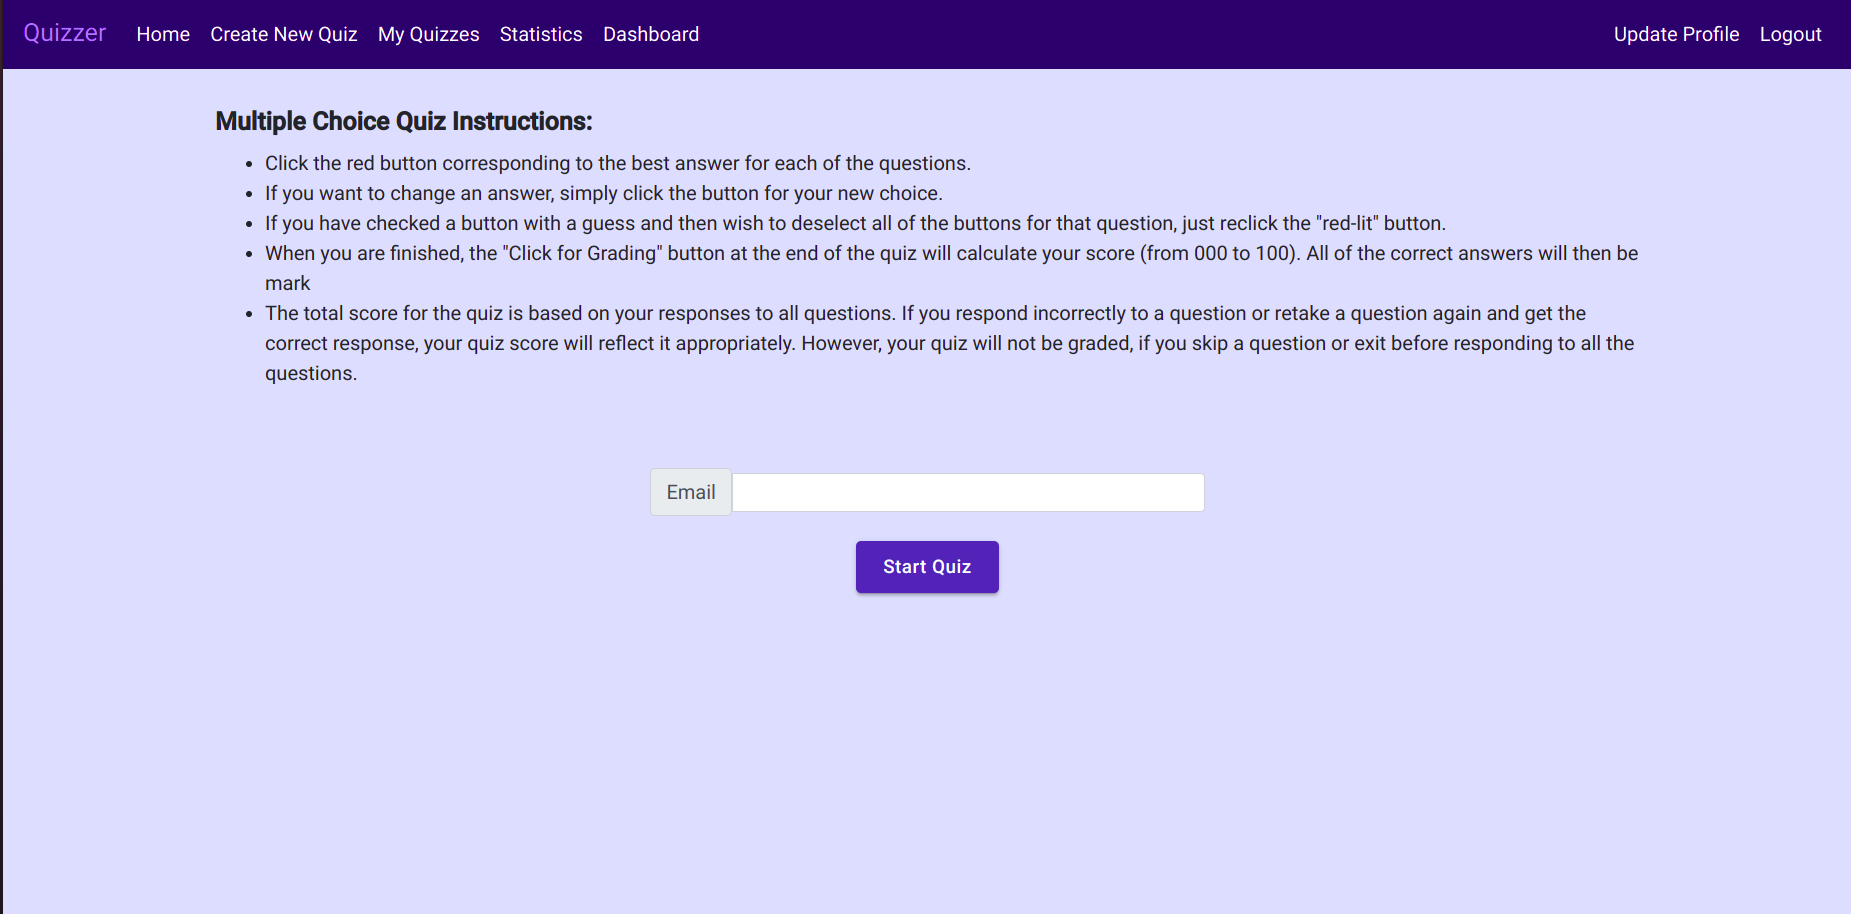 Instructions Page Instructions Page |
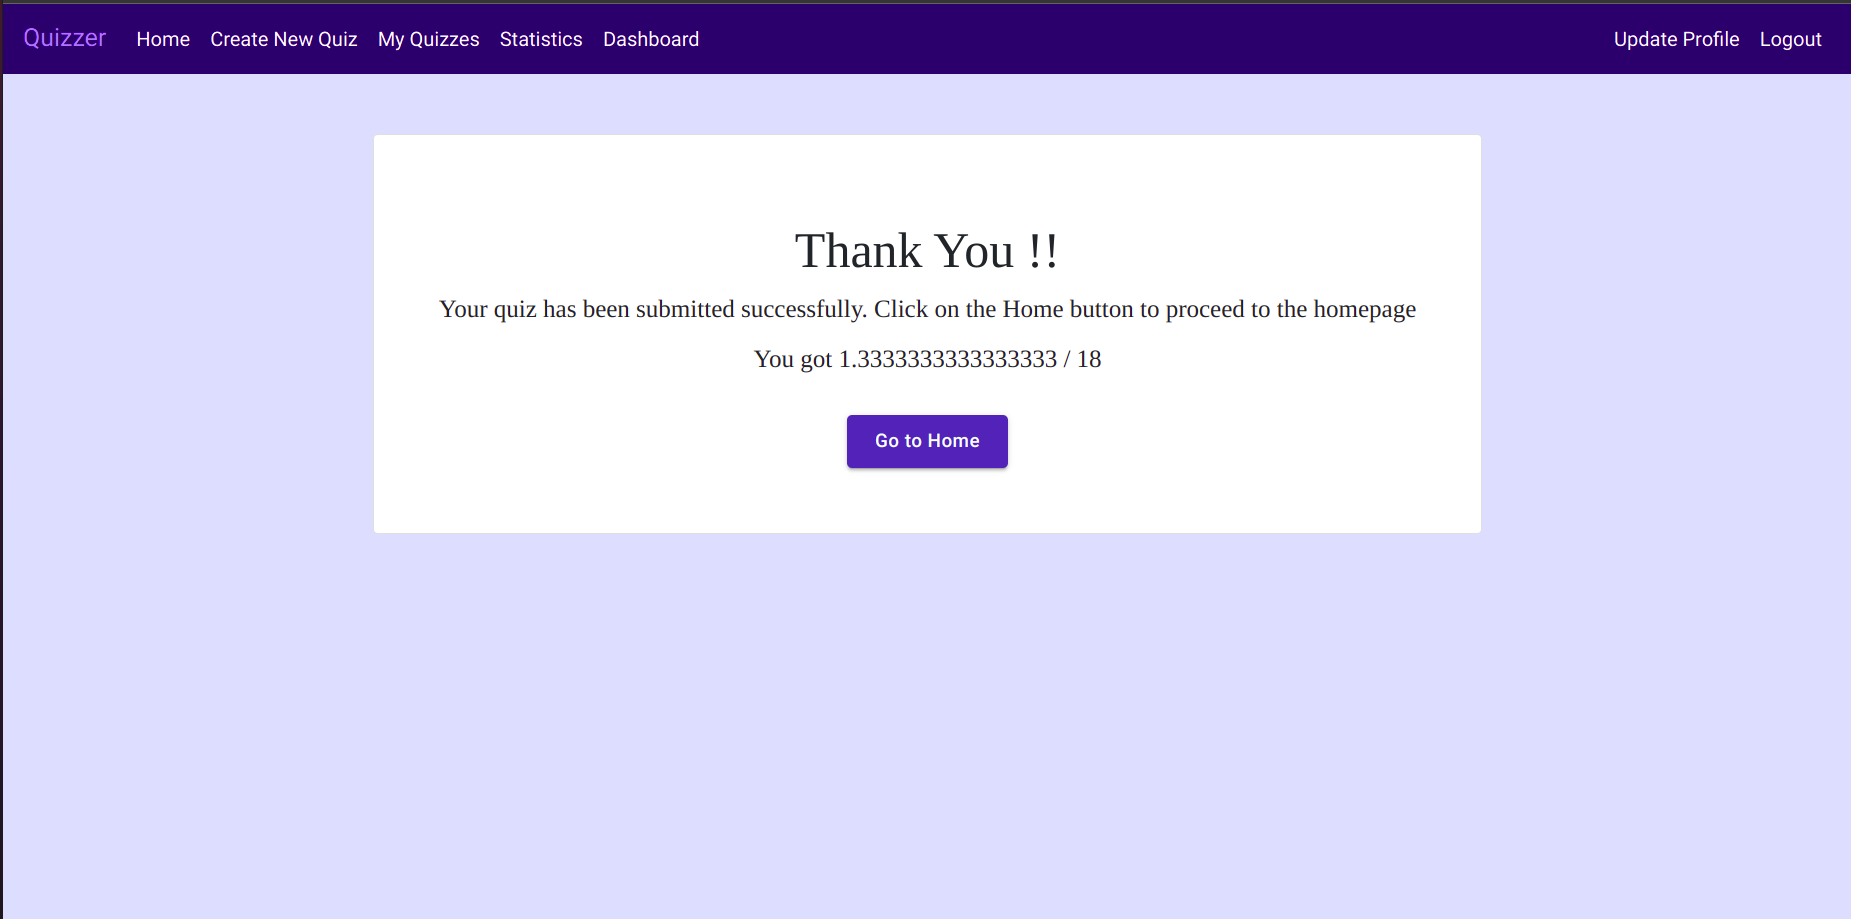 Instant Score Release Instant Score Release |
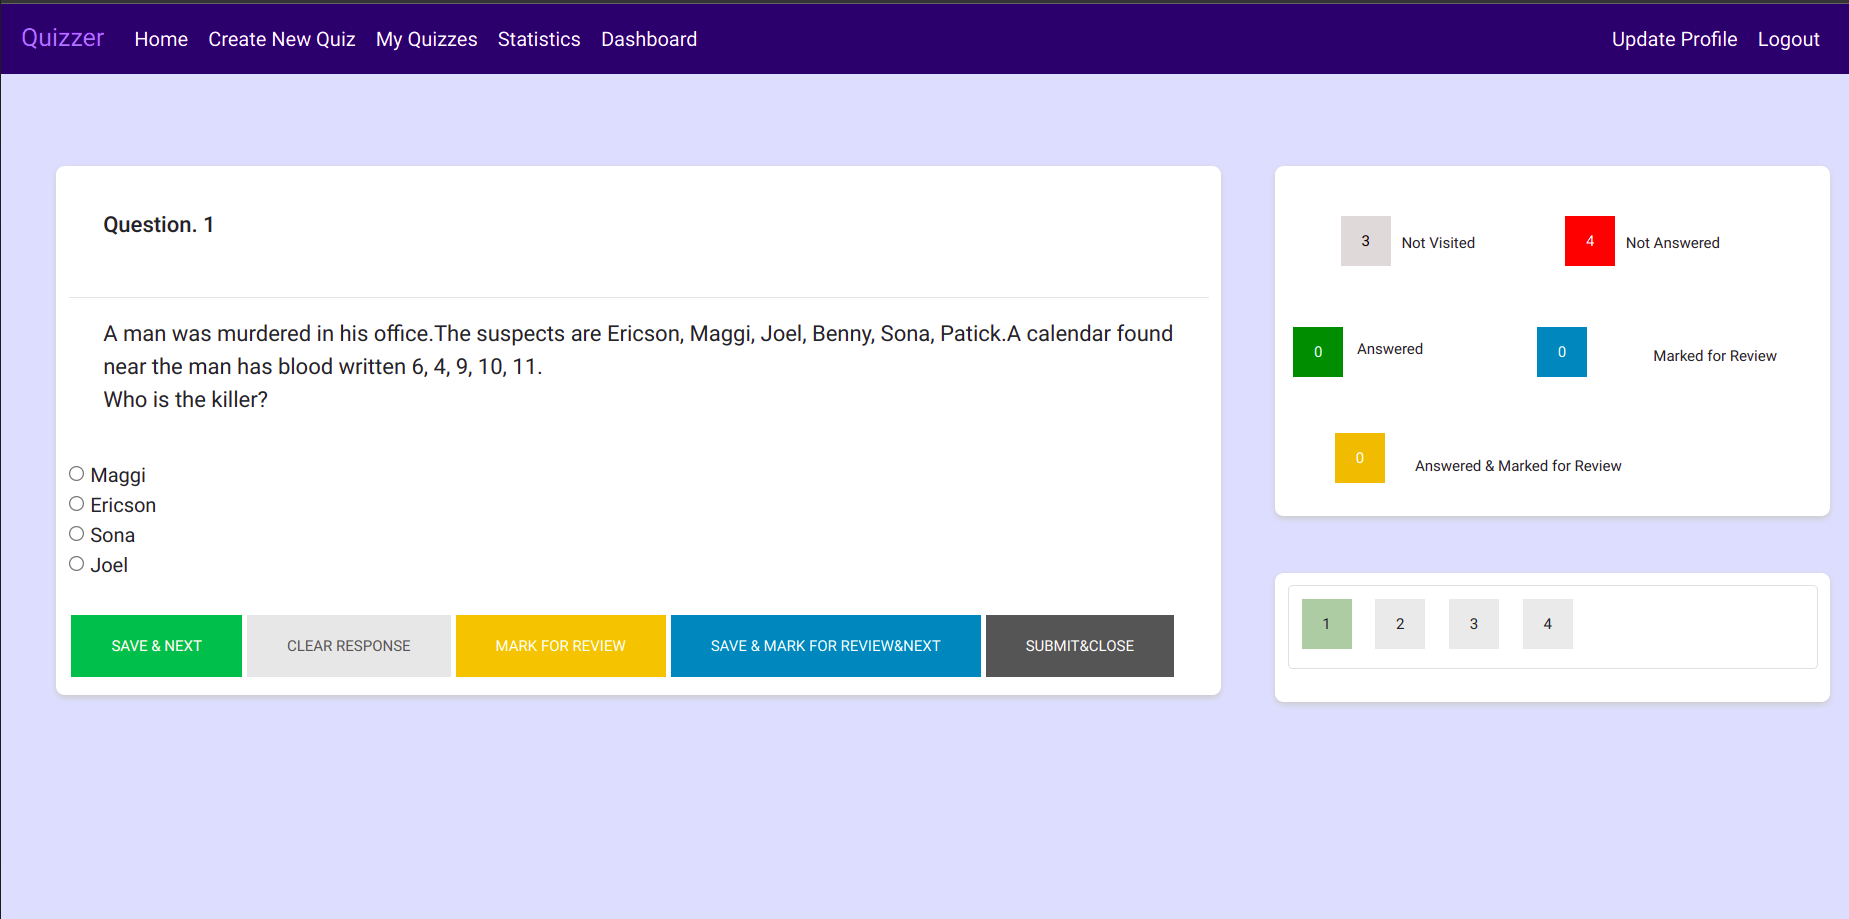 Quizzing Window Quizzing Window |
