![]()
![]()
![]()


- 🐺 What is this app ?
- 🃏 Available roles
- 📸 Screenshots
- 🔨 Installation
- 🚀 Build
- 💯 Tests
- 🌿 Env variables
- ☑️ Code analysis and consistency
- 📈 Releases & Changelog
- 🐙 GitHub Actions
- ✨ Misc commands
- ©️ License
- ❤️ Contributors
Werewolves Assistant Web is a Nuxt Web App using the Werewolves Assistant API. It helps you, the game master, to manage your games of Werewolves Of Millers Hollow.
Note
This is the next version of the current Werewolves Assistant Web. It is still under development.
🤔 Want to know more about this awesome project ? Check out the dedicated about page.
Werewolf |
Big Bad Wolf |
Accursed Wolf-Father |
White Werewolf |
|---|---|---|---|
Villager |
Villager-Villager |
Seer |
Cupid |
Witch |
Hunter |
Little Girl |
Defender |
Elder |
Scapegoat |
Idiot |
Two Sisters |
Three Brothers |
Fox |
Bear Tamer |
Stuttering Judge |
Rusty Sword Knight |
Wild Child |
Wolf-Hound |
Thief |
Angel |
Pied Piper |
Scandalmonger |
Prejudiced Manipulator |
Actor |
Devoted Servant |
🏠 Home page

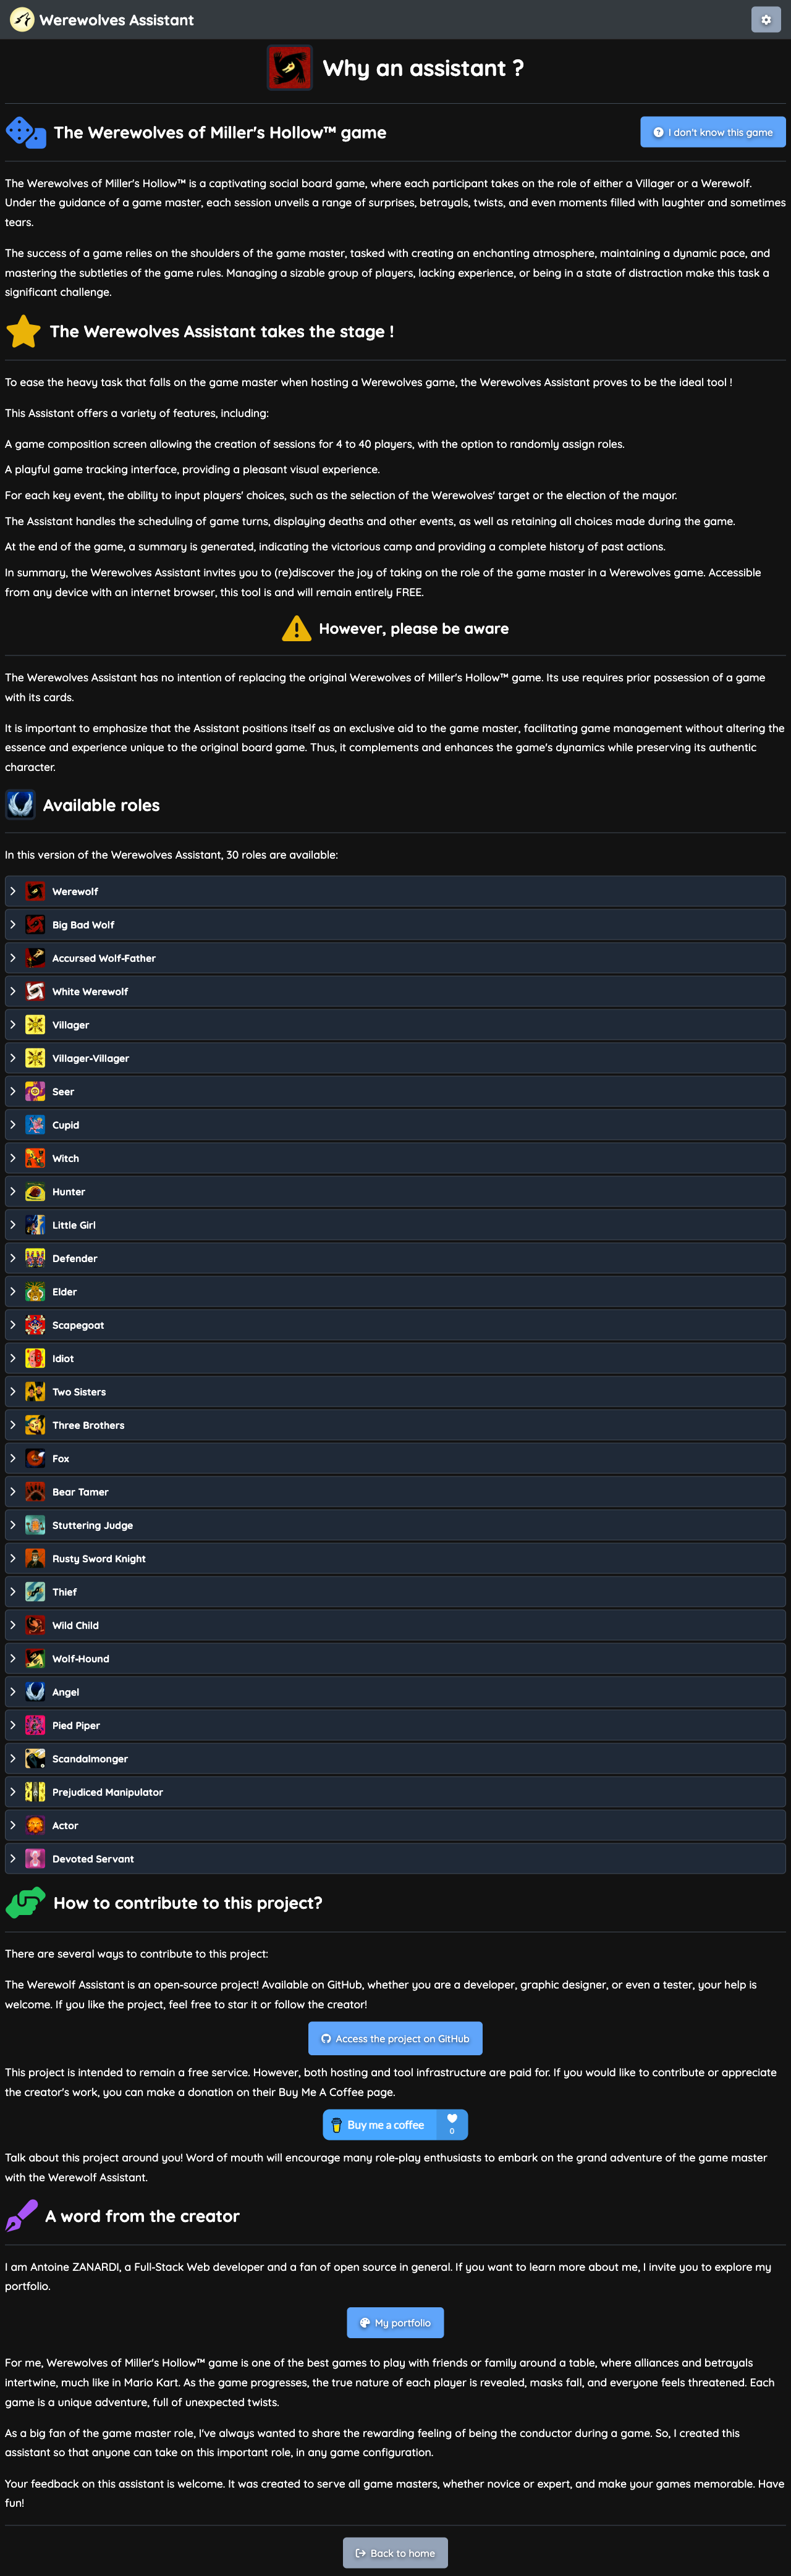
❓ About page
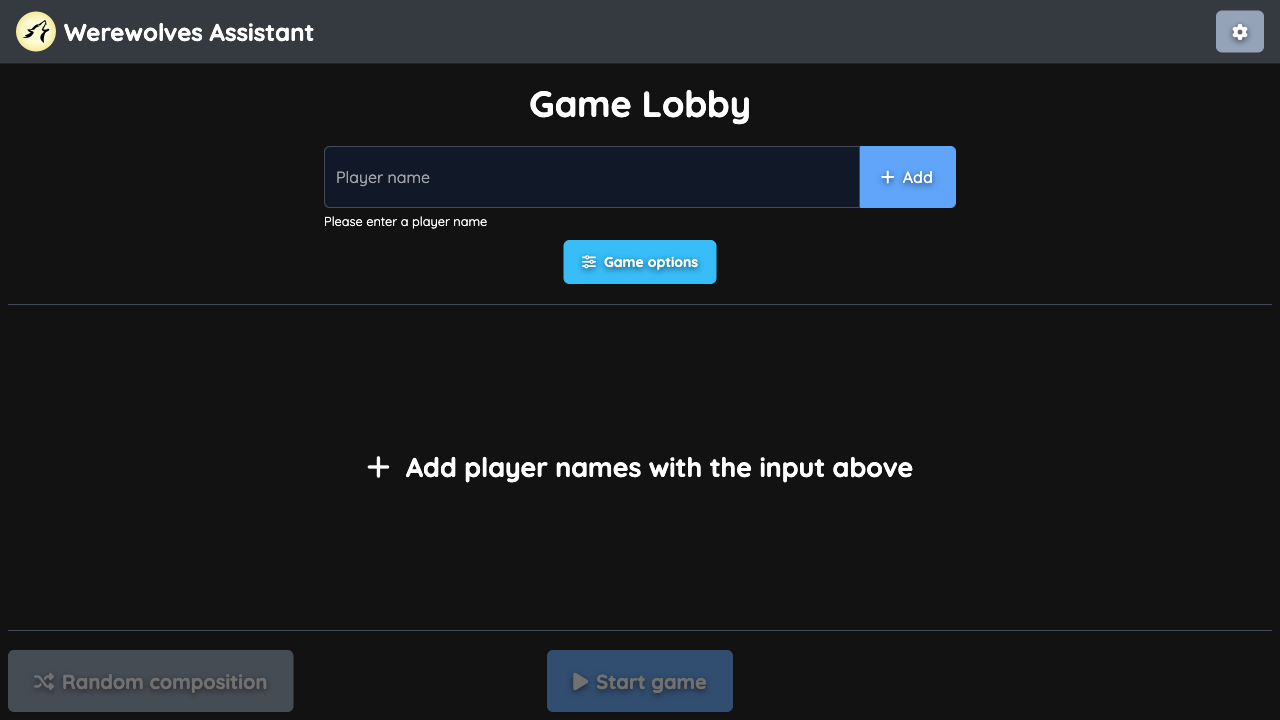
🤼 Game Lobby Page without players
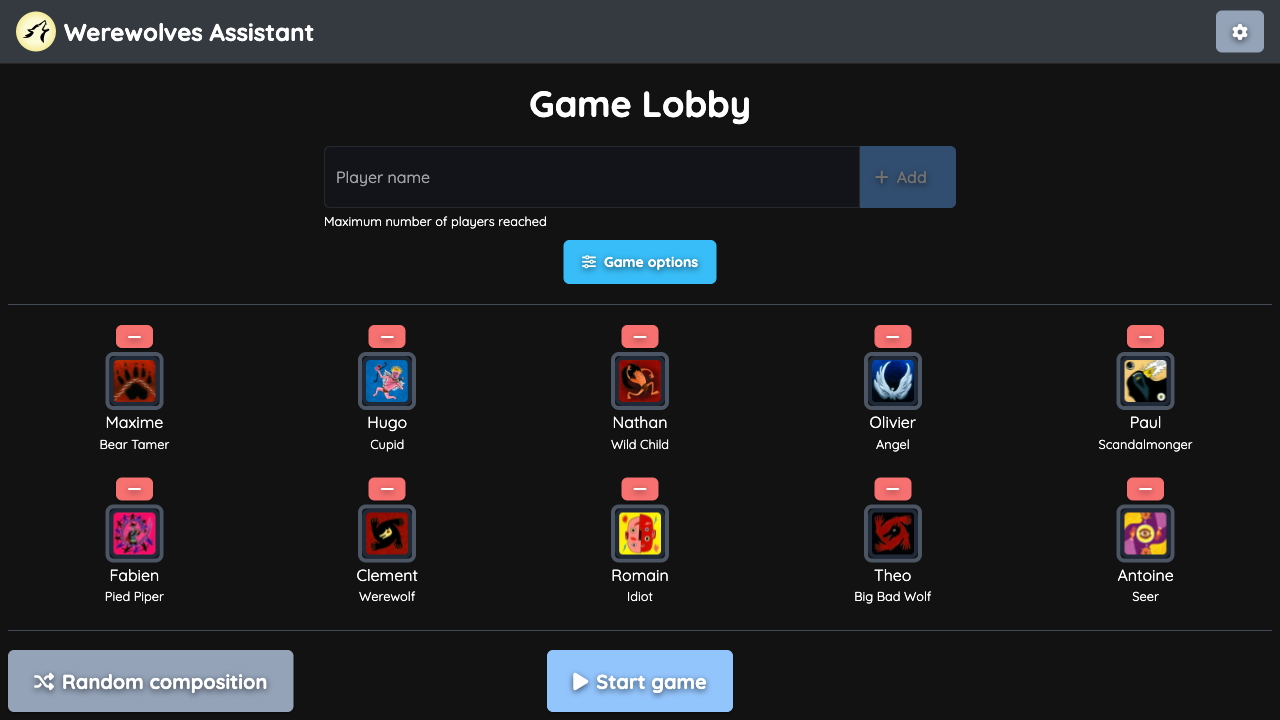
🤼 Game Lobby Page with 40 players
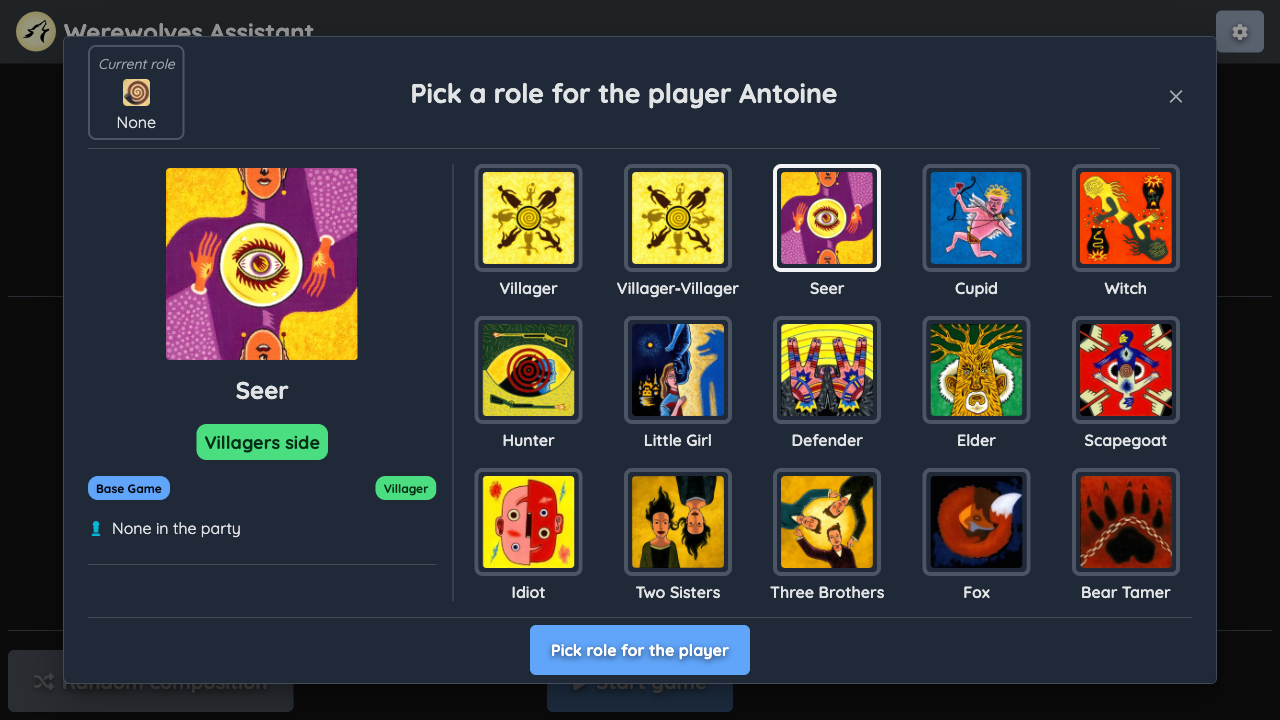
🃏 Game Lobby Role Picker without picked role
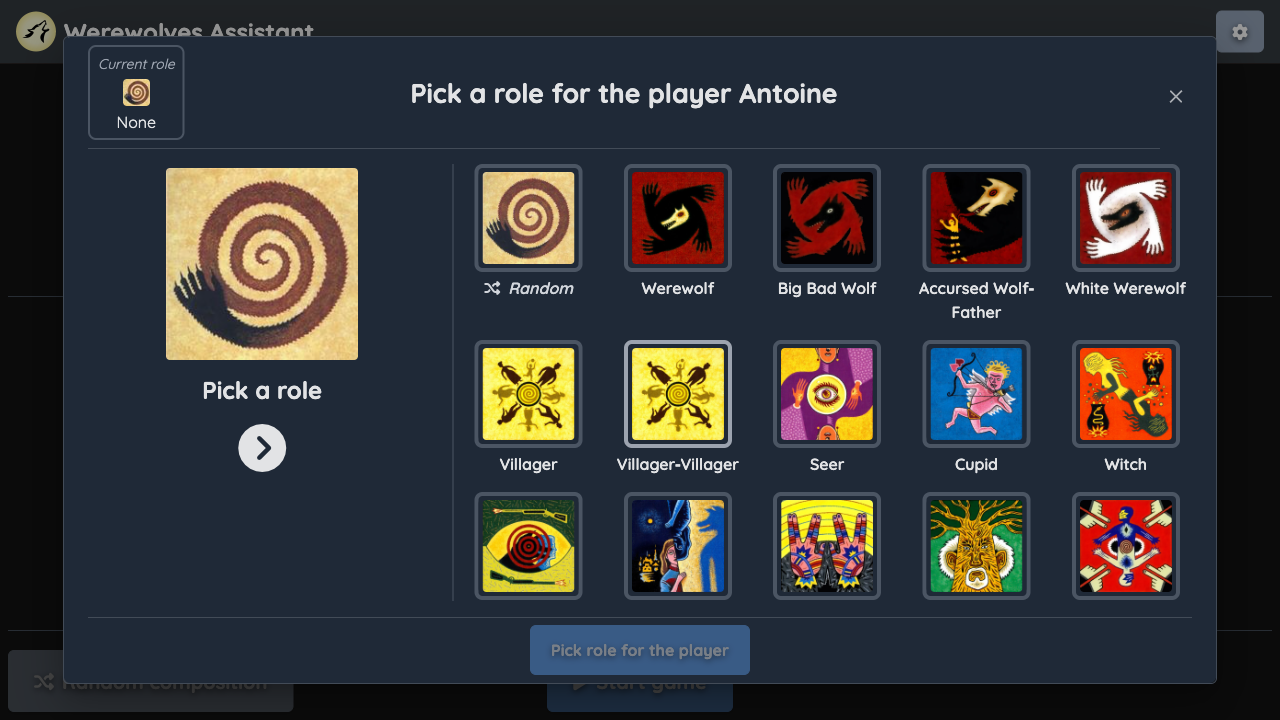
🃏 Game Lobby Role Picker with picked role
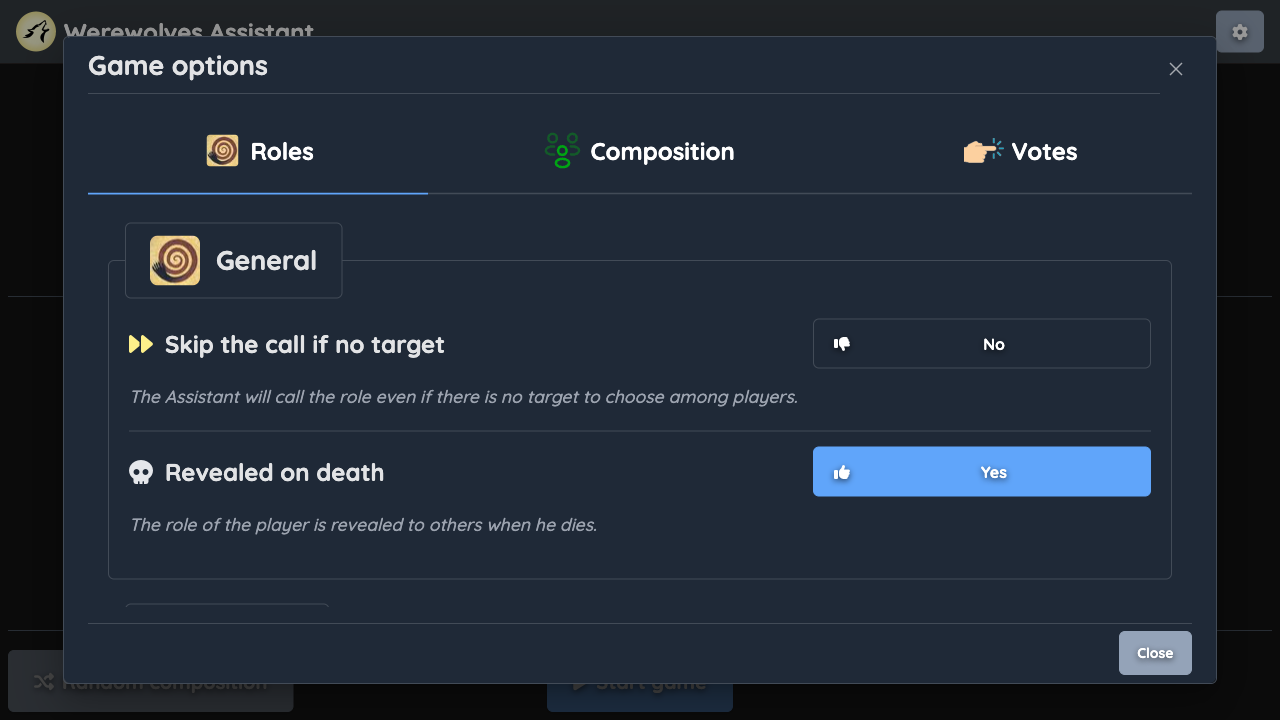
⚙️ Game Lobby Options Hub
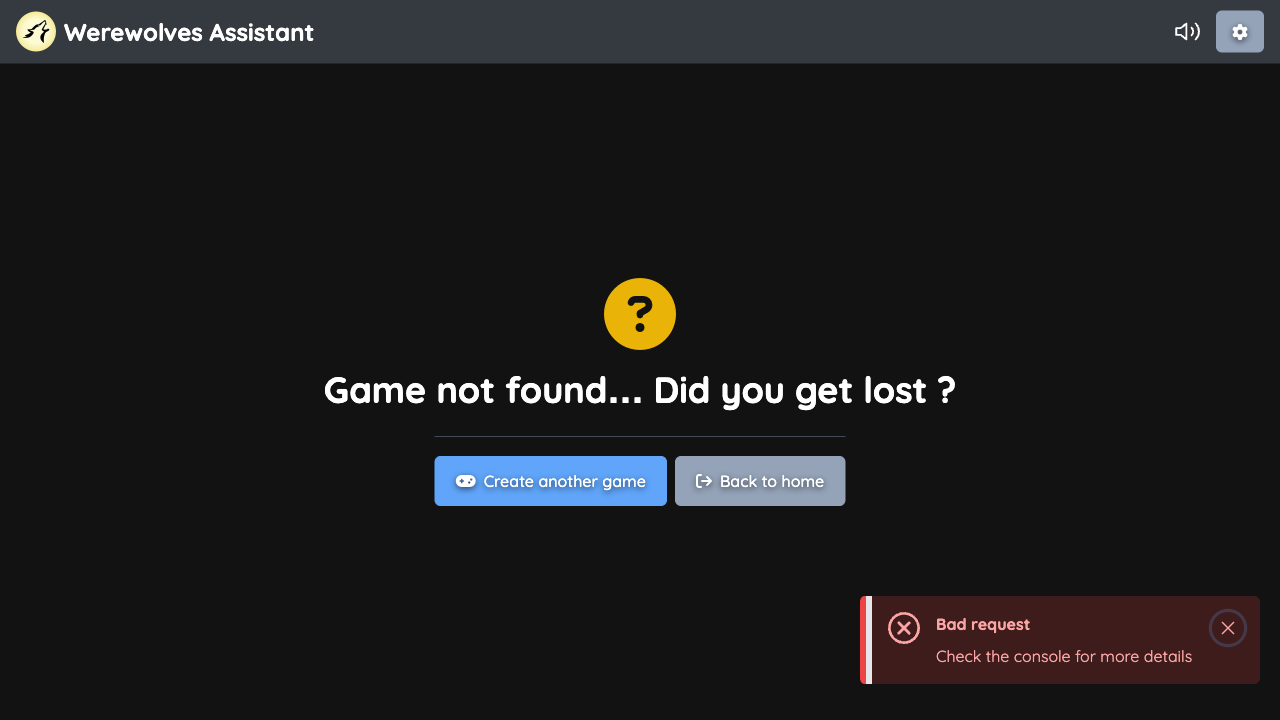
🎲 ❓ Game not found
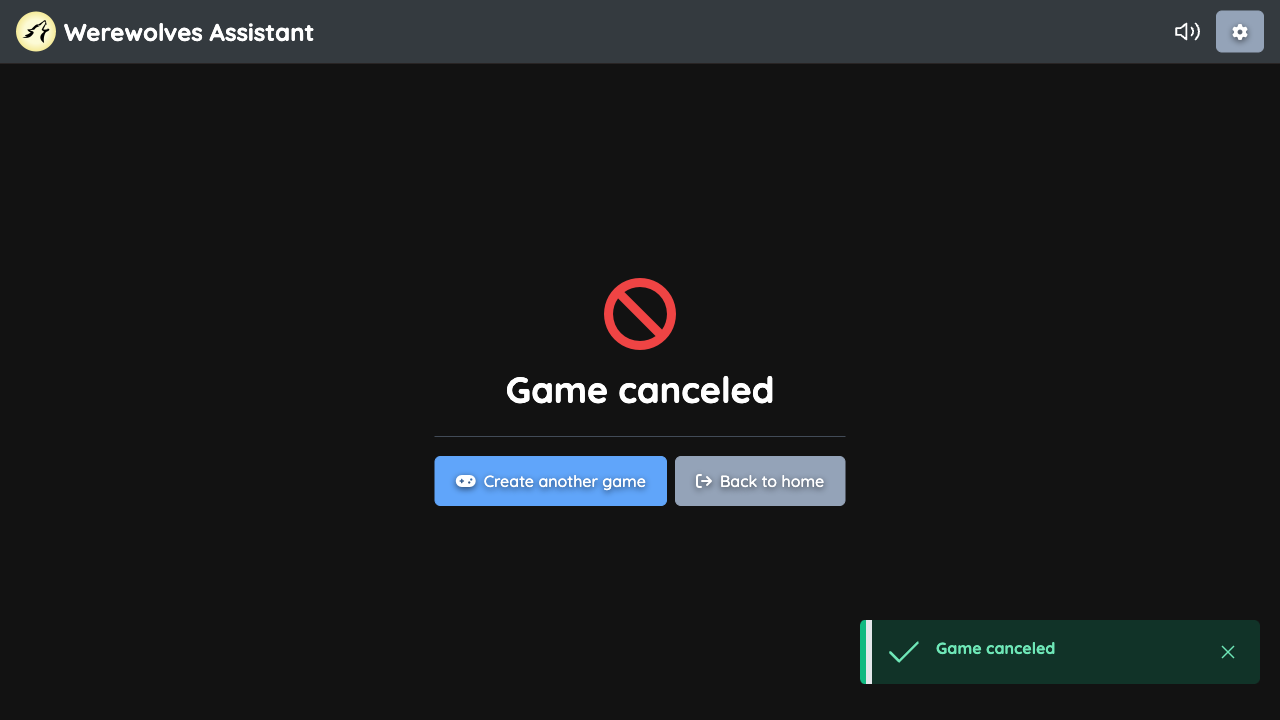
🎲 ❌ Game canceled
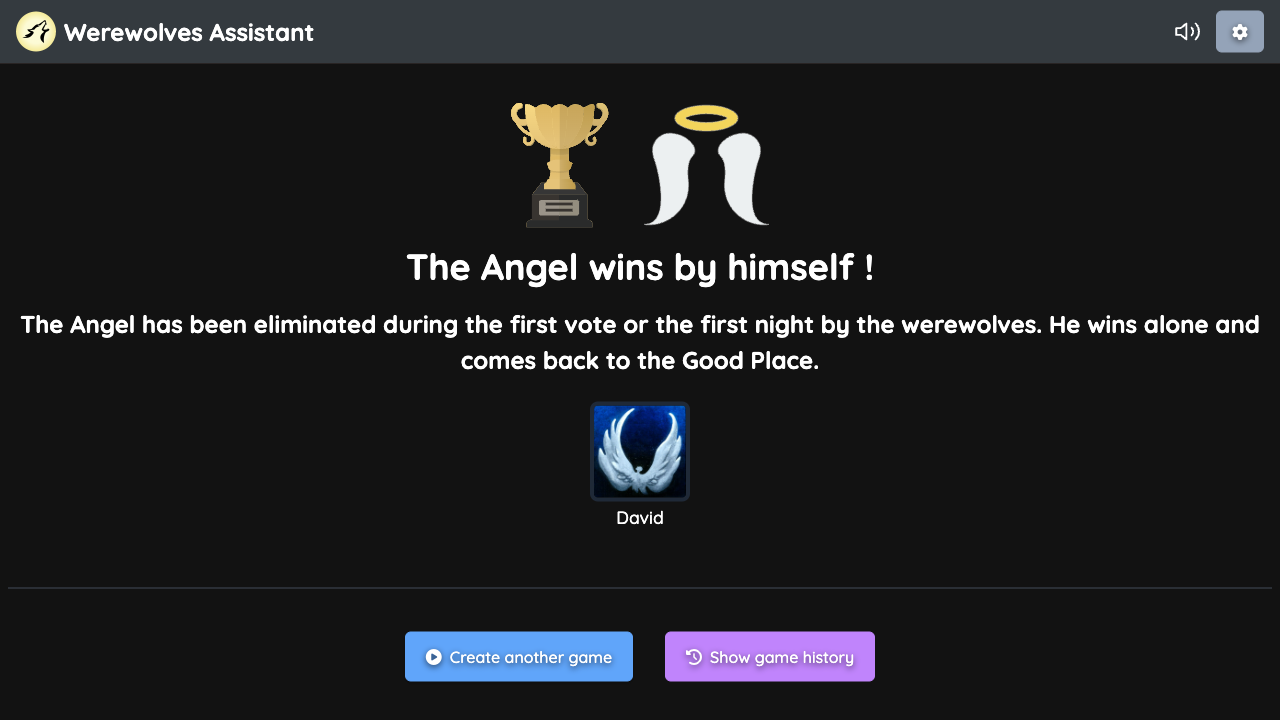
🏆 🪽 Game won by Angel
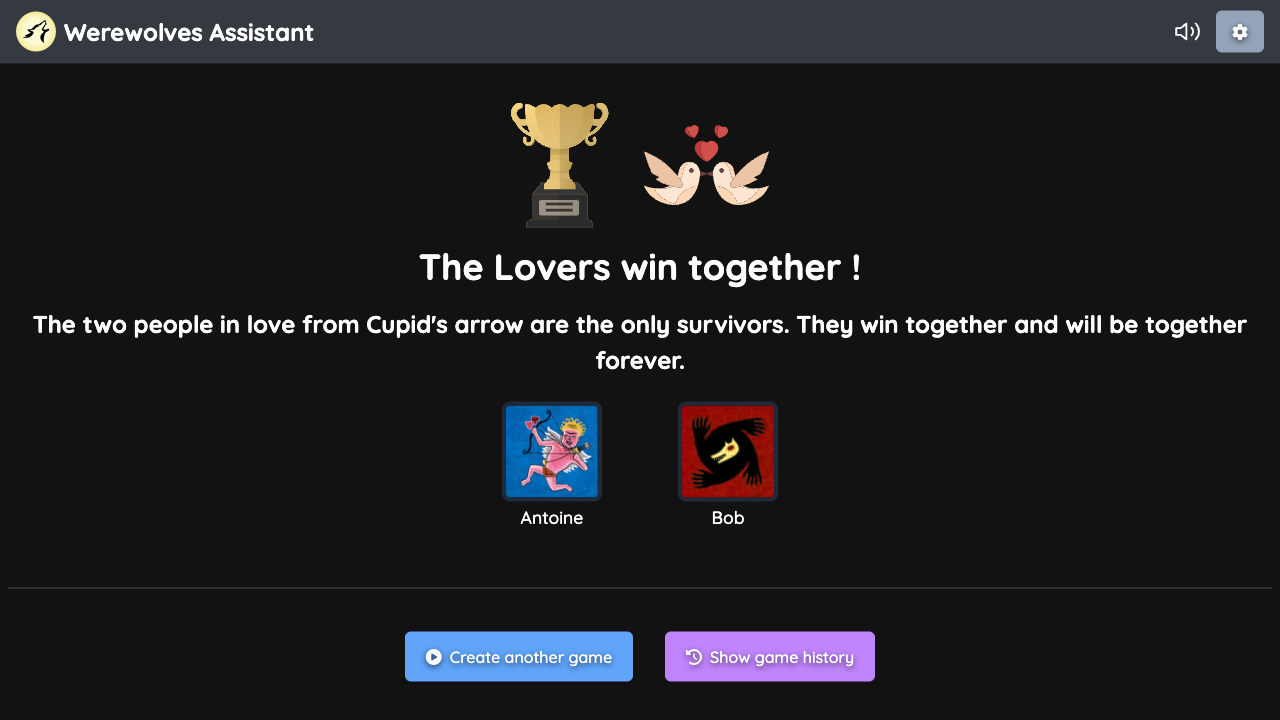
🏆 💞 Game won by Lovers
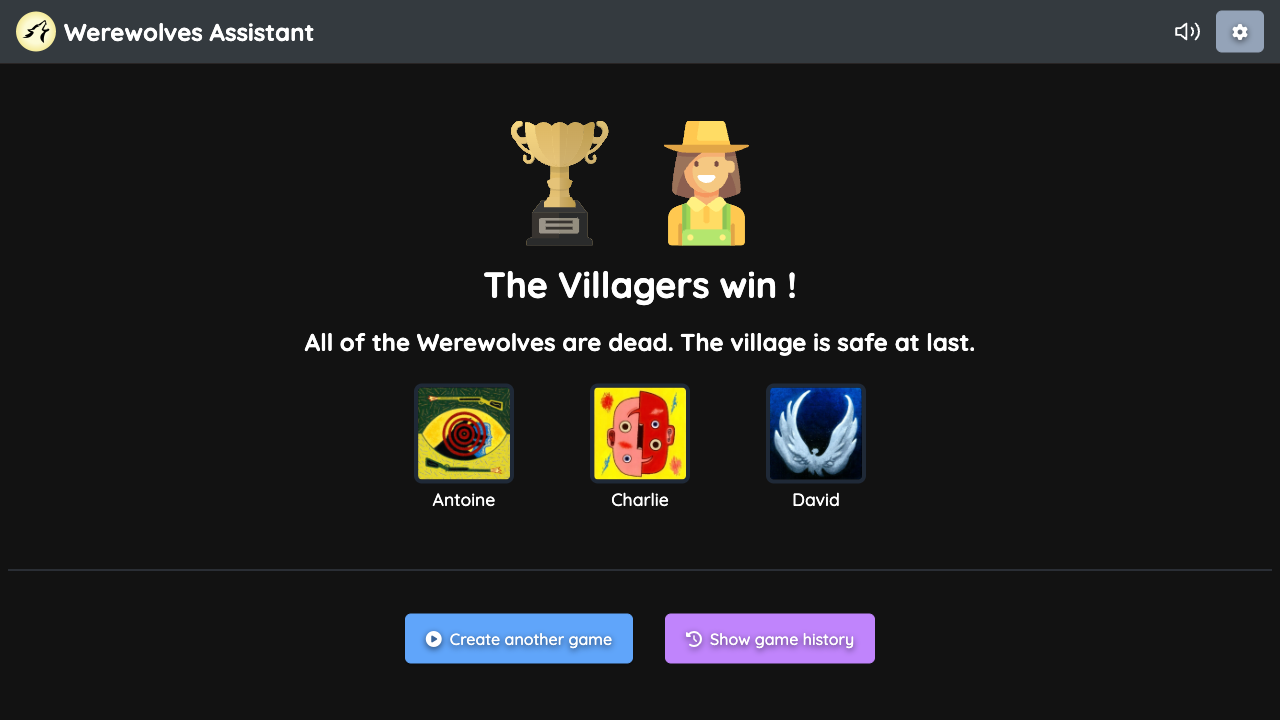
🏆 🧑🏻🌾 Game won by Villagers
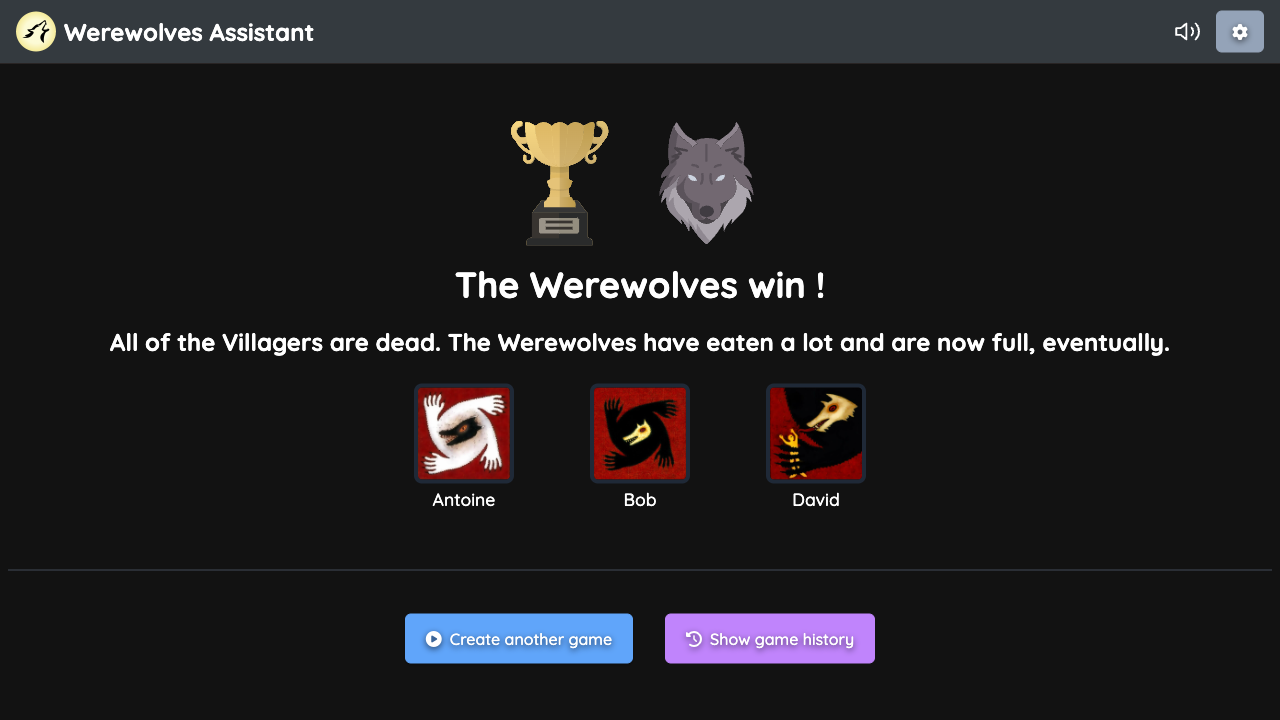
🏆 🐺 Game won by Werewolves
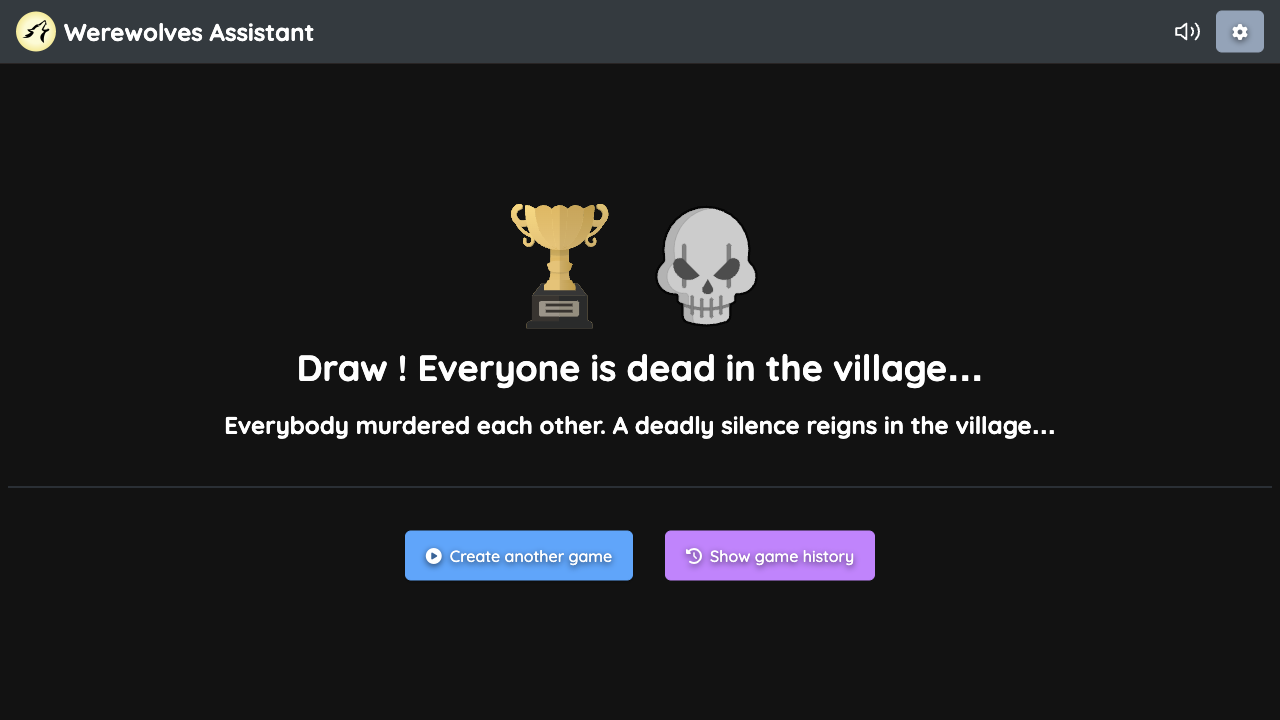
🏆 ☠️ Game won by nobody
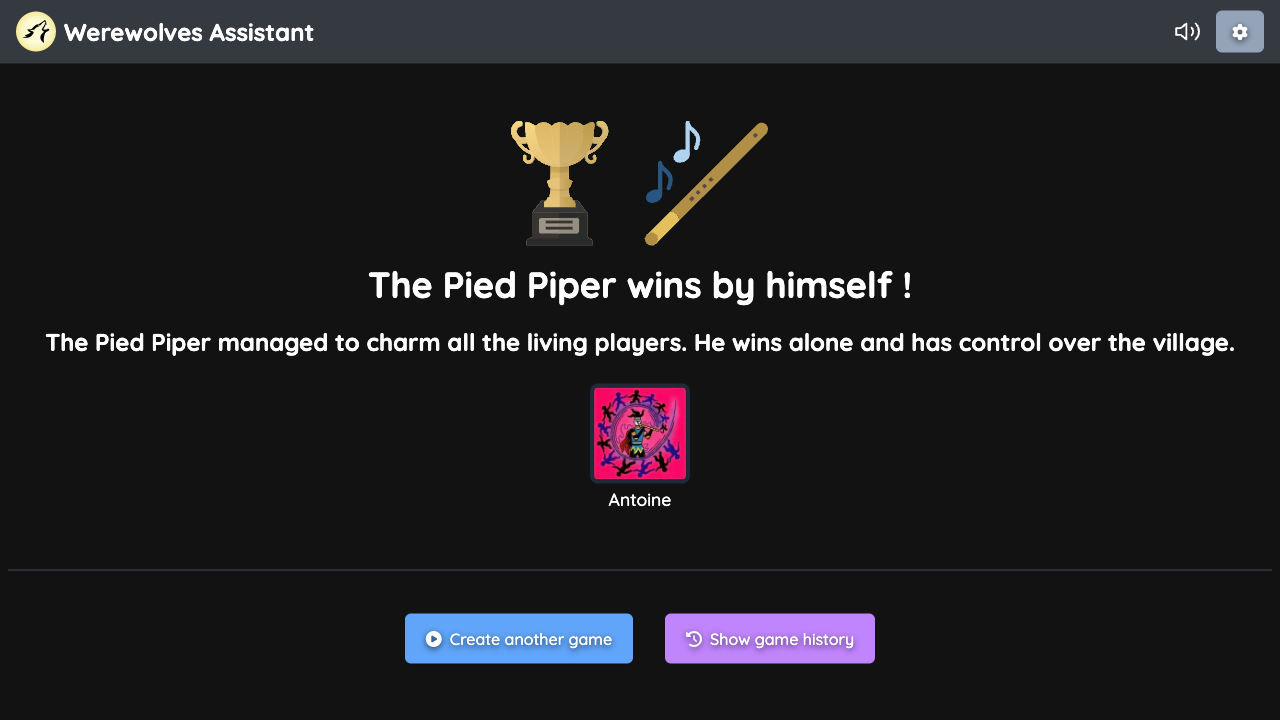
🏆 🪈 Game won by Pied Piper
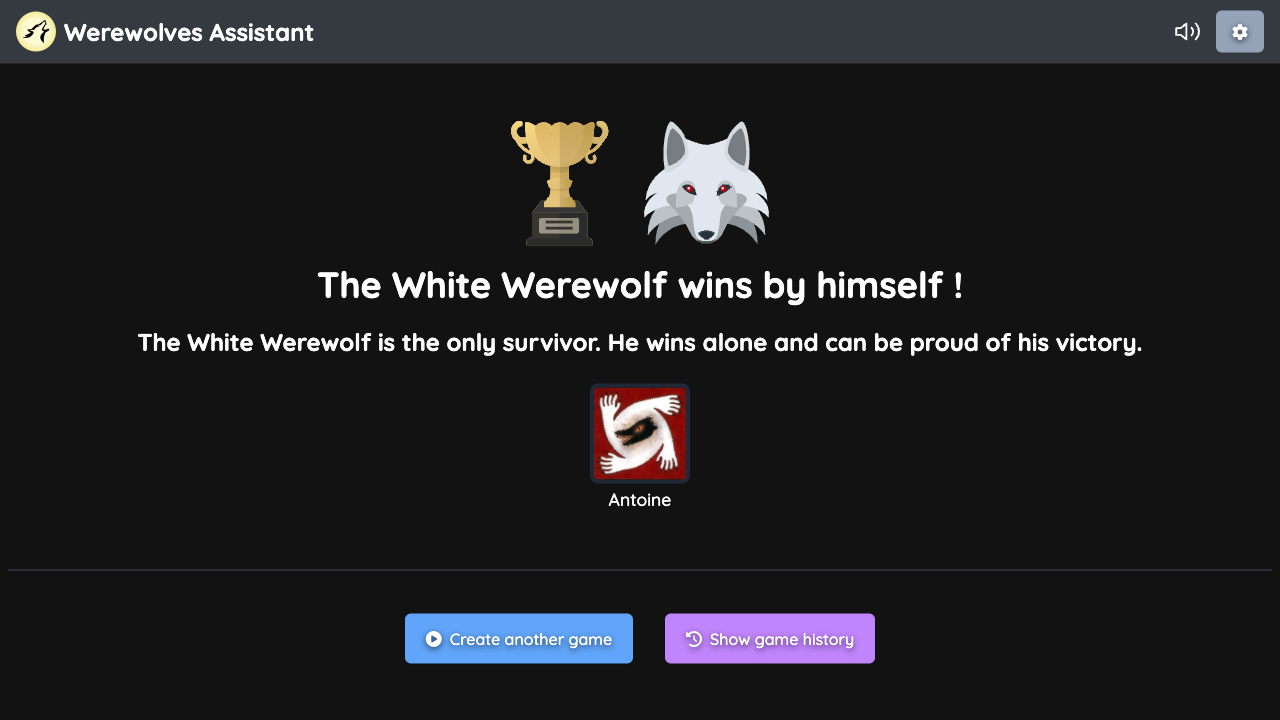
🏆 🐺 🦴 Game won by White Werewolf
To install this project, you will need to have on your machine :
We recommend to use the node version specified in the .nvmrc file. At least, you'll need to have version 20 installed as mentioned in package.json file.
Tip
If you don't have pnpm installed, you can still use npm for all commands below, but we recommend to use pnpm for faster and more reliable installations.
Then, run the following commands :
# Install dependencies and Husky hooks
pnpm install

# Run the app in dev mode
pnpm run dev
The above command will start the app in development mode and watch for changes on local.
In order to build the app for production, run the following command :
# Build the app
pnpm run buildNote
📊 Coverage reports for main and develop branches and pull requests are available here.
E2E tests are written in Gherkin language around Playwright functions and are available in the features directory.
Note
🏞️ Screenshots for visual regression tests for each platform (linux / darwin) are available in the screenshots directory.
Note
📊 All scenarios results with screenshots for main and develop branches and pull requests are available here.
Note
📊 Mutation testing reports for main and develop branches and pull requests are available here.
Important
Before testing, you must follow the installation steps.
Then, run one of the following commands :
# Assure you started Werewolves Assistant sandbox API docker containers before running tests
pnpm run docker:sandbox-api:start

# Run unit tests with coverage
pnpm run test:unit:cov

# Run unit tests only on staged files (run on pre-commit)
pnpm run test:unit:staged

# Before running e2e tests, you must prepare them
pnpm run test:cucumber:prepare

# Run e2e acceptance tests and generate a HTML report
pnpm run test:cucumber

# Run e2e acceptance tests without screenshots comparison and generate a HTML report
pnpm run test:cucumber:skip-screenshots-comparison

# Generate a HTML report from the last e2e tests run (implied by the previous command)
pnpm run test:cucumber:html-report

# Run mutant tests with coverage
pnpm run test:stryker

# Run mutant tests with coverage from scratch (without using the incremental file)
pnpm run test:stryker:forceEnvironnement files are available in the env directory.
Tip
You can create a .env file in this directory to override the default values when starting the API locally with pnpm run dev command.
Environment variables are :
| Name | Description | Required | Default value | Limitations |
|---|---|---|---|---|
NUXT_PUBLIC_WEREWOLVES_ASSISTANT_API_BASE_URL |
URL of the Werewolves Assistant API | ✅ | ❌ | Must be a valid URL |
NUXT_PUBLIC_DEFAULT_LOCALE |
Locale used when starting the app | ❌ | en |
Must be either en or fr |
SKIP_SCREENSHOTS_COMPARISON_TESTS |
In E2E tests, skip all screenshots comparisons, not used in production | ❌ | false |
Must be either true or false |
In order to keep the code clean, consistent and free of bad TS practices, more than 300 ESLint rules are activated !
Note
Complete list of all enabled rules is available in the eslintrc.config.js file.
Important
Before linting, you must follow the installation steps.
Then, run one of the following commands :
# Lint
pnpm run lint

# Lint and fix
pnpm run lint:fix

# Lint and fix only on staged files (runs on pre-commit)
pnpm run lint:staged:fix

# Inspect ESLint config with @eslint/config-inspector
pnpm run lint:inspect-configMultiple tools are set up to maintain the best code quality and to prevent vulnerabilities :
Note
You can check the CodeQL analysis report here.
Note
SonarCloud summary is available here.
Releases on main branch are generated and published automatically by :
It uses the conventional commit strategy.
Each change when a new release comes up is listed in the CHANGELOG.md file.
Tip
Also, you can keep up with changes by watching releases via the Watch GitHub button at the top of this page.
This project uses GitHub Actions to automate some boring tasks.
Note
You can find all the workflows in the .github/workflows directory.
| Name | Description & Status | Triggered on |
|---|---|---|
| ⚙️ Build | Various checks for app health, code quality and tests coverage |
push on develop and all pull requests to develop |
| 🔃 Lint PR Name Into Develop Workflow | Checks if pull request name respects conventionnal-commit rules |
pull-request created or updated |
| 🔃️ Upsert PR Release Workflow | Creates or updates pull request to main depending on commits on develop since last release |
push on develop |
| 🏷️ Release Creation Workflow | Creates a new release using semantic-release with tag and updated changelog |
push on main |
| 🚀 Deploy To Production Workflow | Deploys app with last tag version to Docker Hub and GCP |
tag-creation |
| 🍃 Branch Deletion Workflow | Remove all reports for the deleted branch |
delete on all branches |
| 📑 Deploy Reports to GitHub Pages Workflow | Deploy the reports to the GitHub Pages |
dispatch by other workflows |
pnpm run script:create-branchpnpm run script:create-pull-requestAll the above commands are available in the .run directory at the root of the project.
Tip
You can add them as run configurations in your IDE.
This project is licensed under the MIT License.
Warning
If you want to contribute to this project, please read the contribution guide.
Thank you to all the contributors:
 Daniel Roe |