- how to install homebrew
- how to install all necessary apps and extensions
- how to install Spaceship theme with Oh-My-Zsh
- how to install node
- how to setup eslint with airbnb style guide
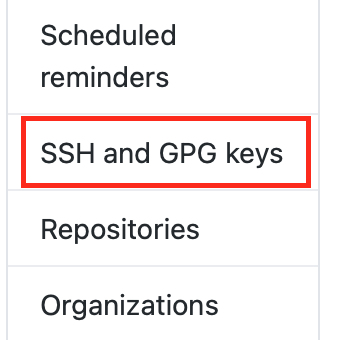
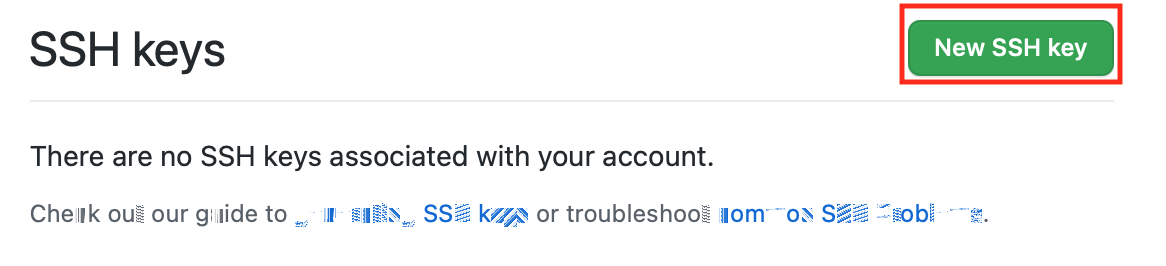
- how to add SSH-KEY to github account
download link for dev-setup-scripts.zip
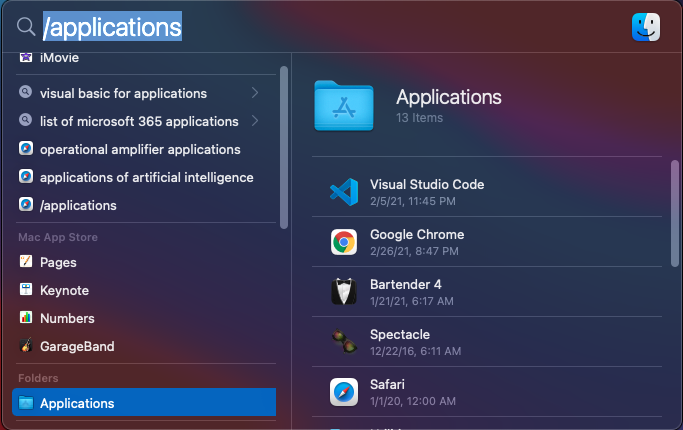
that should open Spotlight

type the following into Spotlight:
/applications
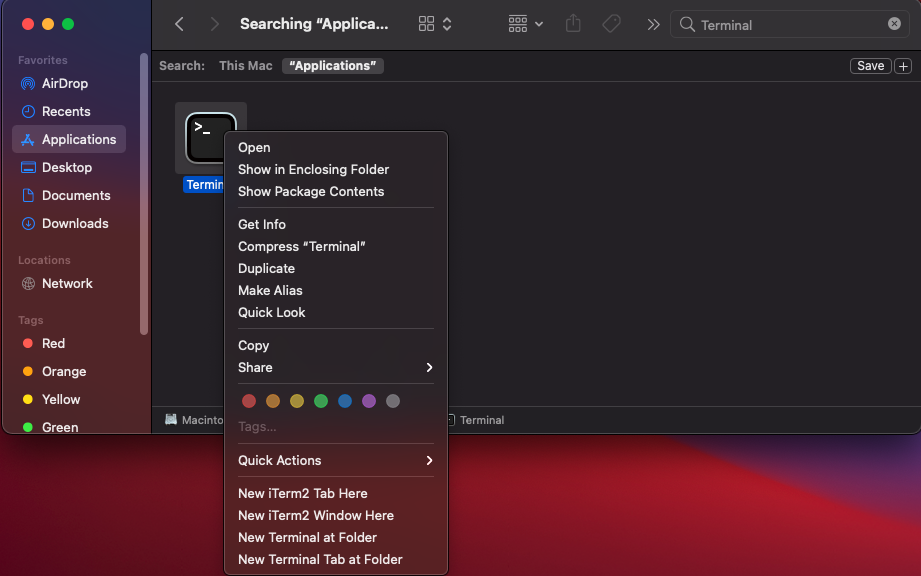
type the following into search:

Terminal
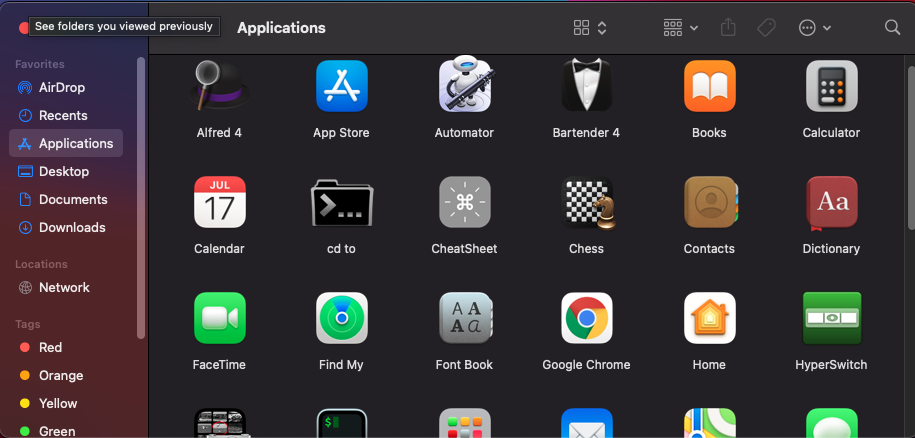
choose search Applications

right-click Terminal
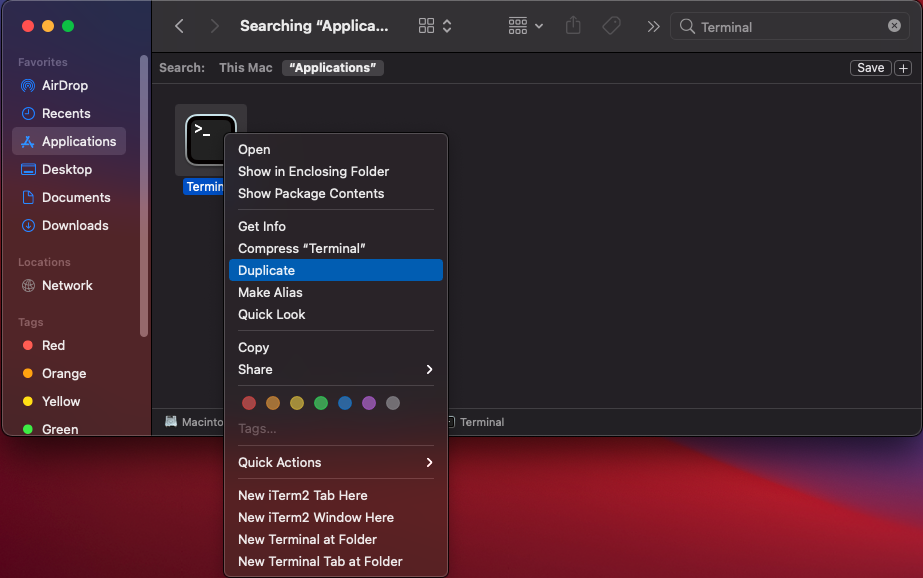
click on Duplicate
if asked enter your password & press ok
right-click duplicated Terminal & click on Rename
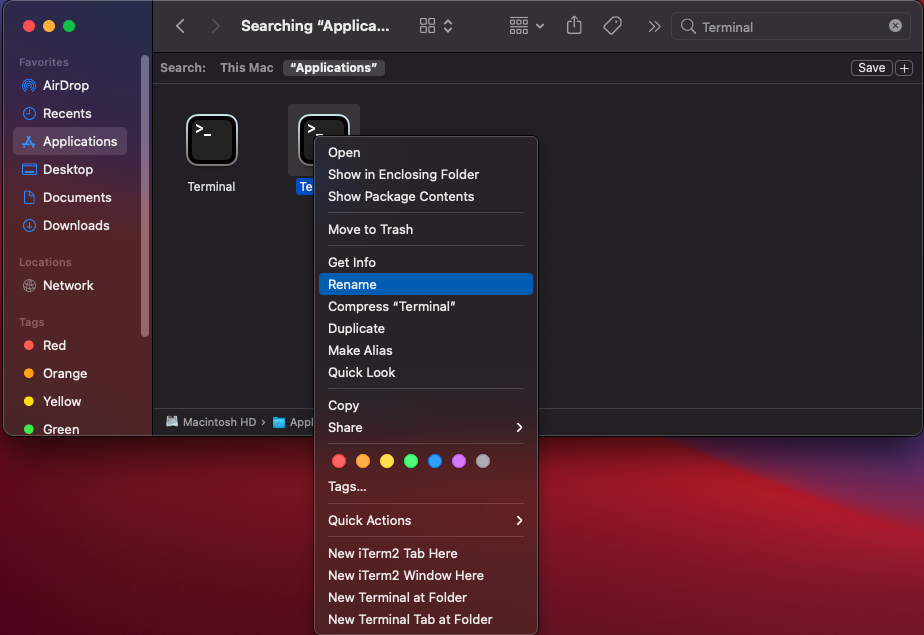
rename the duplicated Terminal to:
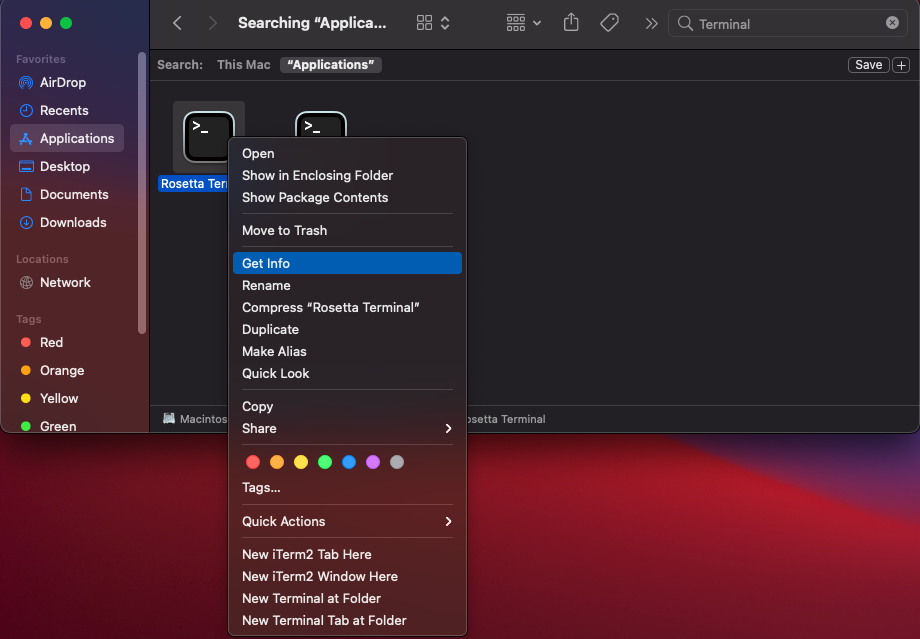
Rosetta Terminal
if asked enter your password & press ok
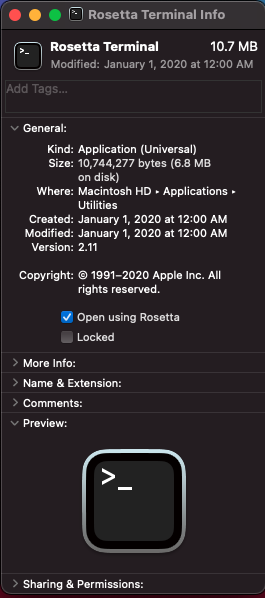
right-click Rosetta Terminal & click on Get Info
in the Rosetta Terminal Info window make sure Open using Rosetta is checked
double click on Rosseta Terminal
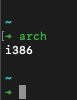
lets check if we are using Rosetta
type the following into Terminal:
arch
if your Rosetta Terminal returned
i386
type the following into Rosetta Terminal:
cd
type the following into Rosetta Terminal:
mkdir homebrew && curl -L https://github.com/Homebrew/brew/tarball/master | tar xz --strip 1 -C homebrew
type the following into Rosetta Terminal:
/bin/bash -c "$(curl -fsSL https://raw.githubusercontent.com/Homebrew/install/HEAD/install.sh)"
AFTER A LITTLE WHILE TERMINAL WILL PROMPT YOU "TO CONTINUE WITH DOWNLOADING HOMEBREW PRESS RETURN" = [press Enter]
Wait patiently as this may takes a while (install can take around 4-5 minutes).🧐
After a little awhile Homebrew should be installed. 😊
type the following into Rosetta Terminal:
cd /Users/`whoami`/Downloads/dev-setup-scripts
type the following into Terminal:
ls
Compare this list to what your Terminal returned (if you are in dev-setup-scripts folder you should have all of these files)
-
brew-install-cask.txt
-
brew-install.txt
-
vscode-settings.txt
-
zshrc.txt
in Spotlight type:
dev-setup-scripts
type the following into Terminal:
cd
cd /Users/{YOUR_USERNAME}/{FOLDER_NAME_THE_FILE_IS_IN}/dev-setup-scripts
if it does great, if not redownload the dev-setup-scripts.zip file into Downloads folder and repeat step 3 from beginning.
type the following into Terminal:
ls
Compare this list to what your Terminal returned (if you are in dev-setup-scripts folder you should have all of these files)
-
brew-install-cask.txt
-
brew-install.txt
-
vscode-settings.txt
-
zshrc.txt
type all of the following into Terminal at once :
sudo chown -R $(whoami) /usr/local/Homebrew /usr/local/etc/bash_completion.d /usr/local/share/doc /usr/local/share/man /usr/local/share/man/man1 /usr/local/var/homebrew/locks &&
chmod u+w /usr/local/Homebrew /usr/local/etc/bash_completion.d /usr/local/share/doc /usr/local/share/man /usr/local/share/man/man1 /usr/local/var/homebrew/locks
type all of the following into Terminal at once :
brew tap homebrew/cask-fonts
brew install $(<brew-install.txt)
brew install $(<brew-install-cask.txt)
Wait patiently as this may takes a while.🧐
After a little awhile all Packages & Applications should be installed. 😊
type all of the following into Terminal at once :
code --install-extension JSMel.web-dev-pack
Wait patiently as this may takes a while.🧐
After a little awhile all Extensions should be installed. 😊
to install oh-my-zsh type the following link into Terminal:
sh -c "$(curl -fsSL https://raw.github.com/ohmyzsh/ohmyzsh/master/tools/install.sh)"
to install Spaceship Prompt Theme type the following link into Terminal:
git clone https://github.com/denysdovhan/spaceship-prompt.git "$ZSH_CUSTOM/themes/spaceship-prompt" --depth=1
type the following link into Terminal:
ln -s "$ZSH_CUSTOM/themes/spaceship-prompt/spaceship.zsh-theme" "$ZSH_CUSTOM/themes/spaceship.zsh-theme"
type the following link into Terminal:
cd
type the following link into Terminal:
cd ~/.oh-my-zsh/custom/plugins
type all of the following into Terminal at once :
git clone https://github.com/zsh-users/zsh-autosuggestions ${ZSH_CUSTOM:-~/.oh-my-zsh/custom}/plugins/zsh-autosuggestions && git clone https://github.com/zsh-users/zsh-syntax-highlighting.git ${ZSH_CUSTOM:-~/.oh-my-zsh/custom}/plugins/zsh-syntax-highlighting && git clone https://github.com/paulirish/git-open.git $ZSH_CUSTOM/plugins/git-open
type the following into Terminal:
cd /Users/`whoami`/Downloads/dev-setup-scripts && code ~/.zshrc
type the following into Terminal:
open zshrc.txt
everything in zshrc.txt should be highlighted
we will remove everything that is inside .zshrc file and replace it with the settings we copied from zshrc.txt to do that:
everything in .zshrc file should be highlighted
.zshrc file should now be empty
if everything was done correctly this should replace the default settings to include nvm, aliases, and spaceship prompt theme.
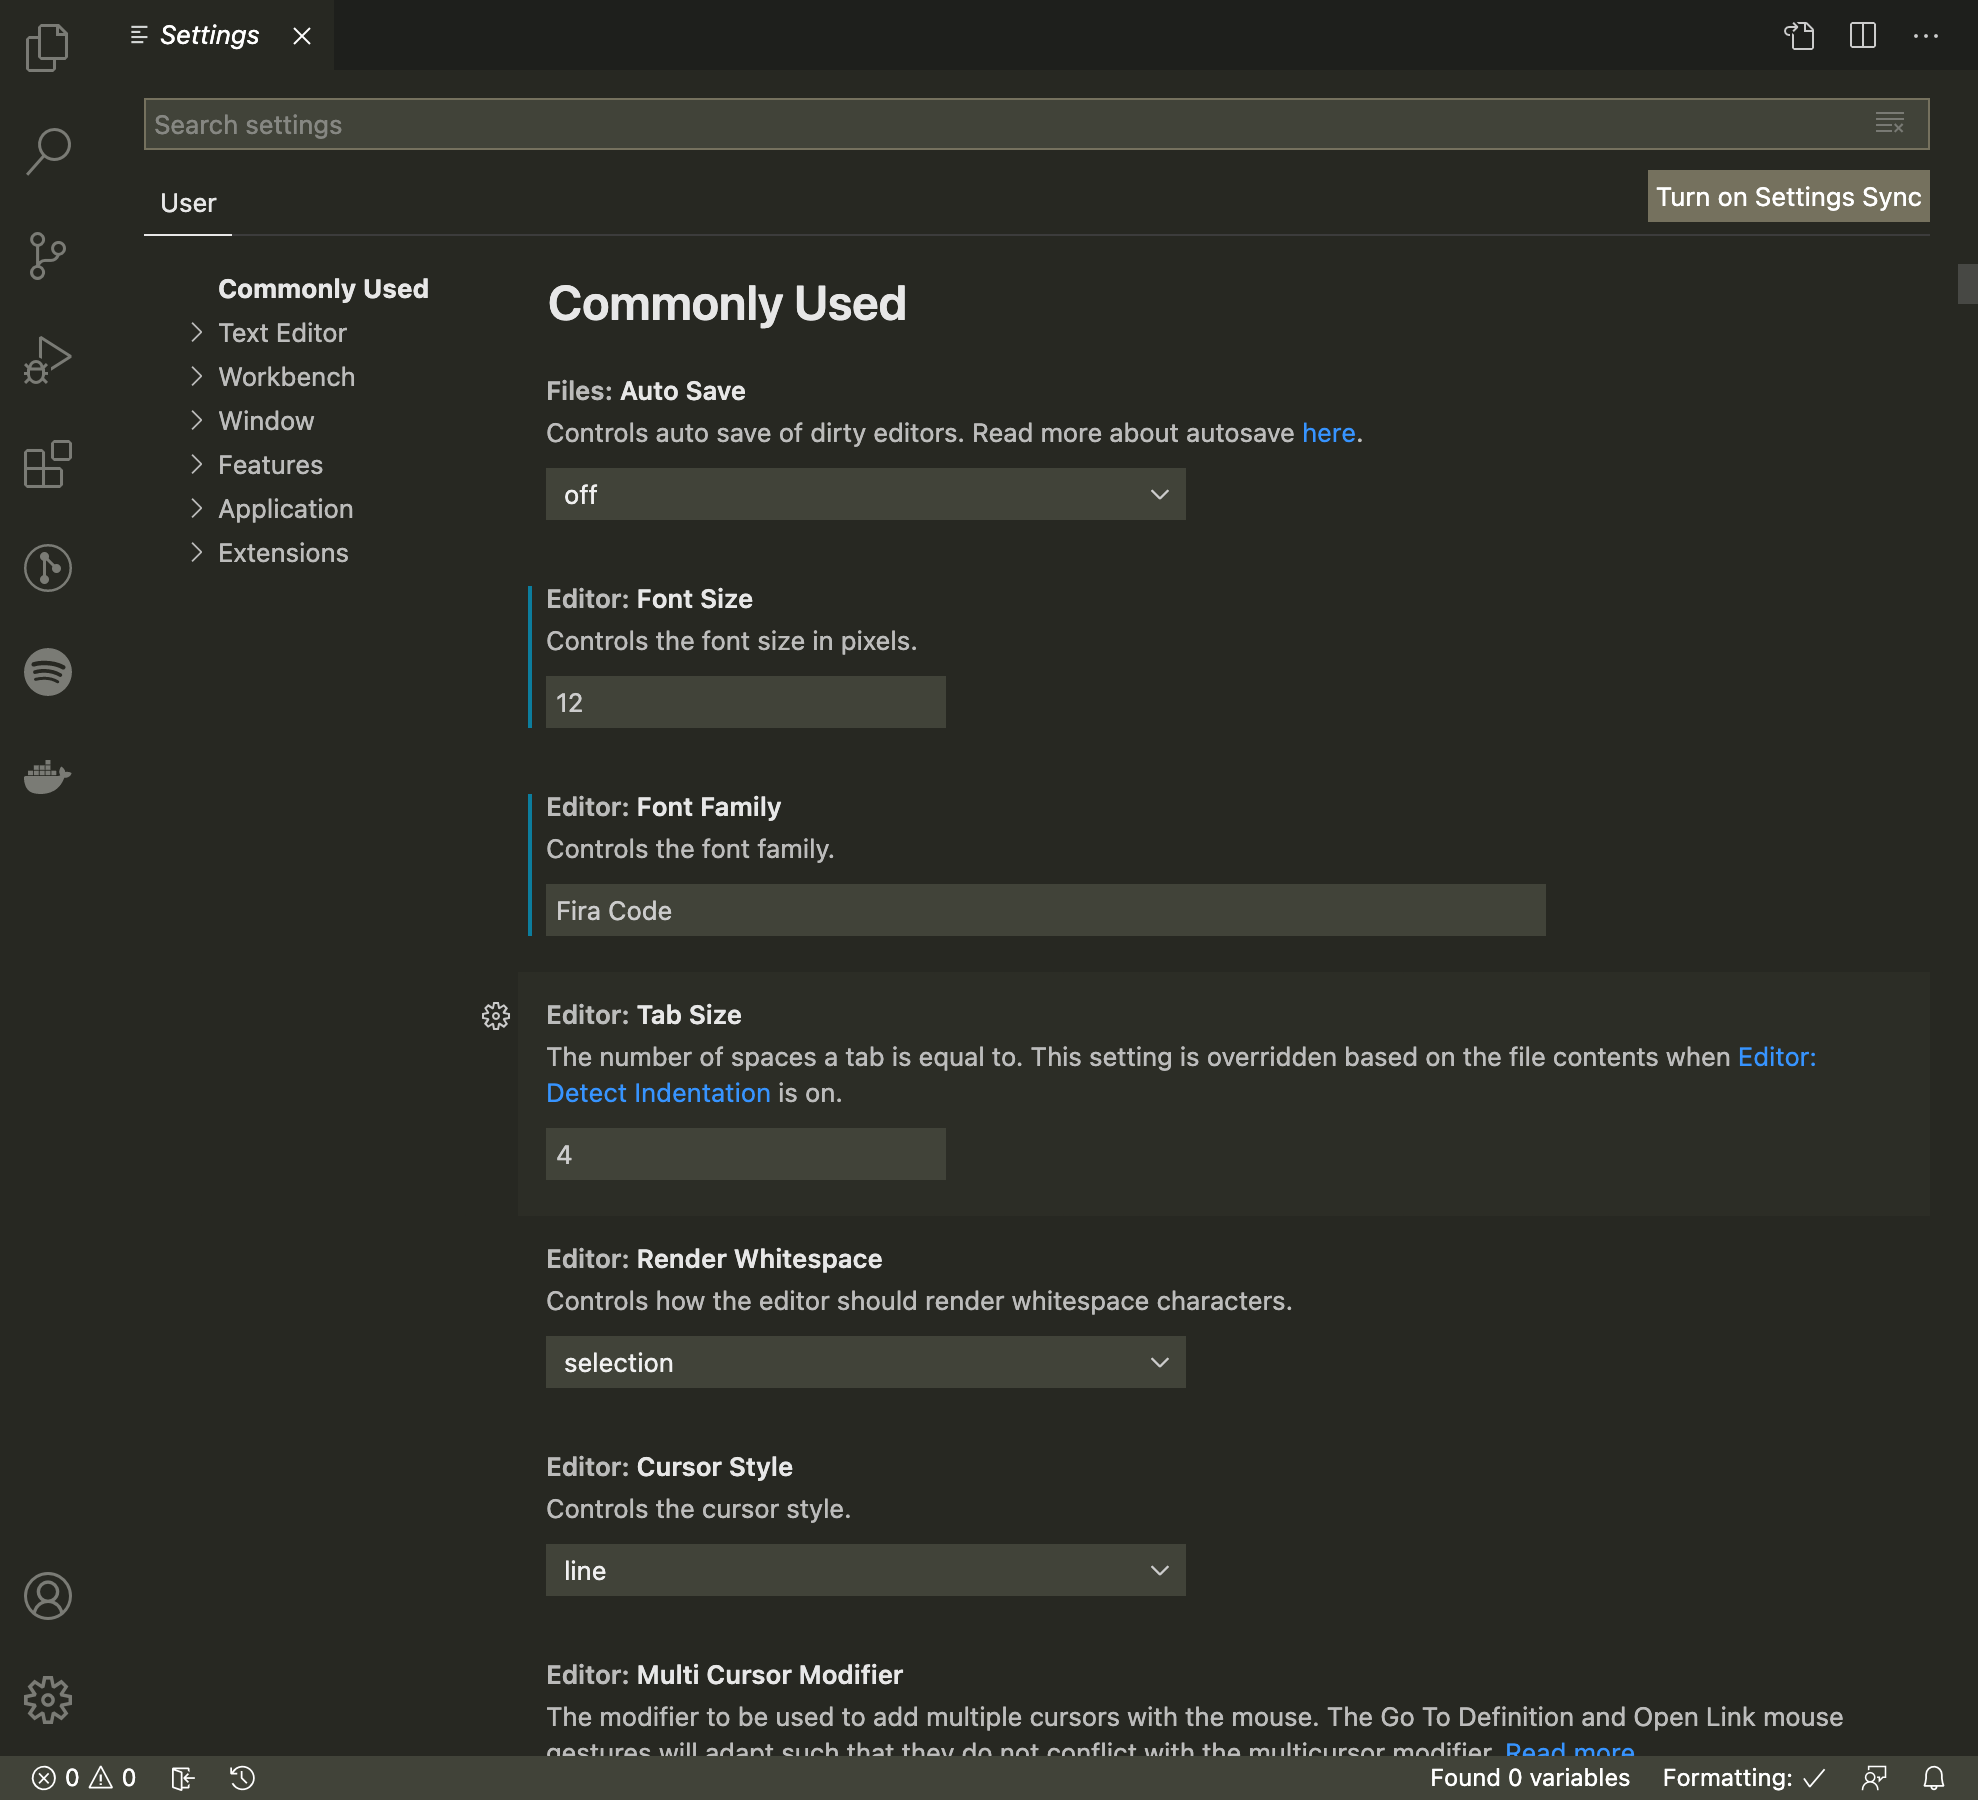
in Search bar type:
settings.json


remove everything that is inside of settings.json to do that:
everything in settings.json should be highlighted
settings.json should now be empty.
type the following into Terminal:
open vscode-settings.txt
everything in vscode-settings.txt should be highlighted
if everything was done correctly this should replace the default settings to auto format on save and paste, change file theme to Material Icon Theme, change font to Fira Code, and change editors theme to Monokai.
type the following into Terminal:
source ~/.zshrc
type the following into Terminal:
cd ..
that command should've made Terminal go out of dev-setup-scripts file, and into Downlods or the Folder dev-setup-scripts file and dev-setup-scripts.zip are on your computer.
type all of the following into Terminal at once :
rm -rf dev-setup-scripts
rm -rf dev-setup-scripts.zip
both file should now be deleted and moved into your Trash.
If your dock is set to auto-hide I really reccommend running these 2 commands it will make your dock appear and disappear much faster.
type the following into Terminal:
cd
type all of the following into Terminal at once :
defaults write com.apple.dock autohide-time-modifier -float 0 && Killall Dock
defaults write com.apple.Dock autohide-delay -float 0 && Killall Dock
type the following into Terminal:
cd
type the following into Terminal:
mkdir ~/.nvm
type the following into Terminal:
nvm install "YOUR_DESIRED_NODE_VERSION_NUMBER"
example: nvm install "v12.16.2"
Wait patiently as this may takes a while.🧐
After a little awhile node version YOUR_DESIRED_NODE_VERSION_NUMBER should be installed. 😊
type the following into Terminal:
nvm use "YOUR_DESIRED_NODE_VERSION_NUMBER"
example: nvm use "v12.16.2"
type the following into Terminal:
nvm install node
Wait patiently as this may takes a while.🧐
After a little awhile, and the latest version of node should be installed. 😊
type the following into Terminal:
nvm use node
type the following into Terminal :
node --version
example: v12.16.2
or
type the following into Terminal:
cd
type the following into Terminal:
mkdir eslint-config
type the following into Terminal:
cd eslint-config
type all of the following into Terminal at once :
npm init -y
npm install -g eslint
npm i -D eslint prettier eslint-plugin-prettier eslint-config-prettier eslint-plugin-node eslint-config-node
npx install-peerdeps --dev eslint-config-airbnb
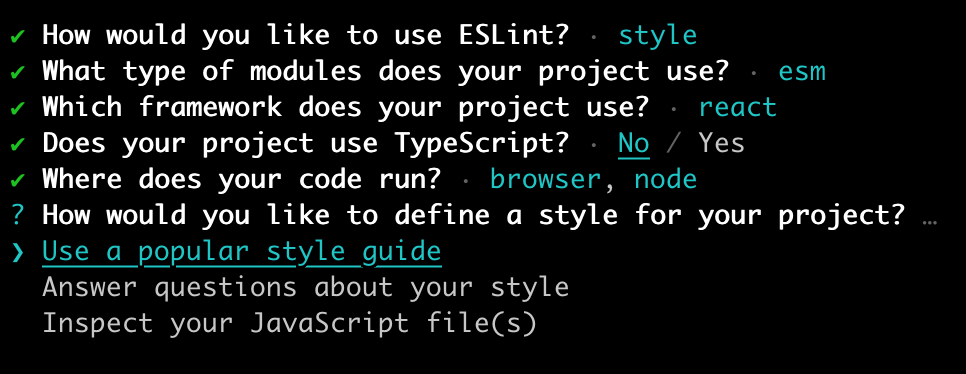
eslint --init
Wait patiently as this may takes a while.🧐
After a little awhile all Eslint, Prettier, and Airbnb Dependencies should be installed. 😊
scroll down with arrow keys to choose
❯ To check syntax, find problems, and enforce code style

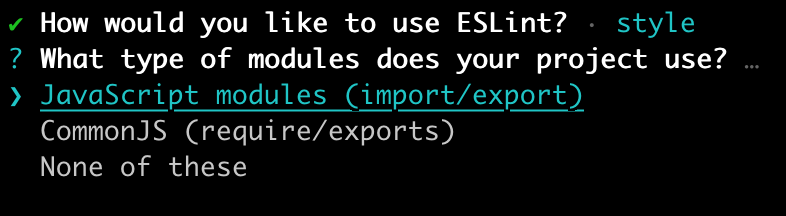
choose
❯ JavaScript modules (import/export)
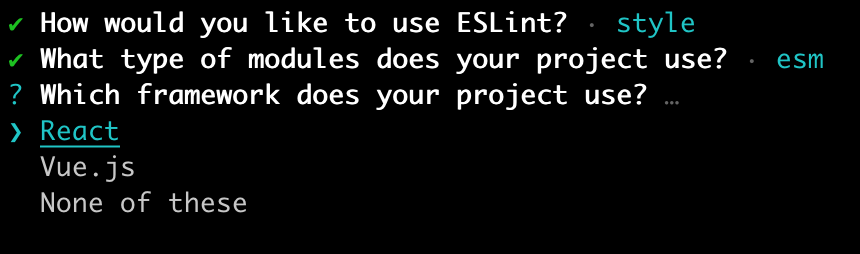
choose
❯ React
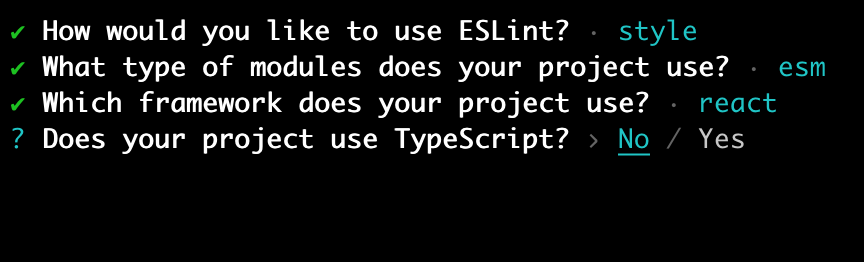
choose
❯ No
to do that
✅ Browser
✅ Node

choose
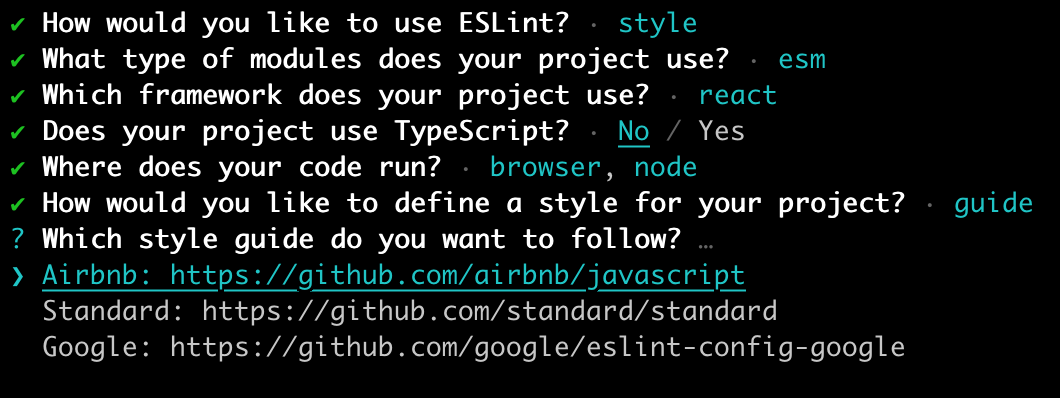
❯ Use a popular style guide
choose
❯ Airbnb: https://github.com/airbnb/javascript
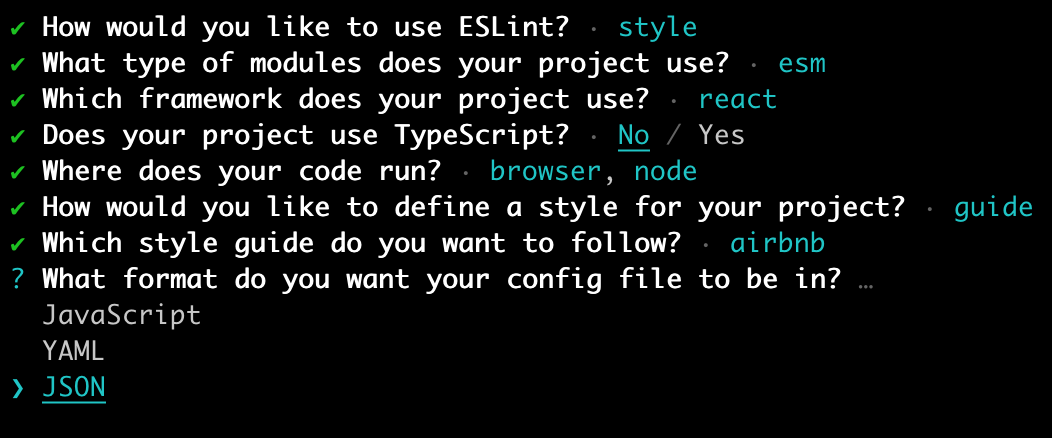
scroll down with arrow keys to choose
❯ JSON
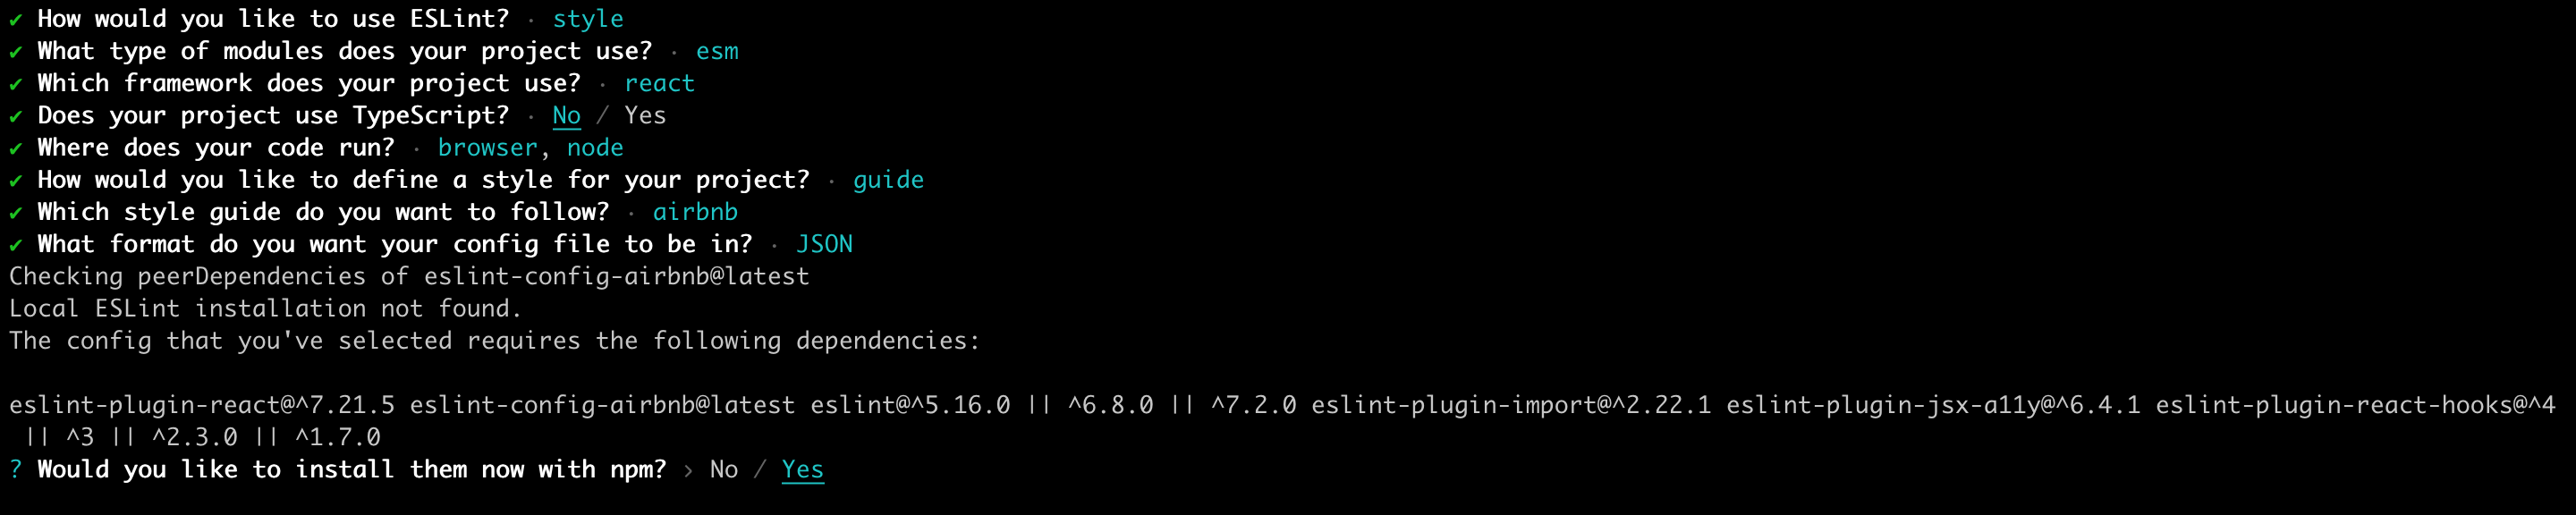
choose
❯ Yes
type the following into Terminal:
cd
type the following into Terminal:
git config --global user.name "FIRST_NAME LAST_NAME"
type the following into Terminal:
git config --global user.email "MY_NAME@example.com"
type the following into Terminal:
cd
type the following into Terminal:
ssh-keygen -t ed25519 -C "your_github_acount_email_email@example.com"
"CHOOSE_AND_TYPE_A_PASSWORD"
"WRITE_THE_SAME_PASSWORD_AGAIN"
type the following into Terminal:
eval "$(ssh-agent -s)"
type the following into Terminal:
open ~/.ssh/config
type the following into Terminal:
touch ~/.ssh/config
type the following into Terminal:
open ~/.ssh/config
type all of the following into ~/.ssh/config:
Host *

  AddKeysToAgent yes

  UseKeychain yes

  IdentityFile ~/.ssh/id_ed25519
type the following into Terminal:
ssh-add -K ~/.ssh/id_ed25519
if prompted to input your again Password, type in the same password you used above for Keychains again
type the following into Terminal:
pbcopy < ~/.ssh/id_ed25519.pub

macBook
