This repository contains a display driver for the Holtek HT1632C and HT1632D LED chips for RTOS Zephyr.
The HT1632C chip has built-in display RAM and all circuitry required to drive LEDs. It also has some advanced features such as PWM brightness control (applied to the entire LED array, not individual LEDs), blinking mode and low-power mode. The interface to HT1632 is what is described as “SPI-like” and requires only 4 wires – CS (chip select), WR (write clock), RD (read clock) and DATA (serial data). Unlike real SPI, the interface has separate clock lines for read and write and bi-directional data line.
The HT1632C driver implements the bit-banging 3-wire protocol using 3 GPIO lines. It supports only writing and only 1 HT1632C chip.
You create a matrix of pixels with an array of 32 8-bit or 24 16-bit words in your application. Then, you set individual bits by copying characters, graphics, etc. The coordinates start from the top left. Eventually, you send the matrix to the driver, and it transfers the matrix into the HT1632C chip.
Cascading support can be added into the driver by coding additional CS lines.
Before getting started, make sure you have a proper Zephyr development environment. You can follow the official Zephyr Getting Started Guide.
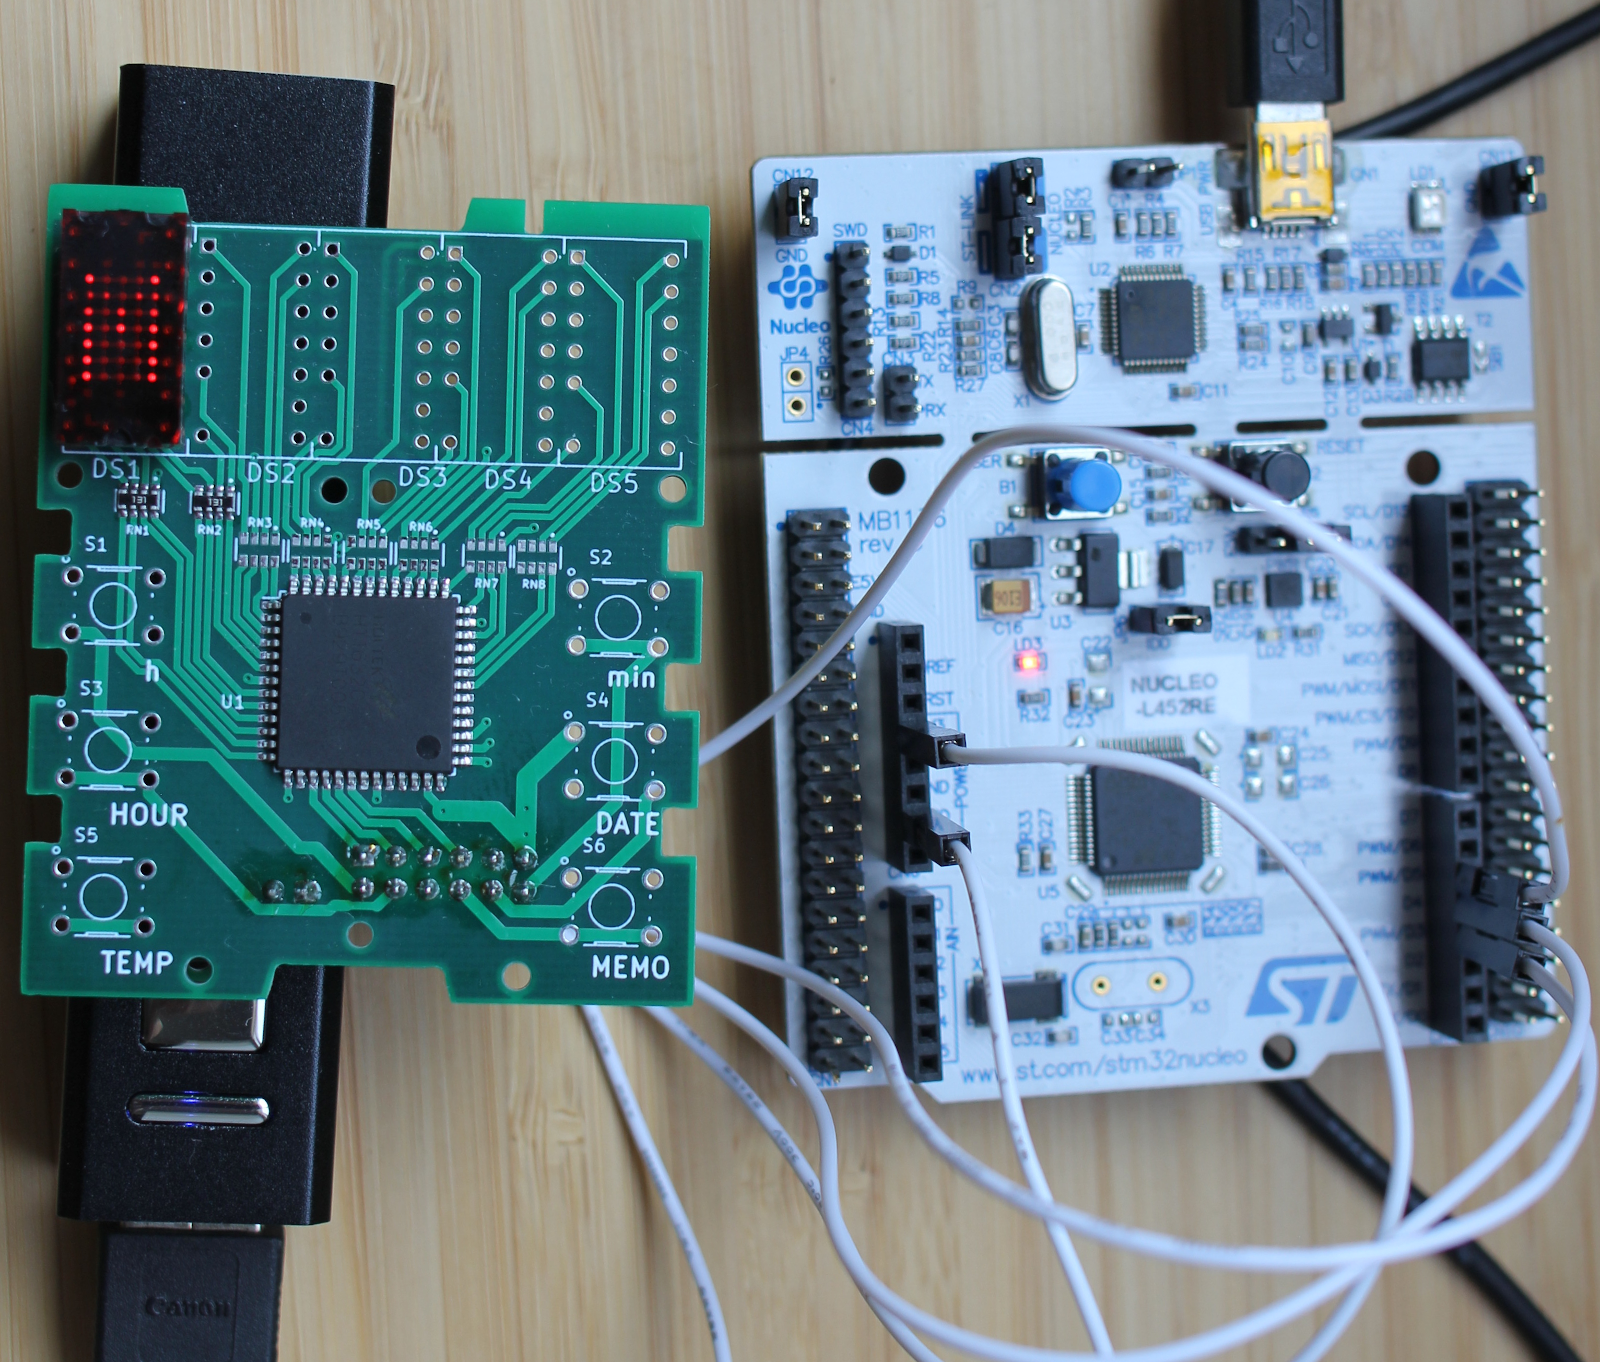
Writing HT1632 driver for RTOS Zephyr and Nucleo STM32.
The first step is to initialize the workspace folder (my-workspace) where
the ht1632c and all Zephyr modules will be cloned. You can do
that by running:
# initialize my-workspace for the ht1632c application (main branch)
west init -m https://github.com/faritka/zephyr-ht1632c --mr main my-workspace
# update Zephyr modules
cd my-workspace
west updateRename the sample overlay file app/boards/nucleo_l452re.overlay to $BOARD.overlay
where $BOARD is your target board.
Change the CS, WE, DATA pins in the overlay file to your liking. By default, the CS pin is connected to PB3, the WR pin to PB5, the DATA pin to PB4 on a Nucleo STM32 board.
The commons-options is for different configurations:
0x00: N-MOS  opendrain output and 8 common option
0x01: N-MOS  opendrain  output  and  16 common option
0x10: P-MOS  opendrain output and 8 common option
0x11: P-MOS  opendrain  output  and  16 common option
/ {
ht1632c {
compatible = "holtek,ht1632c";
label = "HT1632C";
cs-gpios = <&gpiob 3 0>;
wr-gpios = <&gpiob 5 0>;
data-gpios = <&gpiob 4 0>;
commons-options = <0x00>;
};
};A testing program is provided in app/src/main.c.
Change CONFIG_PM and CONFIG_PM_DEVICE to y in app/prj.conf to enable power management.
The application can be built by running:
west build -b $BOARD -s appwhere $BOARD is the target board.
Once you have built the application you can flash it by running:
west flash