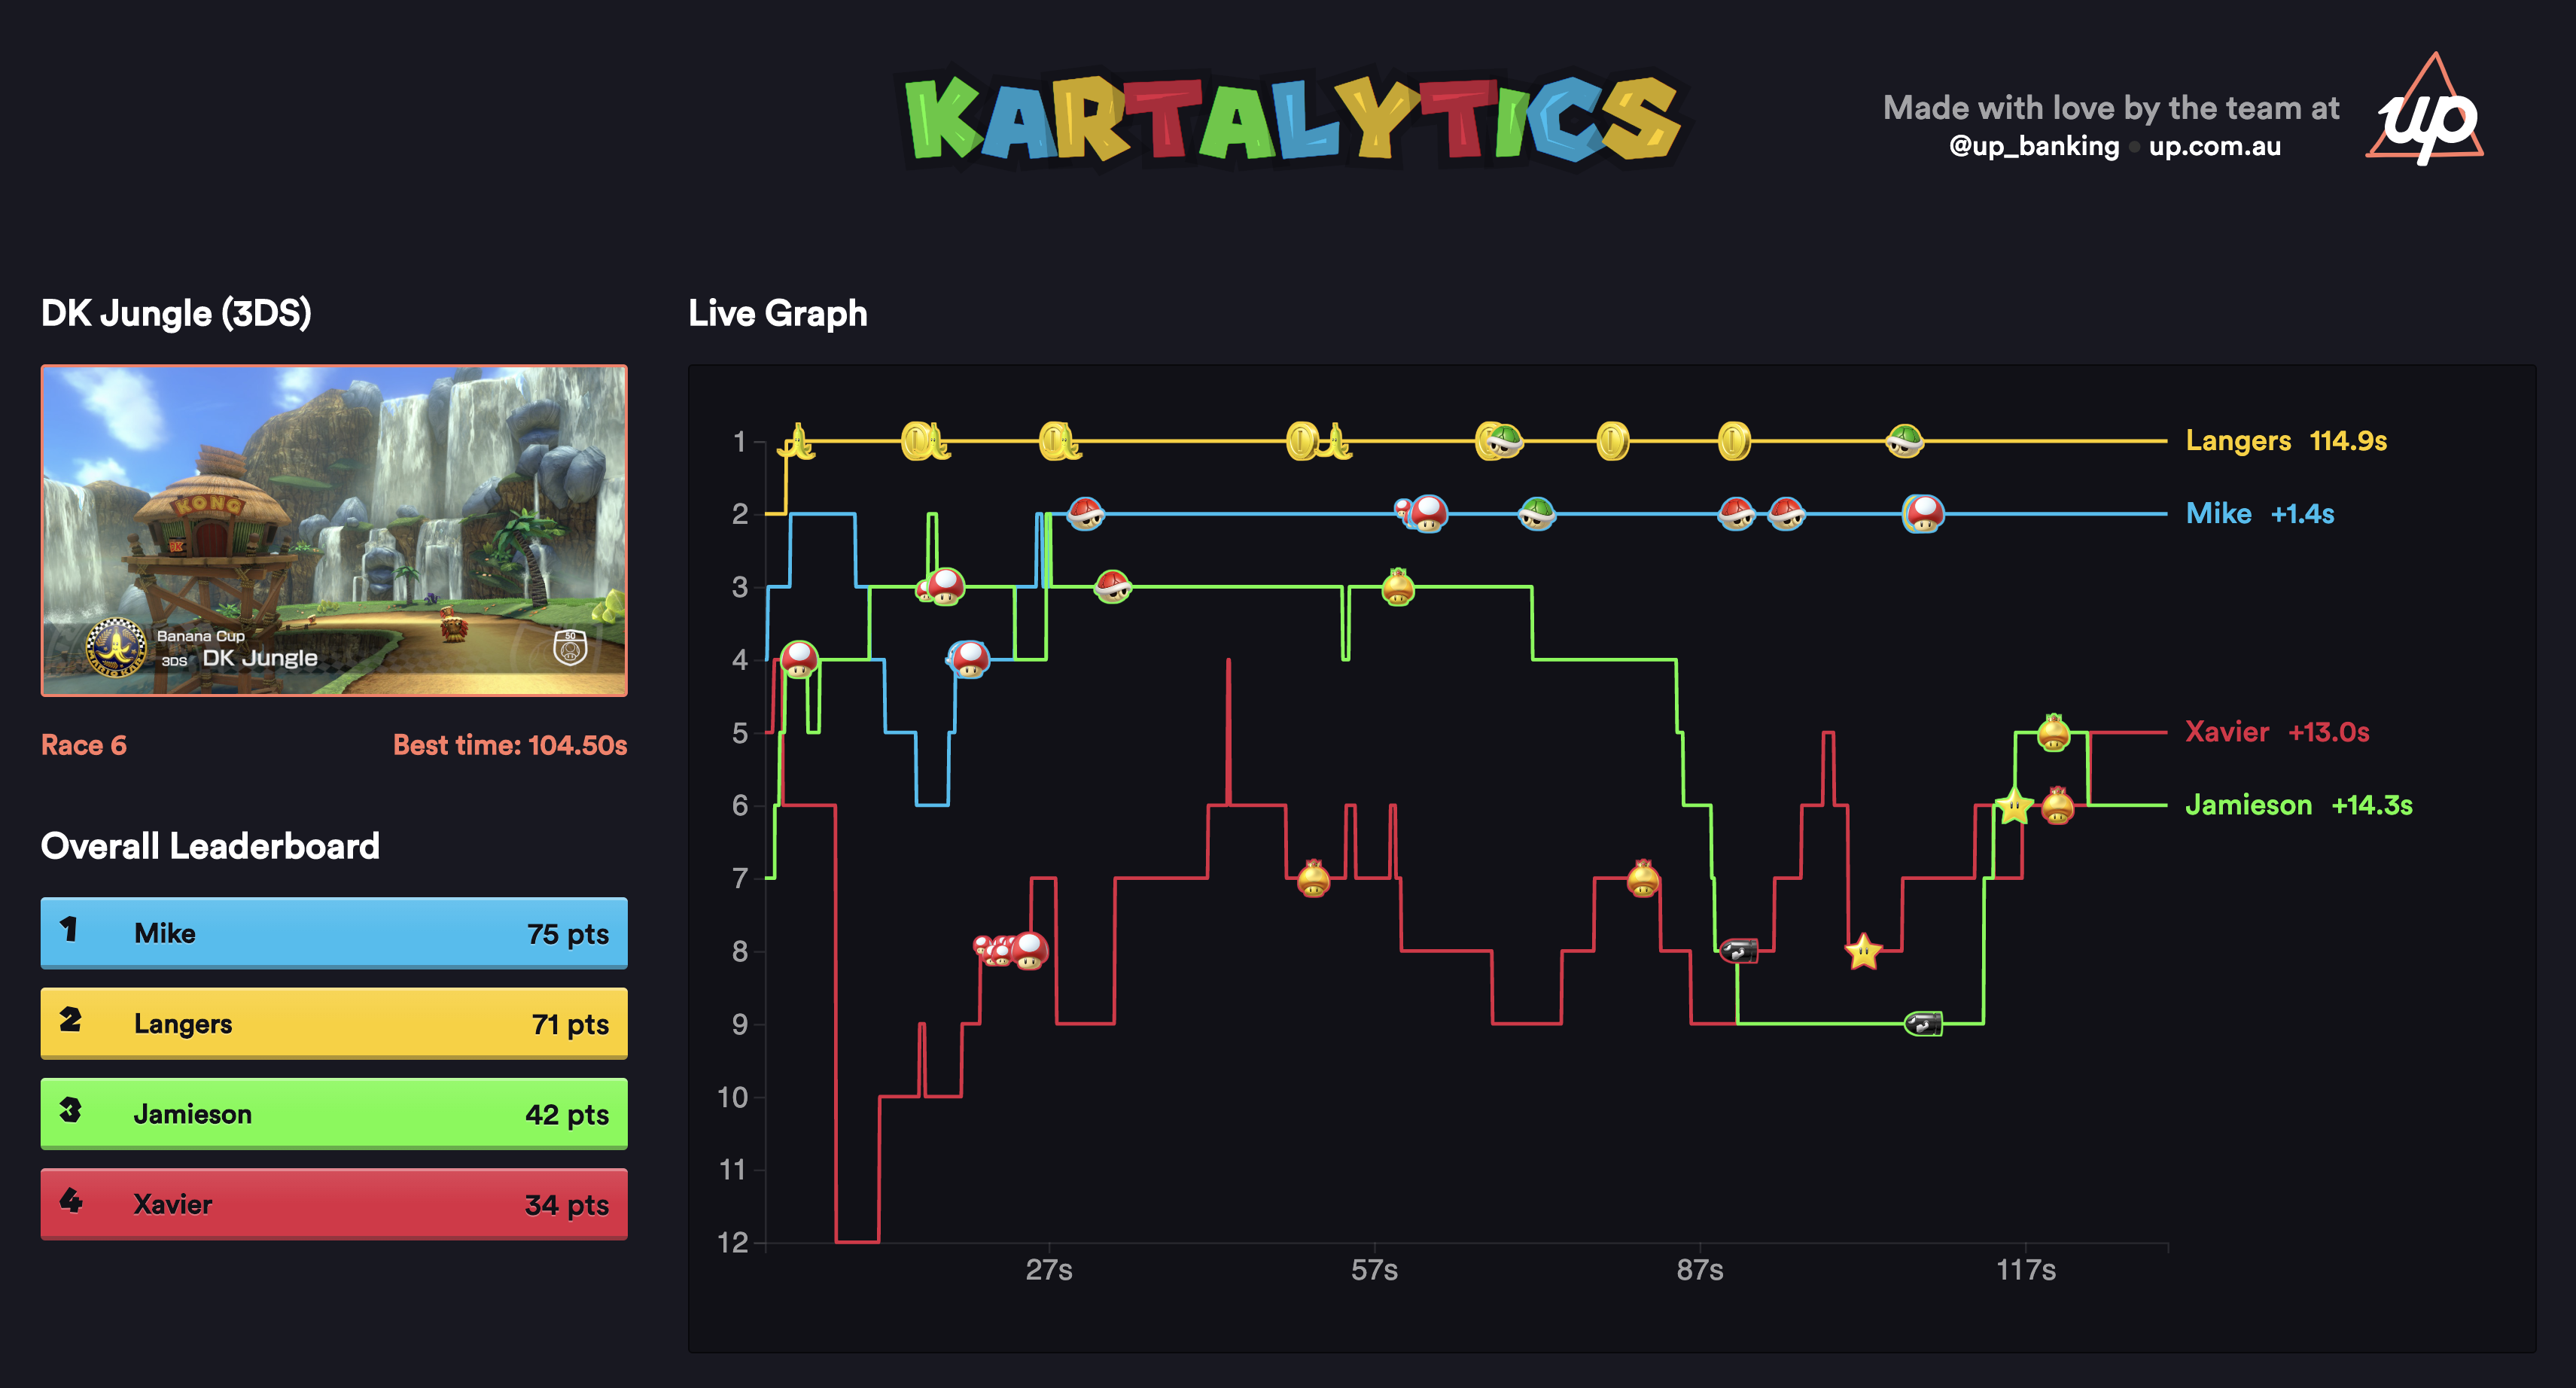
Kartalytics is a project to in real time analyse Mario Kart 8 Deluxe matches as they're being played and then take action on that analysis.
It is comprised of 3 main parts:
Kartalytics is designed to handle only 3 and 4 player VS matches at 200cc (what we play competitively).
Set up your env, bootstrap, and start. This will boot all necessary services. For more information about each service, keep reading.
./script/bootstrap
./script/startIts function is to capture the input stream of Mario Kart and save it out as sequence of snapshots. To do this we'll use the following hardware:
- HDMI splitter
- HDMI capture card or Lenkeng LKV373A V3.0 HDMI to ethernet converter
- Raspberry Pi (but any 'nix) would be fine.
These devices can be found for quite cheap, so this is now the recommended way of capturing screenshots from the Switch. You'll find a script for this in script/ffmpeg, but you'll likely need to tweak the settings for your specific capture card.
In our case, we capture at 1080p and downscale to 720p with FFmpeg, because capturing at 720p results in worse performance. We also need to set the RGB range on the Switch to limited to avoid clipping.
More information about these cards can be found on Yoon's Blog.
cd analyser/dump && ffmpeg -skip_frame nokey -f avfoundation -r 10 -video_size 1920x1080 -pix_fmt nv12 -color_range 1 -i "USB Video" -vf scale=-1:720 -r 5 -qscale:v 5 out%04d.jpgThe Lenkeng LKV373A V3.0 is the original way capture images from the Switch. The V3.0 has been superseded by V4.0, which doesn't work as well for this application. However, if you happen to get your hands on one, here's how to set it up:
- Install ffmpeg
- Thanks to Danman you need to block 0 byte UDP packets that the encoder spits out - use this command:
sudo iptables -t raw -A PREROUTING -p udp -m length --length 28 -j DROP > cd dump && ffmpeg -skip_frame nokey -i "udp://239.255.42.42:5004?localaddr=169.254.244.97&buffer_size=128000&overrun_nonfatal=1&fifo_size=500000" -vf fps=5 -qscale:v 5 out%04d.jpg
You might need to change the IP addresses - my RaspberryPi v3 can maintain a 2fps (500ms) sample rate - faster computer you could increase the fps= sample more images.
Note: Make sure the settings on your switch have the same expected "TV Output" in settings - the most important being 100% on "Adjust Screen Size" otherwise the analyser will be unable to process the images.
Its function is to take the raw snapshot images and analyse them to determine what is happening in the image. It is stateless and it simply populate an event stream with events such as:
- Load screen
- Main Menu
- Race Start (race_name)
- Race Underway
- Player 1 (position: 6, items: [red shell, none], coins: 5)
- etc
- Race finish:
- Player 1 (position: 2, points: 12)
- View Results:
- Player 1 (position: 3, points: 87)
A complete race could look something like this:
[
  {"event_type":"loading_screen","timestamp":"2017-07-02T12:09:16.273Z"},
  {"event_type":"intro_screen","data":{"course_name":"Big Blue"},"timestamp":"2017-07-02T12:09:25.783Z"},
  {"event_type":"race_screen","data":{"player_one":{"position":7}},"timestamp":"2017-07-02T12:09:38.273Z"},
  {"event_type":"race_screen","data":{"player_two":{"position":4},"player_three":{"position":3},"player_four":{"position":2}},"timestamp":"2017-07-02T12:09:39.273Z"},
  {"event_type":"race_screen","data":{"player_one":{"position":5},"player_two":{"position":4}},"timestamp":"2017-07-02T12:09:41.773Z"},
  {"event_type":"race_screen","data":{"player_one":{"position":5},"player_two":{"position":4},"player_three":{"position":3},"player_four":{"position":7}},"timestamp":"2017-07-02T12:09:42.273Z"},
  {"event_type":"race_result_screen","data":{"player_one":{"position":1}},"timestamp":"2017-07-02T12:12:01.293Z"},
  {"event_type":"race_result_screen","data":{"player_one":{"position":1},"player_two":{"position":5},"player_three":{"position":8},"player_four":{"position":9}},"timestamp":"2017-07-02T12:12:01.813Z"},
  {"event_type":"race_result_screen","data":{"player_one":{"position":1},"player_two":{"position":5},"player_four":{"position":9}},"timestamp":"2017-07-02T12:12:03.793Z"},
  {"event_type":"match_result_screen","timestamp":"2017-07-02T13:00:26.038Z","data":{"player_two":{"position":5},"player_three":{"position":8},"player_four":{"position":9}}},
  {"event_type":"match_result_screen","timestamp":"2017-07-02T13:00:26.038Z","data":{"player_one":{"position":1},"player_two":{"position":5},"player_three":{"position":8},"player_four":{"position":9}}}
]
Notice that the match_result_screen gets possibly incomplete data - animations cause this.
> cd analyser
> bundle
> POST_URL=http://your-brain-location/new_events ruby daemon.rb
For debugging purposes you can also set KEEP_FILES=true in .env - this will instuct the daemon not to remove processed files.
Due to limitations of the phasion API, analysis requires a lot of writing/reading temporary files to disk. Using a ramdisk as a temporary directory may improve performance by 10% or more!
To measure the difference in isolation:
ruby bench/identification.rb

# linux
sudo mkdir /mnt/tmp
sudo mount -t tmpfs -o size=2m tmpfs /mnt/tmp

TMPDIR=/mnt/tmp ruby bench/identification.rb
You may experience issues when bundling / installing the phashion gem. Thanks to ElliotCui over on Stack Overflow for figuring out a solution.
- Add the following to your
.zshrc/.bashrc(& don't forget tosource ~/.zshrcafterwards!)
export CPLUS_INCLUDE_PATH="$(brew --prefix)/include"- Install
phashionwithlibjpeg&libpnginLIBRARY_PATH:
LIBRARY_PATH=$LIBRARY_PATH:/opt/homebrew/opt/libjpeg/lib:/opt/homebrew/opt/libpng/lib gem install phashion -v '1.2.0'Nintendo is releasing 48 new tracks across 6 drops. Every time new tracks are released, new intro references must be generated.
The first step is to get the intro screen for each new course. The easiest way to do this is to set KEEP_FILES=true in .env, restart the daemon, then play the new cups. Once you're done, pull the nicest intro image from dump/* for each course (where the text is present), parameterize.underscore the filename, and commit to brain/app/assets/images/courses/*.
Next, copy the new intro images into analyser/intro/*, then run ruby intro_extractor.rb from the analyser dir. This will generate the reference images for course detection and put them in analyser/reference_images/intro/*. Finally, add the new courses to analyser/screens/intro_screen.rb. The brain will automatically create new courses in the DB based on this data.
When that doesn't work cos good luck getting phasion to run, you can manually do it with this instead
magick "$name.jpg" -crop 350x36+258+620 -color-threshold 'sRGB(200,200,200)-sRGB(255,255,255)' "$name.jpg"
The brain is responsible for consuming the event stream and reconstituting those into a concept of Games/Players/Results etc. As an example, the brain sees a series of race underway events then a "Main Menu" event, it should assume the game has been abandoned. Likewise if it sees a series of Race Underway events then a Race Finish then a View Results it should assume a game has been completed.
Check the Readme
