django_infopush is a Django reusable app, that allows to gather push subscriptions and send web push notifications to browsers.
It is a full featured reusable app which includes:
- frontend & backend code which gathers push subscriptions and saves them to DB,
- service worker to show notifications, manage clicks and basic notification statistics,
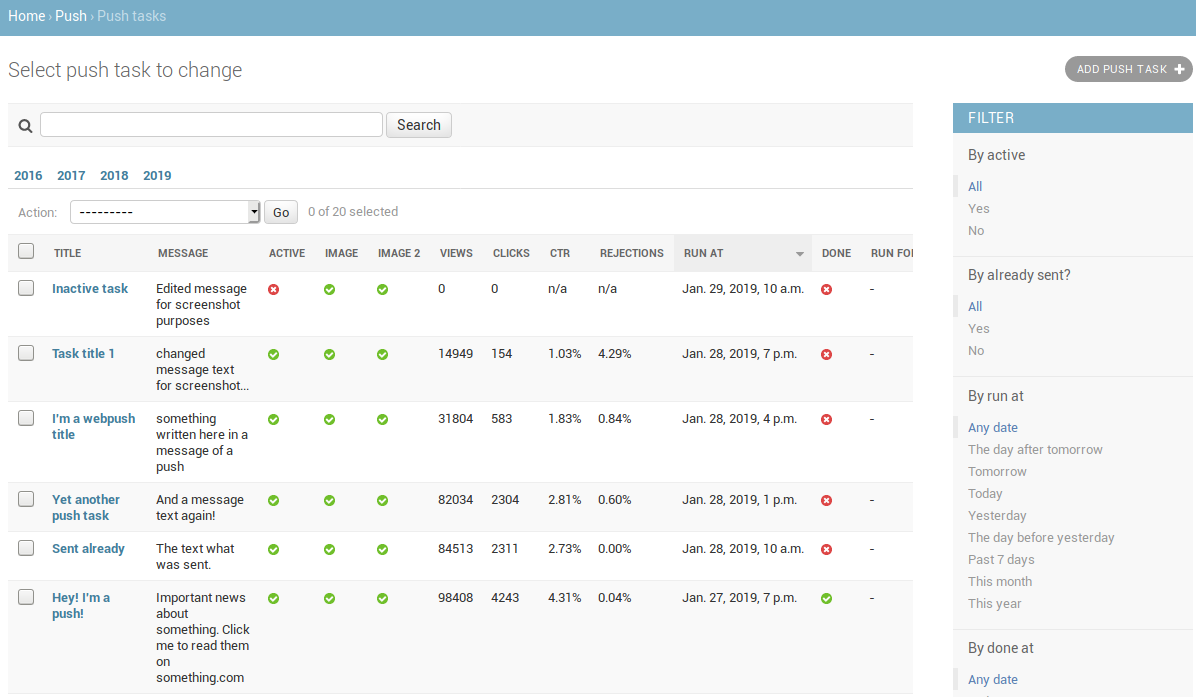
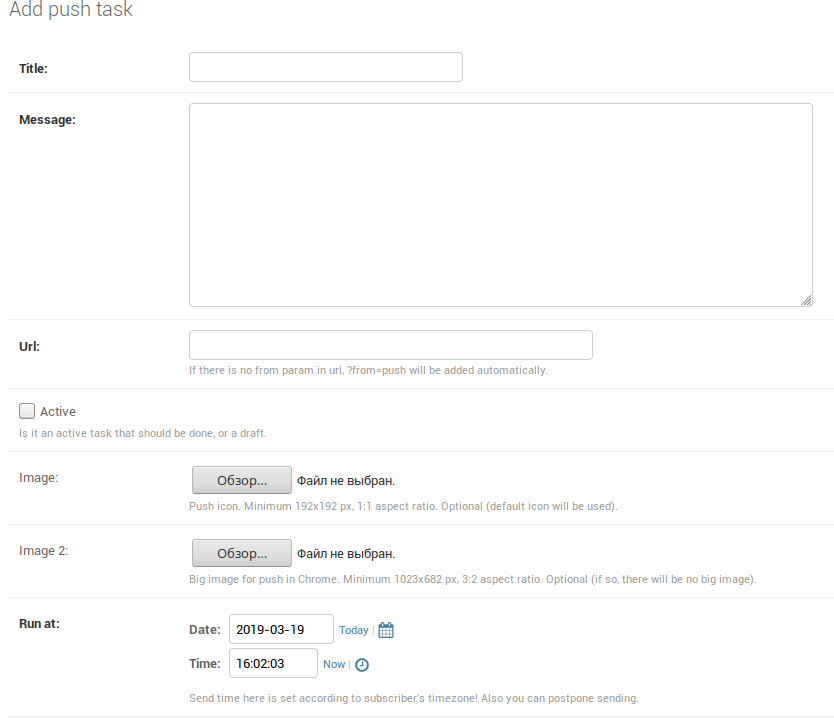
- django admin interface where you create new push tasks (title, text, icon, url, image, time to send) and view stats for the old ones,
- django management command to perform your tasks (send notifications to subscribers).
This app covers 99% webpush needs for content web-sites than you just want to send an announcement of a new blog post for example. Just make a new push task in the admin and job is done.
Known limitations:
- You better have access to CRON on your server, because push tasks are send using python manage.py pushsend management command. And running it manually every time sounds like a bad idea. Although for testing purposes manual calls will do well.
- pip install django-infopush
Add "django.contrib.humanize" (if not in INSTALLED_APPS already) and "commonstuff", "push" to your INSTALLED_APPS setting like this:
INSTALLED_APPS = [ # ... 'django.contrib.humanize', 'commonstuff', 'push', ]- Enable sites framework in Django, see official docs.
Configure django_infopush in your project settings.py file. At least your DJANGO_INFOPUSH_VAPID_PUBLIC_KEY and DJANGO_INFOPUSH_VAPID_PRIVATE_KEY (you can simply generate them here).
You also have to set DJANGO_INFOPUSH_VAPID_ADMIN_EMAIL with your site admin or support address, so that push-server administration can reach you if something goes wrong.
E.g.:
DJANGO_INFOPUSH_VAPID_PUBLIC_KEY = 'AHf42JhrMtFOXAG2OYTmEoBvKNcEsxmYF5pqvYd4InFEEU0x41HzymPQRtcvJZp9iNpDQK4GuTGMWAgn0E8G8IZ'
DJANGO_INFOPUSH_VAPID_PRIVATE_KEY = 'CcmbGJ9wce7596DoObRzyPHNktPRo5CSCdericz7Pf7'
DJANGO_INFOPUSH_VAPID_ADMIN_EMAIL = 'admin@mysite.com'
See docs/SETTINGS.rst for more.
If project uses MySQL, make sure it's version is 5.7.7 or greater and add the following line to project's settings.py:
SILENCED_SYSTEM_CHECKS = ['mysql.E001']See docs/MYSQL.rst for details.
- Run python manage.py migrate to create push models.
Include URLconf in your project urls.py like this:
from django.urls import re_path, include from django.conf import settings from django.views.generic import TemplateView from django.views.decorators.cache import cache_page urlpatterns = [ # ... re_path(r'^push/', include('push.urls')), re_path(r'^service-worker.js$', cache_page(1 if settings.DEBUG else 86400)(TemplateView.as_view( template_name="push/service-worker.js", content_type='application/javascript; charset='+settings.DEFAULT_CHARSET, )), name='service-worker.js'), ]- Add {% include 'push/_head_include.html' %} into head-section of your django-project's html template(s). Do not include it on the pages where you don't want to see push-subscribe browser window. Visit your website to become first subscriber (currently Chrome and FF support webpush, not Safari).
- Visit http://127.0.0.1:8000/admin/push/ to create first push task.
- CRON setup for python manage.py pushsend management command (every 5-10 minutes). You can also run this command manually for testing purposes.
- (OPTIONAL) Run python manage.py test push for basic check of the app.