
This document describes how to use the Video API Broadcast Sample App for JavaScript. Through the exploration of this sample application, you will learn best practices for setting up and managing hosts, guests, and viewers in a web-based broadcasting application.
In the Video API Broadcast Sample App, the host is the individual who controls and publishes the broadcast. The sample app supports up to 3 guests who can publish in the broadcast.
The sample app also supports the following recommended numbers of viewers, based on the number of publishers in the broadcast:
- 1 host, 3 guests: 11000 viewers
- 1 host, 2 guests: 13000 viewers
- 1 host, 1 guest: 15000 viewers
The Vonage Video API live streaming feature lets you broadcast an Video API session to an HTTP live streaming (HLS) stream. More clients can simultaneously view this stream than can view a live interactive Video API session. Also, clients that do not support WebRTC can view the HLS stream. HLS playback is not supported in all browsers. However, there are a number of plugins, such as Flowplayer, that provide cross-browser support (using Flash Player in browsers that do not provide direct HLS support).
The DVR feature provides a two-hour window for playing back broadcast content. While the broadcast is in progress, you can play back (and rewind to) any point in the broadcast up to two hours prior to the current time. The DVR recording is unavailable two hours after the broadcast is stopped.
NOTE: The viewer limits do not apply to HLS, since all publishing streams are transcoded to a single HLS stream that can be accessed from an HLS player. The expected latency for HLS is 10-15 seconds and for low latency HLS is shorter. The host can select different options to start the broadcast (Full HD, Low latency and DVR). The viewers can move back and forth from the HLS viewer view to the WebRTC view.
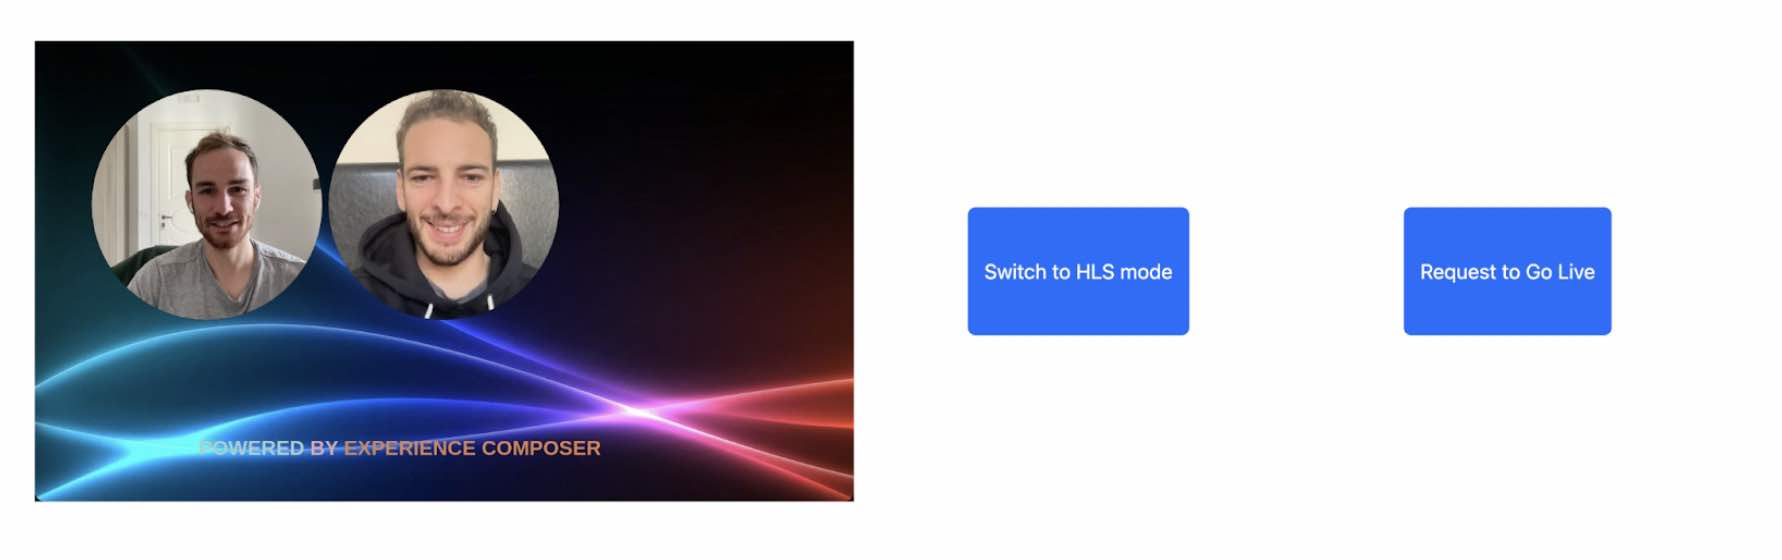
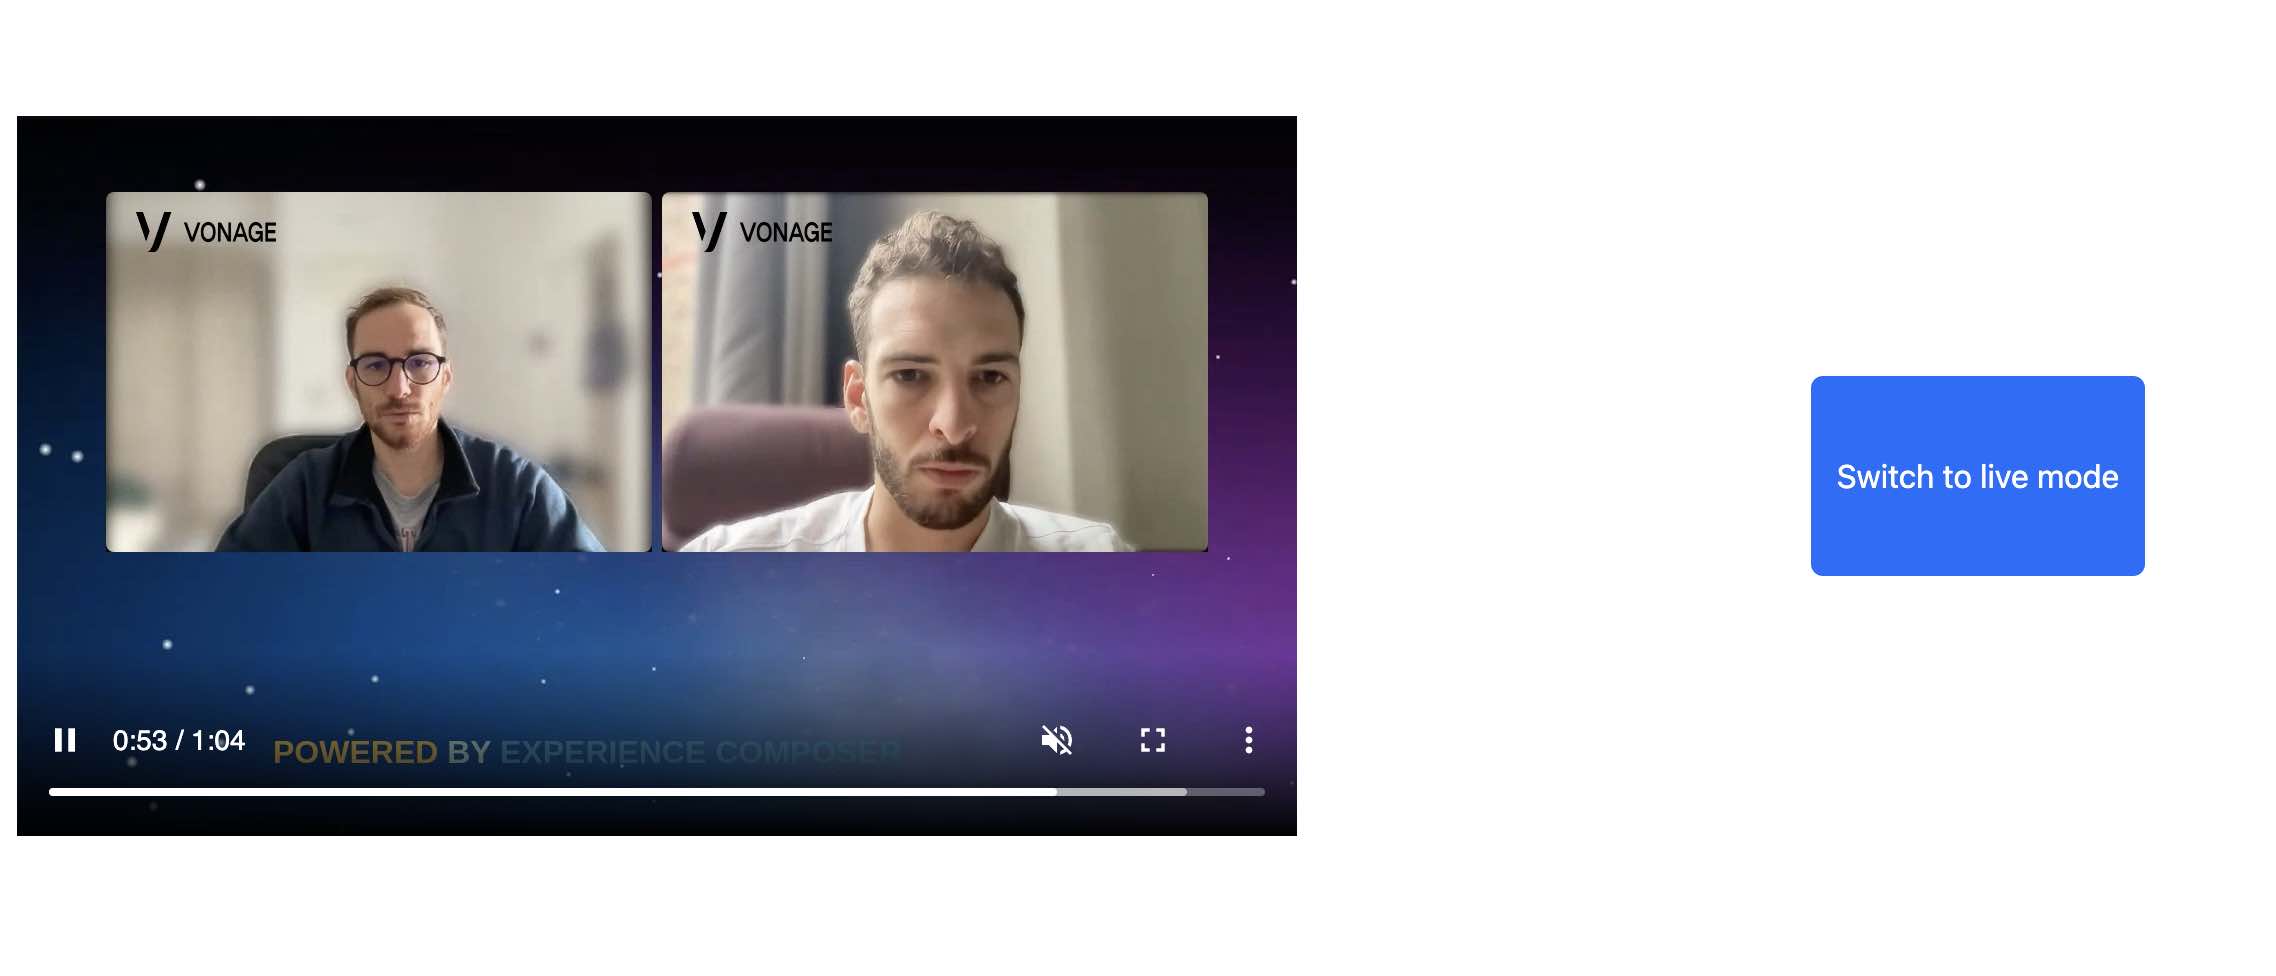
Instead of the regular Broadcast view, the Host can decide to compose a custom view with all the published streams in the session. This is done through the Experience Composer API which allows publishing a custom application view with your own layout as a stream into the session. The host has additional controls to apply a custom background to the composed view and round the corners of the video tiles. If a background option is selected, an Experience Composer stream will be published into the session, otherwise a regular broadcast will be composed.
NOTE: The price for a Experience Composer stream differs from a regular stream. Check this article for further pricing information
You can configure and run this sample app within just a few minutes!
This guide has the following sections:
- Prerequisites: A checklist of everything you need to get started.
- Quick start: A step-by-step tutorial to help you quickly run the sample app.
- Exploring the code: This describes the sample app code design, which uses recommended best practices to implement the Video API Broadcast app features.
To be prepared to develop your Video API Broadcast app:
- Review the OpenTok.js requirements.
- Your app will need an Video API API Key and API Secret, which you can get from the OpenTok Developer Dashboard. Set the API Key and API Secret along with your production_url in config.json.
- Enable Experience Composer in the account Portal To run the Video API Broadcast Sample App, run the following commands:
npm i
npm startNOTE: The Video API Developer Dashboard allows you to quickly run this sample program. For production deployment, you must generate the Session ID and Token values using one of the Video API Server SDKs.
IMPORTANT: In order to deploy an Video API Broadcast app, your web domain must use HTTPS.

The web page that loads the sample app for JavaScript must be served over HTTP/HTTPS. Browser
security limitations prevent you from publishing video using a file:// path, as discussed in
the OpenTok.js Release Notes. To
support clients running Chrome 47 or later,
HTTPS is required. A web server such as MAMP or
XAMPP will work, or you can use a cloud service such
as Heroku to host the application.
From the host view, press the Start Broadcast button and optionally provide the RTMP Server URL and Stream Name. You can configure different parametes for the broadcast (HLS Low Latency, DVR and Full HD)
- Note: DVR functionality and Low Latency are incompatible
This section describes how the sample app code design uses recommended best practices to deploy the broadcast features.
For detail about the APIs used to develop this sample, see the OpenTok.js Reference.
NOTE: The sample app contains logic used for logging. This is used to submit anonymous usage data for internal Vonage purposes only. We request that you do not modify or remove any logging code in your use of this sample application.
While Vonage hosts OpenTok.js, you must host the sample app yourself. This allows you to customize the app as desired.
-
server.js: The server configures the routes for the host, guests, and viewers.
-
opentok-api.js: Configures the Session ID, Token, and API Key, creates the Video API session, and generates tokens for hosts, guests, and viewers. Set the API Key and API Secret in config.json.
-
host.js: The host is the individual who controls and publishes the broadcast, but does not control audio or video for guests or viewers. The host uses the Video API Signaling API to send the signals to all clients in the session.
-
guest.js: Guests can publish in the broadcast. They can control their own audio and video. The sample app does not include the ability for the host to control whether guests are broadcasting, though the host does have a moderator token that can be used for that purpose.
-
viewer.js: Viewers can view the live WebRTC stream and switch to the Guest and HLS views.
-
hls-viewer.js: HLS Viewers can only view the broadcast and switch to the viewer view.
-
hls-viewer.js: HLS Viewers can only view the broadcast.
-
ec.js: This page defines the code that the Experience Composer instance needs to execute.
-
CSS files: Defines the client UI style.
The methods in server.js include the host, guest, and viewer routes, as well as the broadcast start and end routes. Each of the host, guest, and viewer routes retrieves the credentials and creates the token for each user type (moderator, publisher, subscriber) defined in opentok-api.js:
const tokenOptions = (userType) => {
  const role = {
    host: "moderator",
    guest: "publisher",
    viewer: "subscriber",
  }[userType];

  return { role };
};
The credentials are embedded in an EJS template as JSON. For example, the following host route is configured in server.js:
app.get("/host", async (req, res) => {
  const roomName = req.query.room;
  try {
    const credentials = await generateCredentials("host", roomName);
    res.render("pages/host", {
      credentials: JSON.stringify(credentials),
    });
  } catch (e) {
    res.status(500).send(error);
  }
});
The credentials are then retrieved in host.js and used to connect to the host to the session:
  var getCredentials = function () {
    var el = document.getElementById('credentials');
    var credentials = JSON.parse(el.getAttribute('data'));
    el.remove();
    return credentials;
  };

  . . .

  var init = function () {

    . . .

    var credentials = getCredentials();
    var session = OT.initSession(credentials.apiKey, credentials.sessionId);
    var publisher = initPublisher();

    session.connect(credentials.token, function (error) {

      . . .

    });
  };
When the web page is loaded, those credentials are retrieved from the HTML and are used to initialize the session.
The logic needed to start and stop the Experience Composer stream is defined in opentok-api.js (createRender and deleteRender respectively). At the time of updating this sample application, the nodeJS SDK does not have support for Experience Composer, so the REST API will be used. The createRender function creates an Experience Composer instance that will navigate to ec.js and publish a new stream named EC into the session.
The functions in guest.js retrieve the credentials from the HTML, subscribe to the host stream and other guest streams, and publish audio and video to the session.
The functions in viewer.js check whether the broadcast is active or not. The HLS viewer can also move to the Viewer view (WebRTC session). Your application is responsible to let the HLS viewers when the HLS stream has started, this could be via WSS or any other way. For simplicity, this sample app has a button that checks the server for the broadcast URL.
NOTE: The price for an Experience Composer stream differs from a regular stream. Check this article for further pricing information.
The code in ec.js will connect the Experience Composer instance to the session, subscribe to all streams but itself and the screen share stream from the Host and customise the appearance of the page. The result of the interaction with this code, that is, what is visible on this page, will be published as a new stream into the session (see logic on opentok-api.js).
The functions in viewer.js retrieve the credentials from the HTML, connect to the session and subscribe after receiving a signal from the host indicating the broadcast has started, and monitor broadcast status. Once the broadcast begins, the viewer can see the host and guests. Each viewer uses the Video API Signaling API to receive the signals sent in the broadcast. The viewer can also move to the HLS viewer view and become a Guest to publish audio and video.
The methods in host.js retrieve the credentials from the HTML, set the state of the broadcast and update the UI, control the broadcast stream, subscribe to the guest streams, create the URL for viewers to watch the broadcast, and signal broadcast status. The host UI includes an input field to add an RTMP stream, a button to start and end the broadcast, as well as a control to get a sharable link that can be distributed to all potential viewers to watch the CDN stream. The host makes calls to the server, which calls the Video API API to start and end the broadcast. Once the broadcast ends, the client player will recognize an error event and display a message that the broadcast is over. For more information, see Initialize, Connect, and Publish to a Session.
The following method in host.js sets up the publisher session for the host, configures a custom UI with controls for the publisher role associated with the host, and sets up event listeners for the broadcast button.
var publishAndSubscribe = function (session, publisher) {
  session.publish(publisher);
  addPublisherControls(publisher);
  setEventListeners(session, publisher);
};
When the broadcast button is clicked, the startBroadcast() method is invoked and submits
a request to the server endpoint to begin the broadcast. The server endpoint relays the
session ID to the Video API HLS Broadcast REST
/broadcast/start endpoint, which returns broadcast data to the host. The broadcast data
includes the broadcast URL in its JSON-encoded HTTP response:
  var startBroadcast = function (session) {

    . . .

    http.post('/broadcast/start', { sessionId: session.sessionId })
      .then(function (broadcastData) {

        updateStatus(session, 'active');

        . . .

      }
  };
The startBroadcast() method subsequently calls the updateStatus() method with the broadcast
status. The updateStatus() method uses the Video API Signaling API
to notify the live viewers who are subscribed to the session that the broadcast has started:
  var updateStatus = function (session, status) {

    . . .

    signal(session, broadcast.status);
  };
If a guest joins the HLS view after the broadcast has started, it will send a signal to the host to retrieve the current status of the broadcast. If the broadcast is active, the host will send them the URL so they can play the HLS feed.
When the broadcast is over, the endBroadcast() method in host.js submits a request to the server,
which invokes the Video API Broadcast API /broadcast/stop
endpoint, which terminates the CDN stream. This is a recommended best practice, as the default
is that broadcasts remain active until a 120-minute timeout period has completed.

Interested in contributing? We ❤️ pull requests! See the Contribution guidelines.
We love to hear from you so if you have questions, comments or find a bug in the project, let us know! You can either:
- Open an issue on this repository
- See https://support.tokbox.com/ for support options
- Tweet at us! We're @VonageDev on Twitter
- Or join the Vonage Developer Community Slack
- Check out the Developer Documentation at https://tokbox.com/developer/