In this project I wanted to implement a microprocessor on an FPGA with the ability to write files onto an SD card (micro SD in particular) exploiting the Arty A7 development board and the Digilent PModSD.
Below the hardware used with the documentation
- Arty A7 development board by Digilent

- Website of the Arty A7 development board: https://digilent.com/shop/arty-a7-artix-7-fpga-development-board/
- Resource center Arty A7: https://digilent.com/reference/programmable-logic/arty-a7/start?redirect=1
- Reference manual Arty A7: https://digilent.com/reference/programmable-logic/arty-a7/reference-manual
- Digilent PModSD
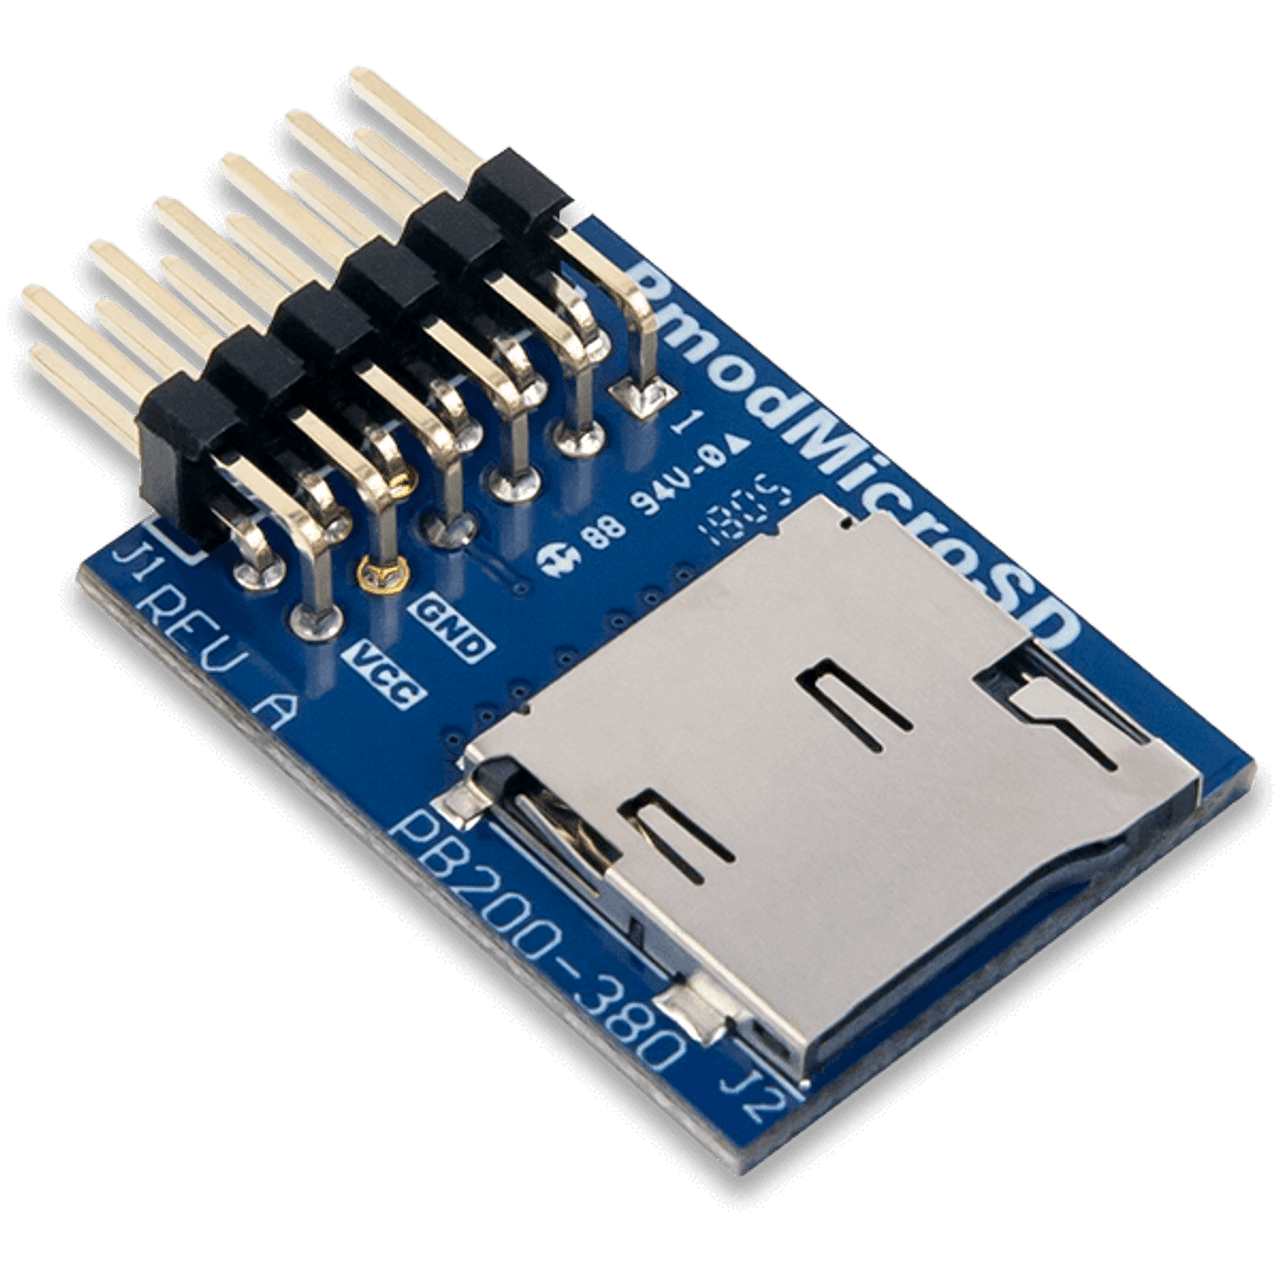
- Website of the PMod micro SD : https://digilent.com/shop/pmod-microsd-microsd-card-slot/
- Resource center PMod micro SD card: https://digilent.com/reference/pmod/pmodmicrosd/start?redirect=1
- Reference manual PMod micro SD : https://digilent.com/reference/pmod/pmodmicrosd/reference-manual
The PMod micro SD is designed to have a SPI interface. The pin header is displayed in the table below

To interface with the pmod SD, the Digilent Vivado library is required. See the following section
- Vivado for the hardware design. https://www.xilinx.com/products/design-tools/vivado.html
- Vitis for the Baremetal software design https://www.xilinx.com/products/design-tools/vitis/vitis-platform.html

- Digilent IP Vivado Library (Extremely important!!): The Vivado Library found here is extremely important and has to be installed and added to the IP reposetory of Vivado software.
To install the Vivado Library you can follow the guide at the following link. This guide is obsolete since it states that Digilent Pmods are supported only in Xilinx SDK 2019.1 and earlier. Howeveer, this project has been built using Vivado 2021.1 and Vitis 2021.1.
Follow these steps:
- Create a new project, select the correct target device and the target HDL language, add eventual xdc constraint files.
- In the project manager click on Settings

-
Go to IP > Repository and add the repository downloaded. be sure to have correctly decompressed the archive.
-
Then you can create the block design. Below, it has been shown the hardware required to run this example. A pdf with a higher quality picture is also reported at /docs/assets/images/block.pdf

- Validate the design
- Click on Generate HDL Wrapper
The following steps are important for the realization of the Bootloader
- Run the Synthesis
- Run the Implementation
- Open the Implemented design using the Flow Navigator bar**
- Click on Settings
- Navigate to Project Settings > Bitstream > Configure additional bitstream settings. This menu is available ony after the implementation process so you need to do the synthesis and implementation.
- In the toolbar on the left-hand side click on Configuration Modes
- Select the Master SPI x1 configuration mode. This is important because the the quad SPI mode is not properly working and if you don't change this setting, the Bootloader does not work.
- After this you need to restart the Synthesis-Implementation-Bitstream generation.
Now you can export the hardware for Vitis
- Go to File > Export > Export Hardware
- Make sure to include the bitstream when you are creating a .XSA file
Now the Hardware is ready and you can close Vivado and open Vitis.
Once the bitstream has been generated, a new Vitis project need to be created.
- Createa a new application project.
- To build up an application project, a platform project is needed. To do this you need to load the .xsa file from the exported hardware.
Now, in Vitis you will have two projects, an applcation written in C++ and a platform project containining the Board Support Package (BSP).
- If you click on the platform project and click on Build project, an error may occour and the compilation could not be done by the Vitis compiler. To solve this problem I adopted the following procedure:
- From the BSP I deleted all the C++ files containing the drivers. These, in fact, are not required in the platform project, but only in the application. The platform project, should contain only the informations about the hardware. In particular, I have noticed that by eliminating the PMod SD card files (contained in the Vivado Library) from the "microblaze_0" directory, the problem should be solved. After this operation I clicked on the button "reset BSP". After all this operation the Vitis compiler correctly built the platform project.
- To create the application project I imported the file contained in the Vivado Library apporting some changes to the files in order to fix some errors fromt the compiler.
- If the project has been correctly build, there should be a .elf file which is the image file of our Baremetal software.
To upload the project onto the FPGA we need to create a Bootloader application.
To be continued...